How a Handheld Vacuum Sealer and Mason Jars Can Save You Money
Sneak Preview: Learn how using a handheld vacuum sealer and Mason Jars can save you money by preserving freshness in all kinds of food longer than normally expected. This idea is genius for one or two-person households or people who like to shop in big-box stores.
As an Amazon Associate, I earn from qualifying purchases.
Are you ever tempted to buy oversized packages of food but worry that you can’t eat it all before it goes bad? What about fresh veggies you see on sale?
Maybe you live far from town, so grocery store trips are infrequent. If your refrigerator or freezer space is limited, consider how a portable vacuum sealer would allow you to vacuum seal dry goods and move them to the pantry.
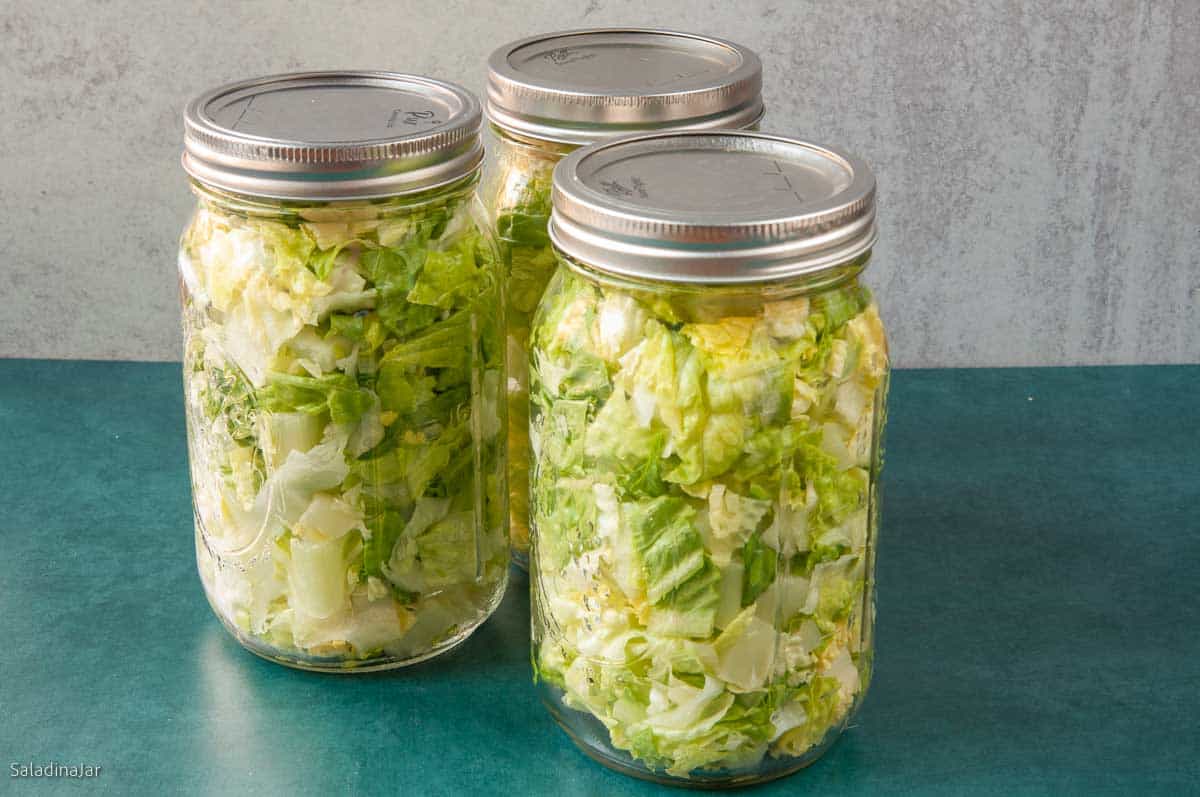
I learned the benefits of vacuum sealing when I started vacuum packing cut romaine lettuce into Mason jars. Using my method, chopped lettuce lasts 7-10 days without the edges turning brown. I published the instructions for this super-cool trick in my first post on this website in 2009.
Since then, I’ve learned how useful vacuum sealing can be for those who don’t have large kitchens or a lot of mouths to feed. Using a portable or handheld sealing device makes it more convenient to seal and reseal your food.
Why You Might Not Want a Countertop Vacuum-Sealing Machine
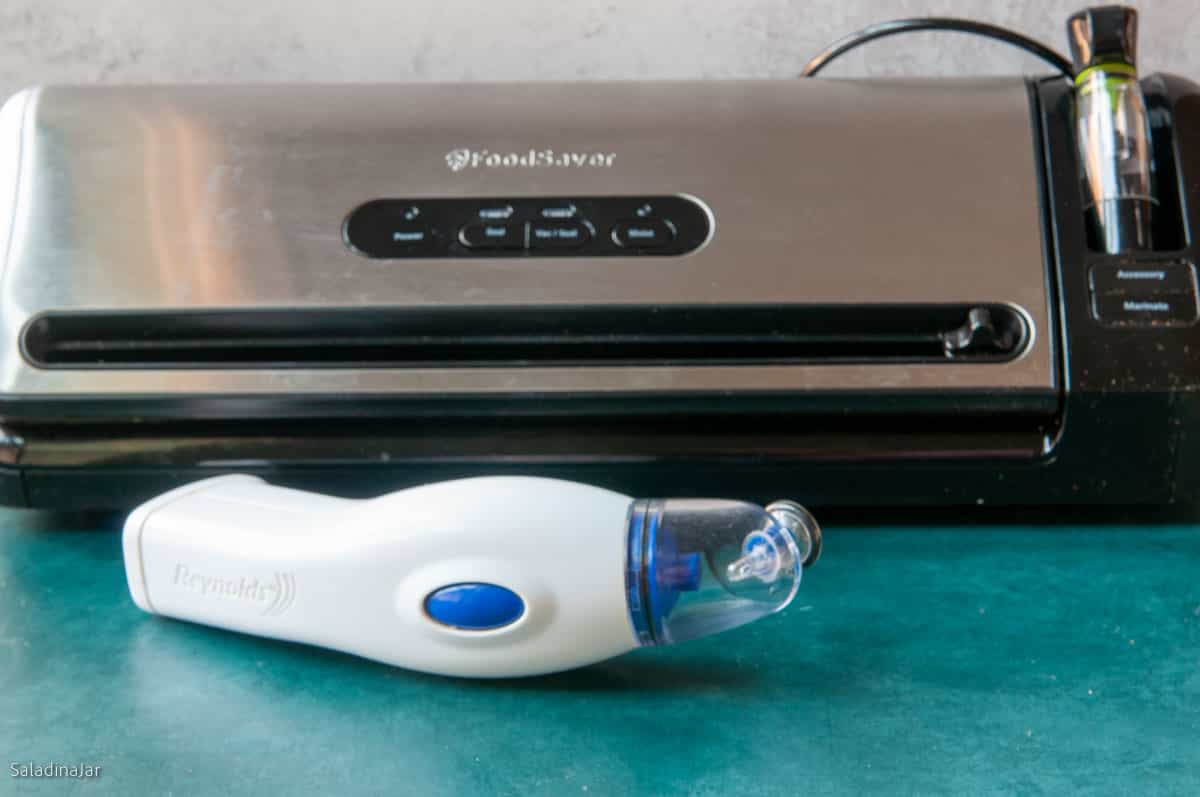
Disadvantages
- They take up a lot of valuable kitchen space.
- They don’t last very long if you use them a lot (in my experience).
- They are noisy.
- They are more expensive than a portable vacuum sealer
Note: If you like to vacuum seal food for sous vide, beef, poultry, or fish (before freezing), or other irregularly shaped foods that would take too much room if packed into a jar, you may need a larger sealer with more power. Also, a countertop appliance works more efficiently if you want to seal food in vacuum seal bags.
Why I Like a Portable or Handheld Vacuum Sealer
- Inexpensive
- Lightweight
- Small and compact
- No cords (except on the charger)
You can also purchase simple handpumps that don’t require batteries or electricity and do a fairly good job of sealing if you have plenty of muscle power.
Why I Prefer Storing Vacuum-Sealed Food in Glass Mason Jars
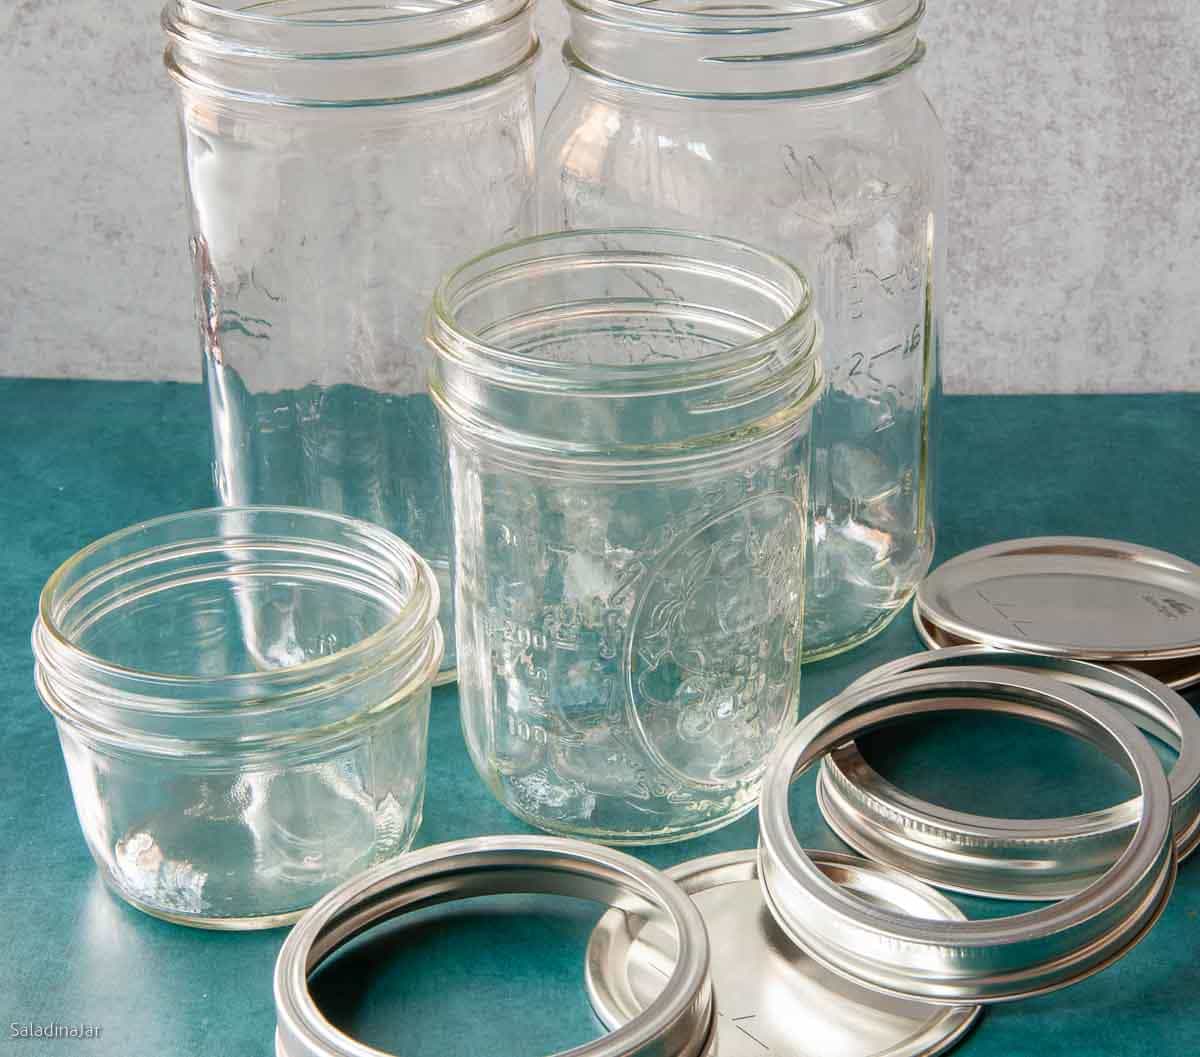
- Readily accessible
- Dishwasher-safe and reusable
- Preserves shape of food (no squashing)
- Reusable lids and collars
- Available in different sizes
Note: Flat lids are reusable unless you use them for pressure canning.
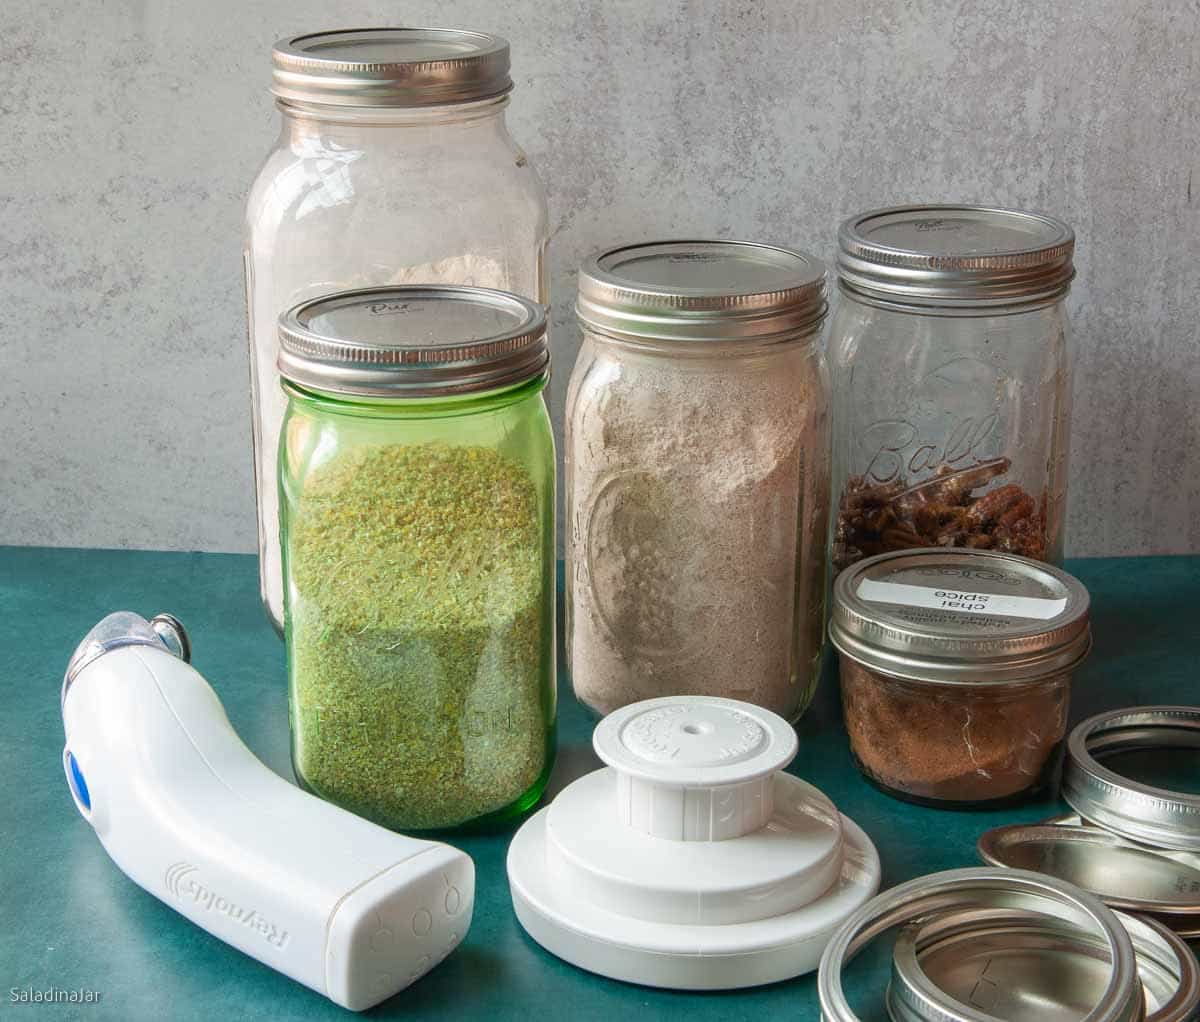
What Is a Lid Sealer or Adapter for a Mason Jar?
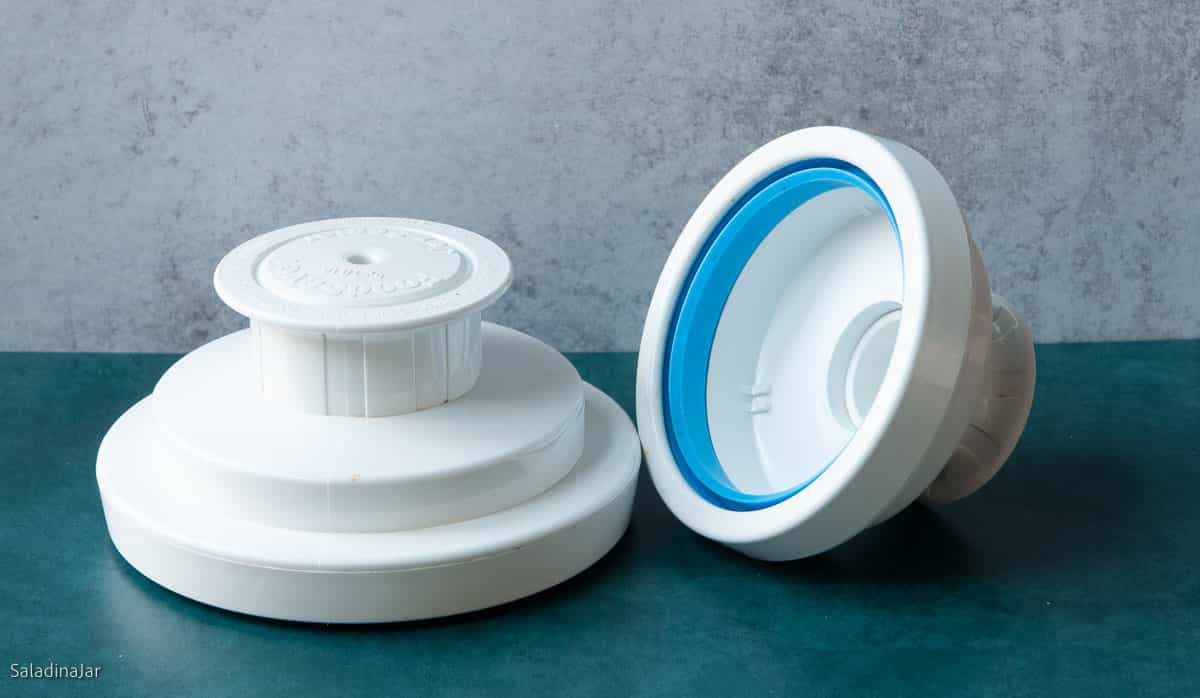
- A sealer or adapter enables vacuum sealing with a Mason jar
- You only need one.
- Two sizes: large-mouth jars and small-mouth
- Large-mouth jars: easier to load, unload, and seal
- Small-mouth jars: a pain to load, unload, and seal
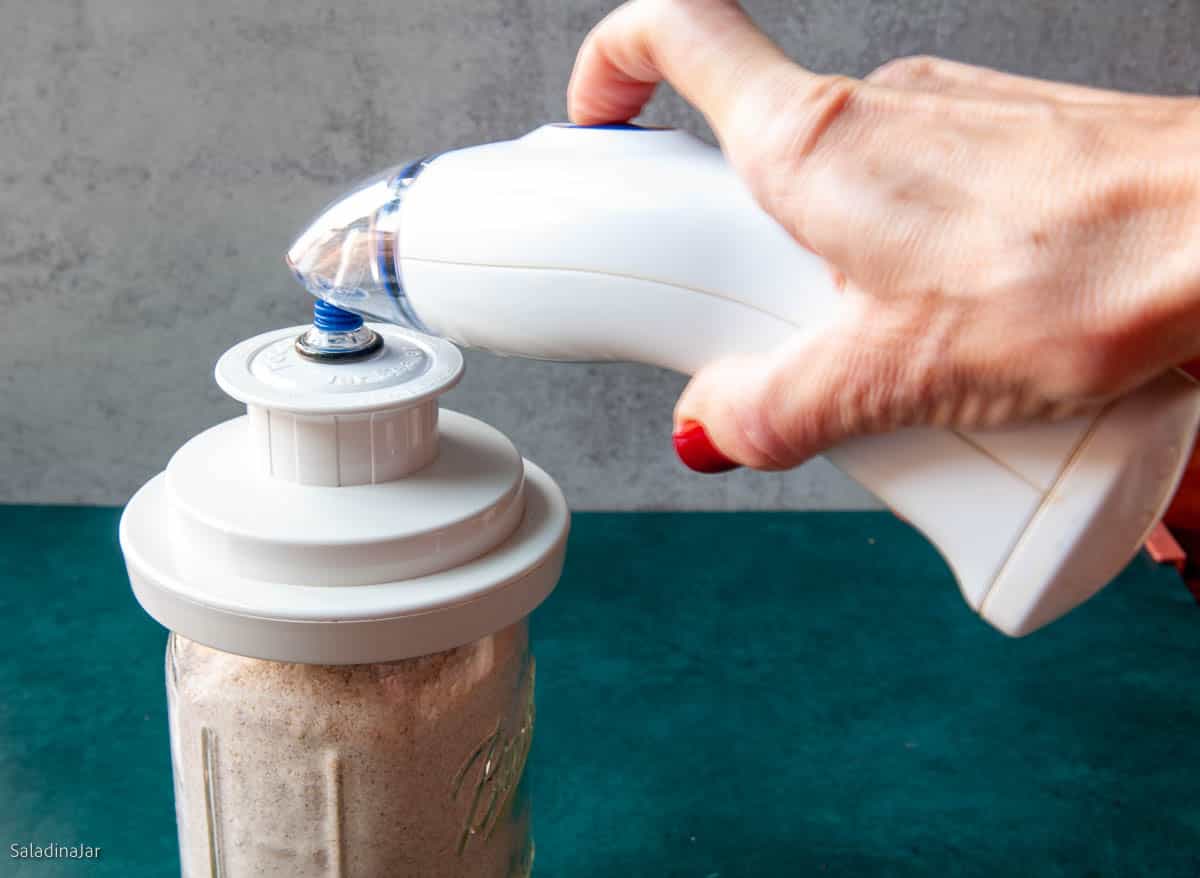
How Do You Seal a Mason Glass Jar Using a Handheld Vacuum Sealer?
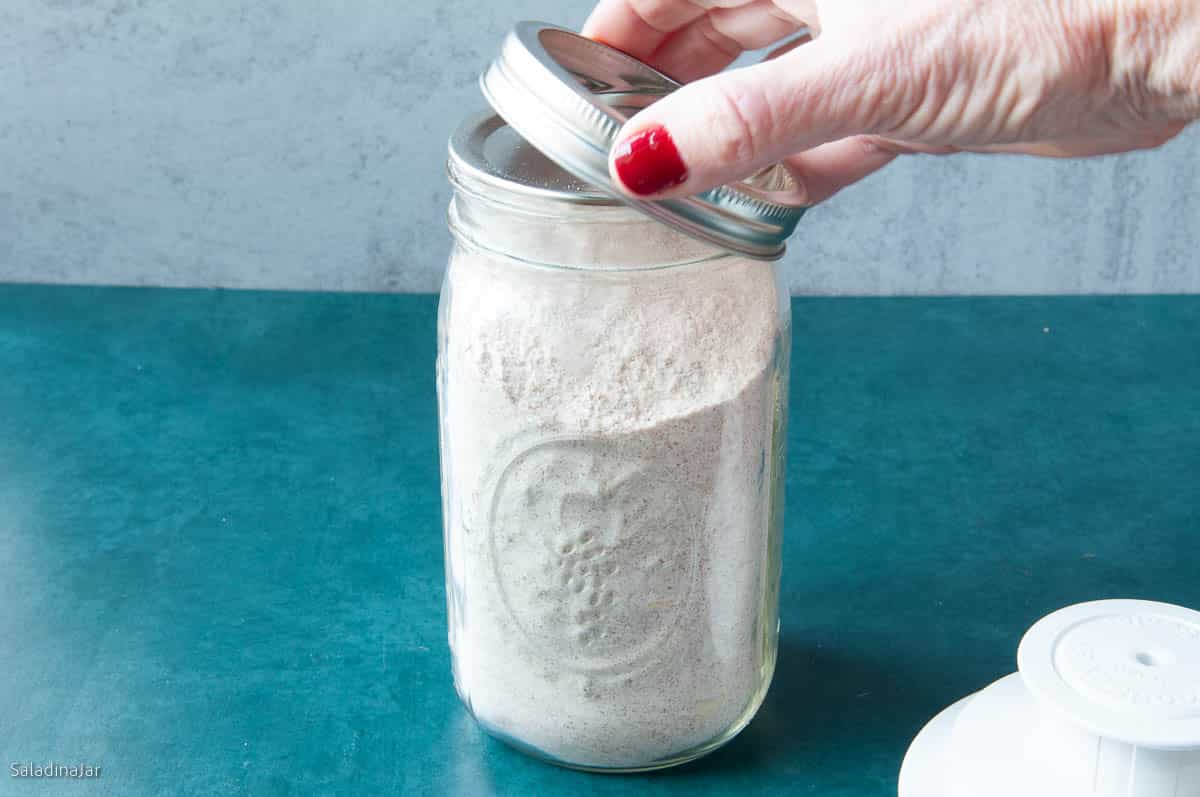
- Fill the jar with the food you want to preserve. Make sure the rim is clean.
- Cover with a flat metal canning lid.
- Position the lid adapter on top of the flat lid. Do not put the metal collar on yet. Pick up the sealer and cover the hole at the top of the adapter with the nozzle on the handheld sealer.
- Press the button to activate the sealer. Listen to the noise. The pitch will change (higher or lower depending on the machine) as excess air is sucked out on the way to obtaining a good seal.
- When you think a seal has been achieved, stop the vacuum and remove the jar adapter. Check if the lid has been sealed tightly by pressing your finger in the middle.
- If the lid dents in and out, try to reseal the jar. First, ensure no food is stuck to the edge between the jar and the lid, presenting a good seal.
What Kind of Foods Can I Vacuum Seal in a Jar?
- Anything you keep in the pantry, such as crackers, cookies, dry snacks, homemade spice mixes, dried beans, dried fruit, chocolate bars or chocolate chips, and candy (store-bought or homemade)
- Fresh fruit and veggies: You can buy yourself more storage time by vacuum-sealing prepared vegetables (washed and cut). Some foods tolerate vacuum-sealing better than others.
- Cheese: Shredded Parmesan cheese stores especially well in vacuum-sealed jars (in the fridge).
- Homemade jelly, sauces, or curds: Remember, they must be stored in the fridge.
- Rice (keep the bugs at bay), dried milk, corn meal, and pancake mix
- Flour (whole grain flour goes rancid quickly), gluten-free flour, and instant yeast
In case you are wondering about foods that you should not vacuum-pack, check out this post. In the case of lettuce, see this post about why I do not add extra veggies to my lettuce.
How To Set Yourself Up To Vacuum Seal, Even If You Have a Small Kitchen
- Buy a good portable vacuum sealer here (paid link). (My favorite) They don’t need to be expensive.
- Buy an adapter(paid link) suitable for the Mason jars you want to use (wide-mouth or regular). I only have experience with the Food Saver brand, but surely the others work, too.
- Purchase glass jars of varying sizes to suit your needs. Don’t forget to check out thrift stores.
FAQ
Vacuum sealing involves no heat as canning does. That means perishable food like lettuce, veggies, fruit, and sauces must be kept in the refrigerator or freezer.
Vacuum sealing is not for fragile food. The process of pulling the air out of the jar can cause food like fresh greens, fresh herbs, tomatoes, and other cut vegetables to spoil quickly. I recommend experimentation with a small amount to start with. Keep your eye on the jar until you know the limits.
There are various reasons: the jar has a defect or chip on the top edge, your sealer needs new batteries or recharging, the flat lid was used for heat-processed canning previously (throw it out), or there is a small bit of food preventing a seal. Read this post about getting lids to seal.
I have successfully vacuum-sealed soups and stews, and other favorite foods. It helps to avoid freezer burn. However, be sure to allow plenty of room for the food to expand so the jar won’t break–basic science.
Yes, if your unit has an accessory port. Hopefully, you still have the accessory hose. Hook the hose to the lid sealer. See the instruction manual for more details.
Over time, the seal may release. The collar helps to secure the seal. You will recognize if the seal is broken when you press the flat lid and it makes a noise. I like to check the jars in my pantry occasionally after they have been sealed for a while. No worries. Pull out your portable sealer and reseal.
Parting Thoughts: I’ve been vacuum-sealing chopped lettuce and many other foods with a portable sealer for nearly 20 years. I hope this idea will save you money and lessen the amount of food you have to trash. I don’t know about you, but it always makes me sick to throw out food that costs me good money because we couldn’t eat it quickly enough.
p.s. I’m sorry to report that this doesn’t seem to work for cut avocados–at least not for me.
If you have questions or suggestions, email me privately for a quick answer: Paula at saladinajar.com. Hope to see you again soon!
If you want inspiration and exclusive tips, add your email and press the button. (Don't worry. I won't sell your email.)
Paula Rhodes, owner
As a retired home economist, I created Saladinajar.com to share my belief that you don’t have to be a chef to find joy in creating homemade food worth sharing. Bread machines (used in an unconventional way), homemade yogurt, and quick microwave recipes are my specialty.