How to Proof Dough in a Microwave: A Winter Baking Tip
Sneak Preview: Cold kitchen? Learn how to use your microwave as a warm, draft-free proofing box for bread dough. This simple trick works especially well during winter baking.
This post contains affiliate links. As an Amazon Associate, I earn from qualifying purchases at no extra cost to you.
A cold kitchen can slow yeast activity and make bread dough take forever to rise. When that happens, I often use my microwave as a quick proofing box. It creates a warm, draft-free environment without special equipment.
Using Your Microwave as a Proofing Box
The microwave provides a warm, humid, and draft-free environment ideal for proofing dough.
Step-by-Step Instructions
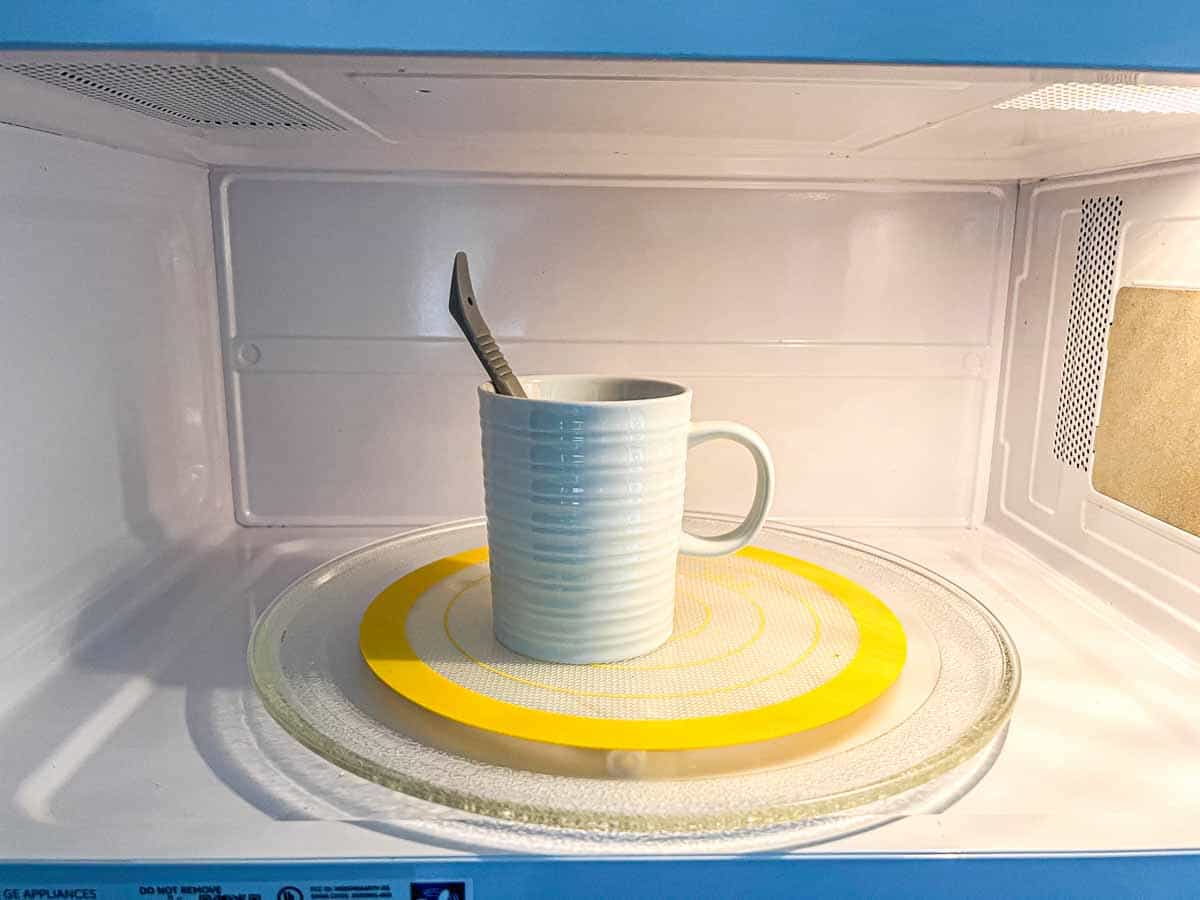
- Heat a cup of water in the microwave on HIGH for 2 minutes.
- Leave the mug in one corner of the microwave.
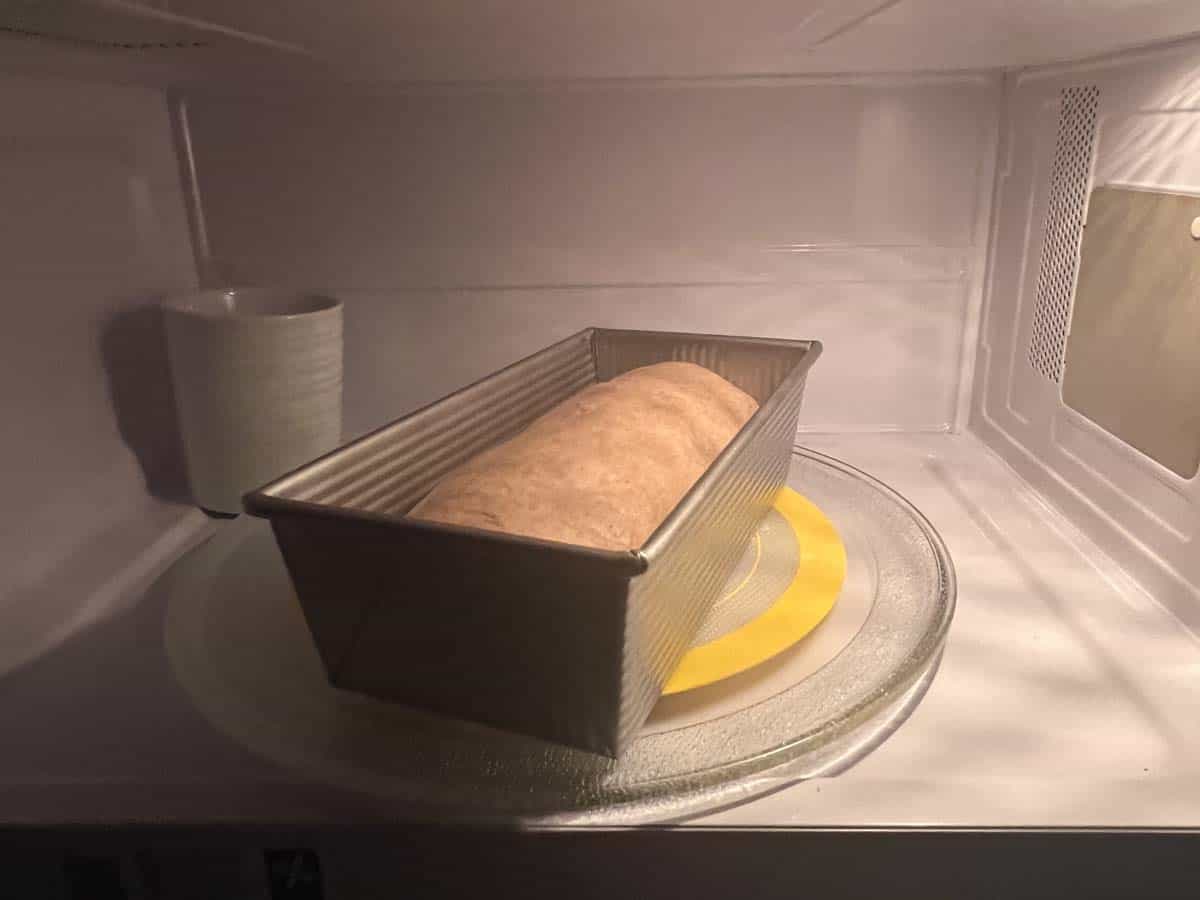
- Place your uncovered dough inside the microwave and close the door.
- Do not turn on the microwave with the dough inside.
Cautions When Proofing Dough in a Micowave:
- Avoid Superheating Water:
- Superheating can cause water to erupt when disturbed. To prevent this, place a silicone spatula in the cup while heating.
2. Watch for Overproofing:
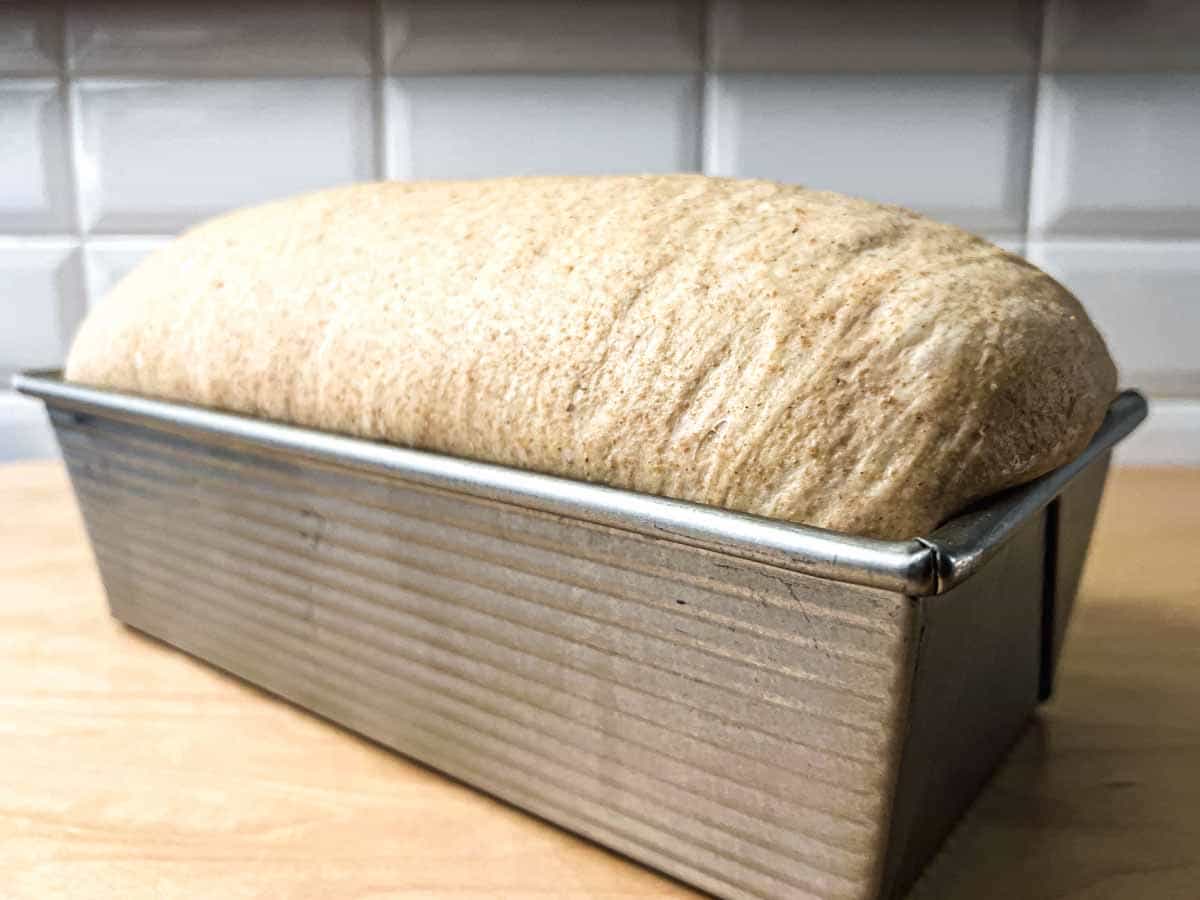
- A steamy microwave can accelerate proofing. Check the dough regularly and set a timer to avoid overproofing. (It’s easier to forget about your dough when you don’t see it sitting on the counter.)
Don’t Use the Microwave to Heat the Dough
Some bakers recommend using LOW power to speed up rising, but I don’t. Slow, natural fermentation develops better flavor and texture.
A long, slow rise imparts the best flavor to yeast bread. When possible, don’t rush it.
–a paula-ism
Final Thoughts
The microwave proofing-box method is one of the simplest ways to help dough rise in a cold kitchen. Just remember to check the dough regularly—warm, humid conditions can speed up proofing more than you might expect.
— Paula, Home Economist
Homemade Food Worth Sharing
Need help troubleshooting?
Email me: Paula at saladinajar.com — photos help!

I also use the microwave, but in a different way. However, I will surely try the hot water method 🙂
Cool! Great article!
I have a bread proof cycle on my
oven. We have below zero temperatures right now. I put boiling water in a pan on the bottom rack of the oven and put the bread proof cycle on. The bread rises without any problems.
Hi Jill,
Nice to hear from you again. Thank you for adding to the conversation. The boiling water in a pan inside your oven is a great idea to increase the humidity.
Paula, thank you so much for all of your wonderful tips. I am relative new to baking bread and have had so much fun from your recipes. I made the pretzel rolls last week. They were so easy and turned out great!
Your recipes have been easy to follow and I am having so much fun. Never let it be said that at 80 you cannot learn new things!
Hi Judy,
If I make it to your age, I hope I have the same thirst for new adventures in the kitchen that you have. Thank you for taking the time to write such kind words about my recipes. Have a great week!
I enjoy making all kinds of bread. When I need to bulk rise my sourdough bread or even after I feed my sourdough starter I place it on my instant pot trivet (it’s high and stainless steel) and put it on my cooktop warming center. This allows it to rise but not be exposed to direct heat! It’s been a good solution for my cool kitchen. I do keep the hood light on as well so it’s getting warm from both directions. Keeping it in a clear glass bowl and marking it has helped too.
Hi Lindsay,
This is a brilliant idea. I use my instant pot trivet for cooling bread but never thought about it for rising. The hood light is another possibility I haven’t tried. That reminds me of how I keep sourdough starter warm by placing it close to my undercabinet lights. Works great. I had forgotten all about that until I read your letter.
Your tip about the clear glass bowl and marking it is also very smart.
Thanks so much for sharing.