How to Fix Overproofed Dough Mixed in a Bread Machine
Sneak Preview: Did your bread rise beautifully, then sink in the middle? It’s tempting to blame the recipe or the machine, but overproofed dough is often the culprit. Learn how to spot it, fix it when possible, and avoid the problem next time.
This post contains affiliate links. As an Amazon Associate, I earn from qualifying purchases at no extra cost to you.
If you’ve had the same thing happen, the dough probably rose too far before it was baked. Here’s how to recognize overproofing, rescue the dough when possible, and prevent it from happening again.
If you’ve had the same thing happen, overproofed dough is often the culprit. Here’s how to recognize it, rescue it when possible, and prevent it from happening again.
What’s Happening When Dough Overproofs
As dough rises, gas produced by the yeast stretches the gluten structure. If the dough rises too far before baking, that structure weakens and can collapse, leaving a loaf with a sunken top or poor texture.
What Causes Overproofing in a Bread Machine
Recipe-Related
- Too much yeast
- Dough too wet or sticky
- Salt reduced or omitted
- Flour substitutions or low-gluten flours
Environmental
- Warm room or warm ingredients
- High humidity
- Altitude above 5,000 feet
- Machine placed near a heat source or draft
Bread Machine Issues
- Leaving dough inside after the DOUGH cycle ends
- Machine was jolted or the lid was dropped during the rise cycle
Why Does This Matter to Bread Machine Users?
Bread machines follow a preset schedule, but dough doesn’t. Temperature, humidity, ingredients, and substitutions can all affect how quickly dough rises. If you want consistently good bread, watch the dough—not just the clock.
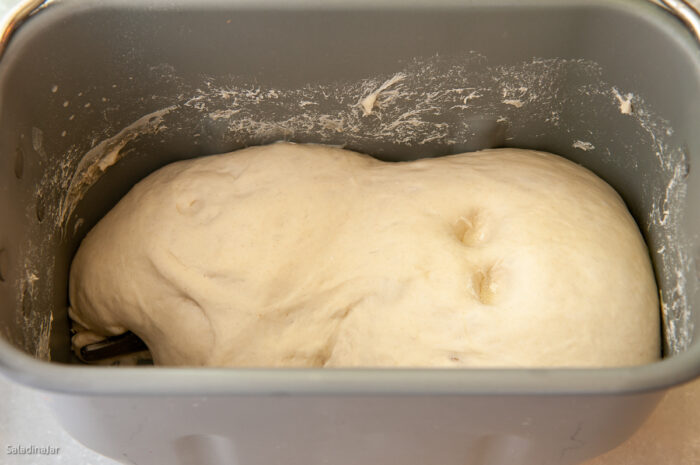
What Overproofed Dough Looks LIke
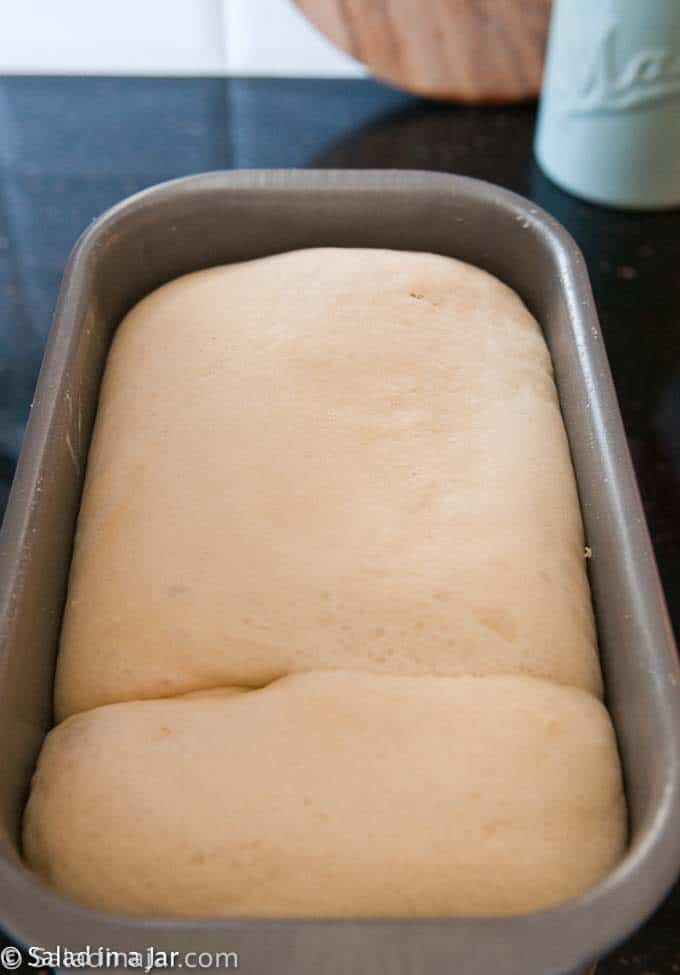
Watch for these signs:
– Dough has doubled (or more) in size
– Surface looks pale, puffy, or a little translucent
– Large bubbles are visible just beneath the surface
– The dough feels fragile and deflates easily when touched
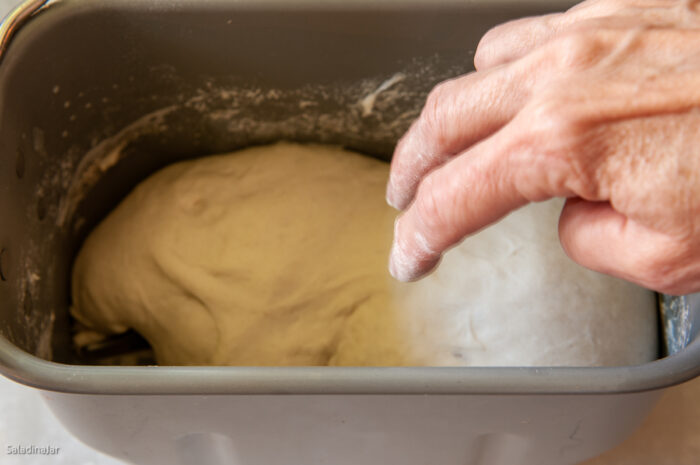
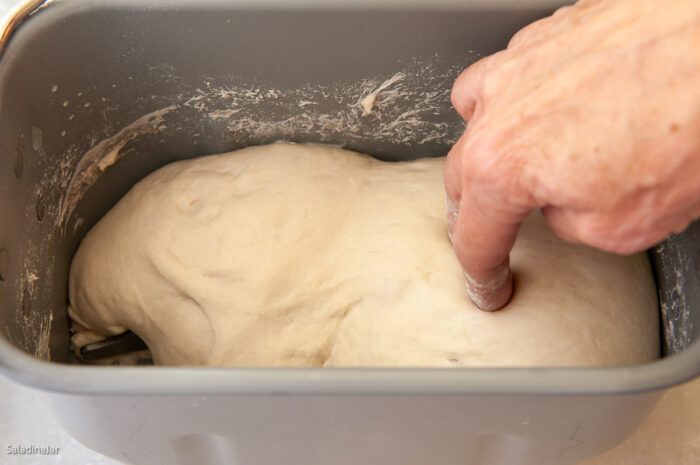
The Two-Finger Poke Test
– Dust two fingers with flour
– Gently press into the dough up to the first knuckle
– If the indentations remain or fill in very slowly, the dough is overproofed
– If they spring back quickly, it needs more time
Use this test near the end of the DOUGH cycle—especially in warm weather.
Can I Fix Overproofed Dough?
Sometimes you can rescue overproofed dough if it hasn’t completely collapsed.
1. Deflate the dough: Turn the dough onto a lightly floured surface and gently press out the excess gas.
2. Reshape: Form the dough into a loaf or other desired shape and place it in a greased pan.
3. Let it rise again: Cover and allow the dough to rise, checking after 15–20 minutes. It may be ready sooner than expected.
4. Use the poke test: When the indentation fills in slowly, it’s ready to bake.
5. Bake: For best results, bake in a conventional oven rather than returning the dough to the bread machine.
What to Expect If You Save It
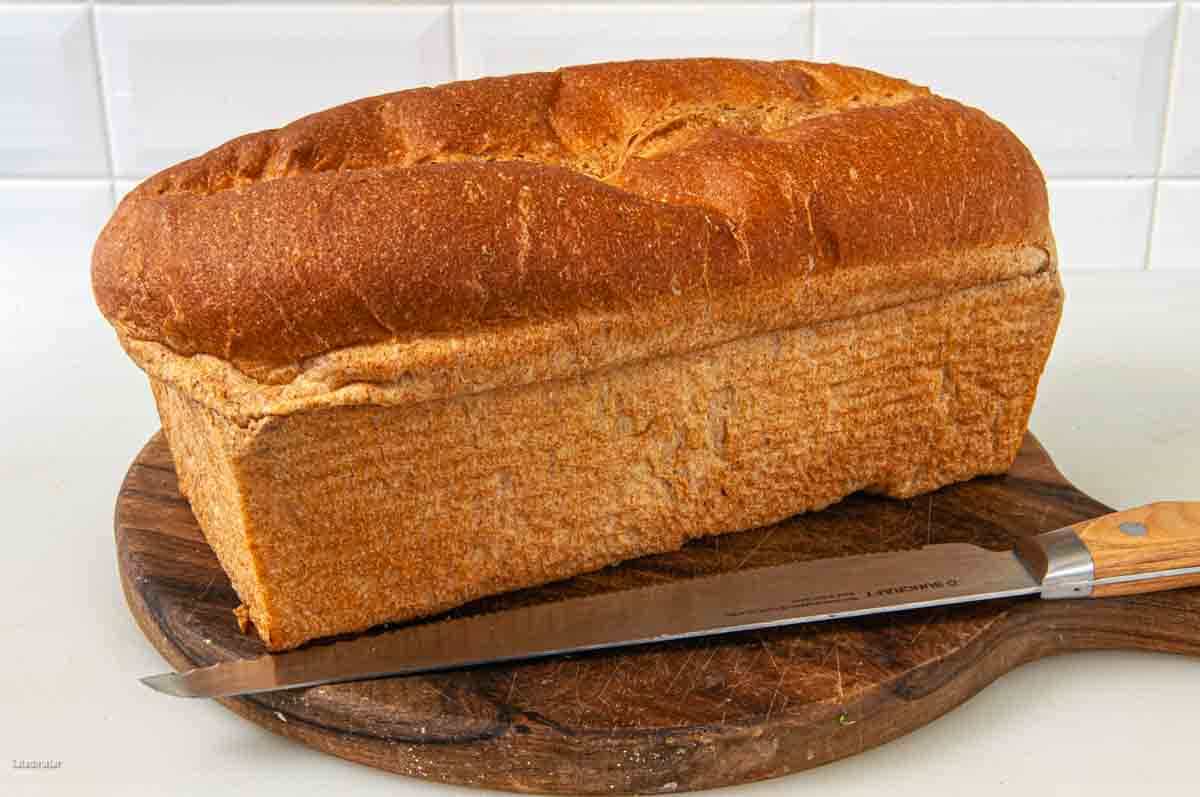
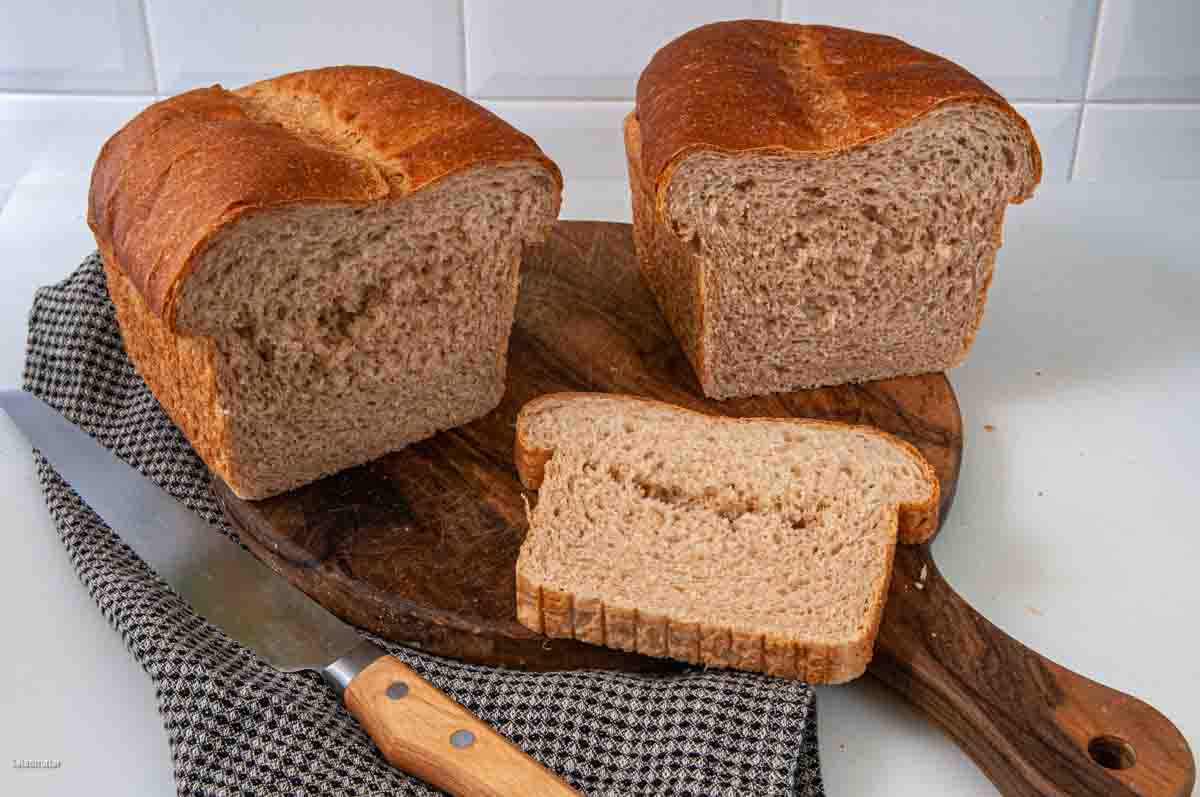
Rescued dough rarely bakes up as well as properly proofed dough. The loaf may have a paler crust, less flavor, and a denser texture, but it’s often still good enough for sandwiches, toast, or breadcrumbs.
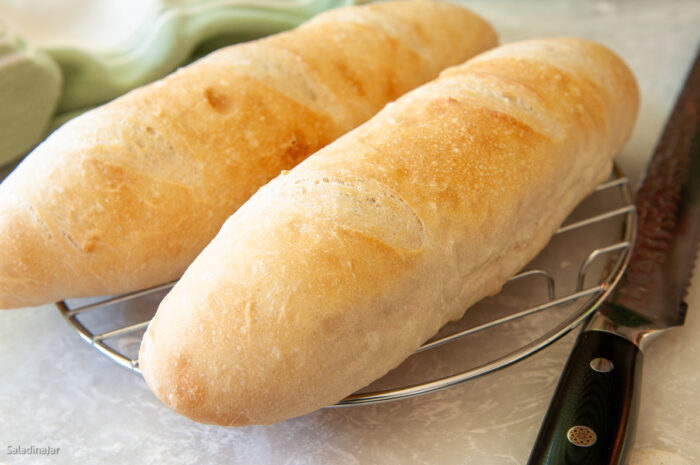
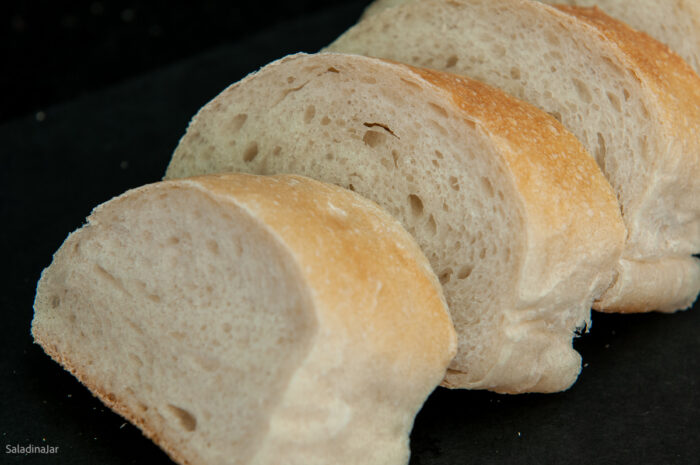
This loaf was intentionally overproofed, reshaped, and baked. Notice the pale crust and flatter appearance.
How to Prevent Overproofed Dough
1. Use the DOUGH cycle when possible
Using the DOUGH cycle gives you more control over shaping, proofing, and baking. It’s my preferred method for most bread machine recipes.
2. Monitor the dough
Check the dough twice:
- At 1 minute to make sure the paddles are engaged.
- At 15–18 minutes. The dough should stick to the sides, then pull away cleanly.
In warm weather, dough may double before the cycle ends. If that happens, remove it early.
3. Adjust hydration
Dough that is too wet tends to rise faster and overproof more easily. Adjust flour or water as needed while the dough kneads.
4. Reduce the yeast
If overproofing is a recurring problem, reduce the yeast by ¼ to ½ teaspoon and see if it helps.
5. Manage dough temperature
Warm kitchens, high humidity, and nearby heat sources can speed up rising. Keep the machine away from direct heat and use cool ingredients when the weather is hot.
6. Be cautious with substitutions
Changes to flour, yeast, or other ingredients can affect how quickly dough rises. Expect to make adjustments when experimenting.

Final Thoughts
Even experienced bakers occasionally overproof a loaf. The key is learning to recognize the signs and respond before the dough collapses. The more you watch the dough instead of relying solely on the machine, the more consistent your results will be.
— Paula, Home Economist
Homemade Food Worth Sharing
Need help troubleshooting?
Email me: Paula at saladinajar.com — photos help!

I’m trying to perfect a gluten free loaf in my bread machine (AND we live at 7,000 feet). Flavor is great but totally sucken top. I’m using 1 tsp of instant yeast. Should I scale back? From the article that seems like the best first step.
So nice to hear from you. Wow! You have taken on a challenge I have yet to conquer. I’ve never lived at a high elevation (and probably never will) and I’ve never made a decent gluten-free loaf in a bread machine. (Sounds like I’m playing that game about what I’ve never ever done). ?
But I’m guessing from what I’ve read, I would cut back on the yeast for sure and maybe the liquid (high hydration makes yeast grow faster). The sunken top is a sign your bread has over-proofed—that I know. This happens all the time to people who make regular bread and use the bread machine to bake their bread. This post is my solution for them. Making Bread Machine Dough and Baking It in the Oven: A Tutorial
Sorry, I don’t have a better solution for you. I try to stay in my lane and only do regular flour since that is what I know best.
Living in warm areas (Texas and now Florida) I like using the bread machine for the full cycle. Baking the bread in the machine means that the oven doesn’t heat up the whole house. However, it consistently overproofs. Using cooler liquids does help but I’m going to try adjusting the yeast some as well. Thanks!
Hi Charity,
Another idea is to put your bread machine pan in the refrigerator or freezer for a few minutes before you start to make the bread. If you have a preheat cycle, you might want to turn it off (if possible).
Really helpful explanation of what to look for when troubleshooting breadmachine dough. Thank you!
Hi Eric,
Glad it was helpful. That’s always my goal.
You’re welcome, Eric. Thanks for taking the time to write.