Cold Start vs. Traditional Yogurt: Time, Cost, and Taste Compared
Sneak Preview: Do you have to heat milk to make yogurt? This guide compares cold-start and traditional yogurt methods so you can see when heating milk matters, which method is faster, and how the texture, cost, and taste compare.
This post contains affiliate links. As an Amazon Associate, I earn from qualifying purchases at no extra cost to you.
Do you have to heat milk before making yogurt?
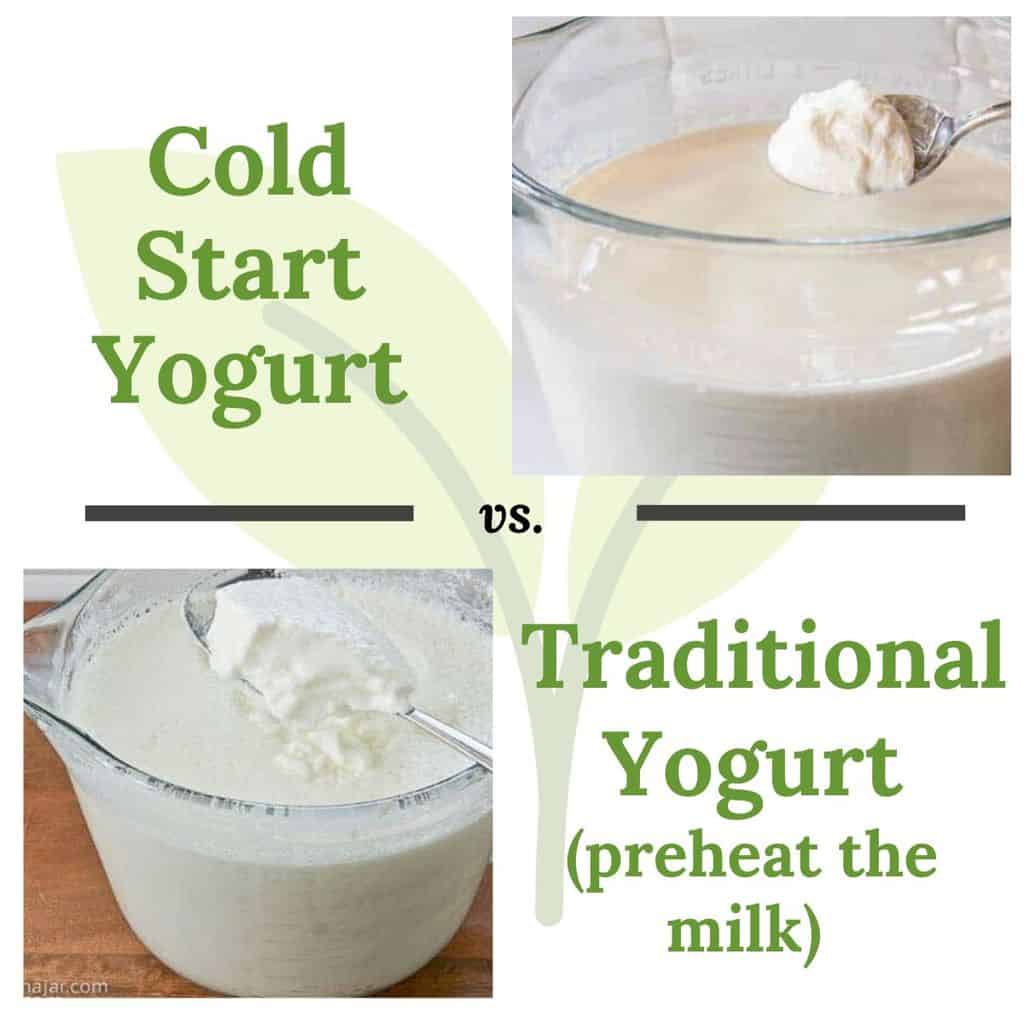
Not always. Traditional yogurt requires heating milk to about 180°F, then cooling it before adding the starter.
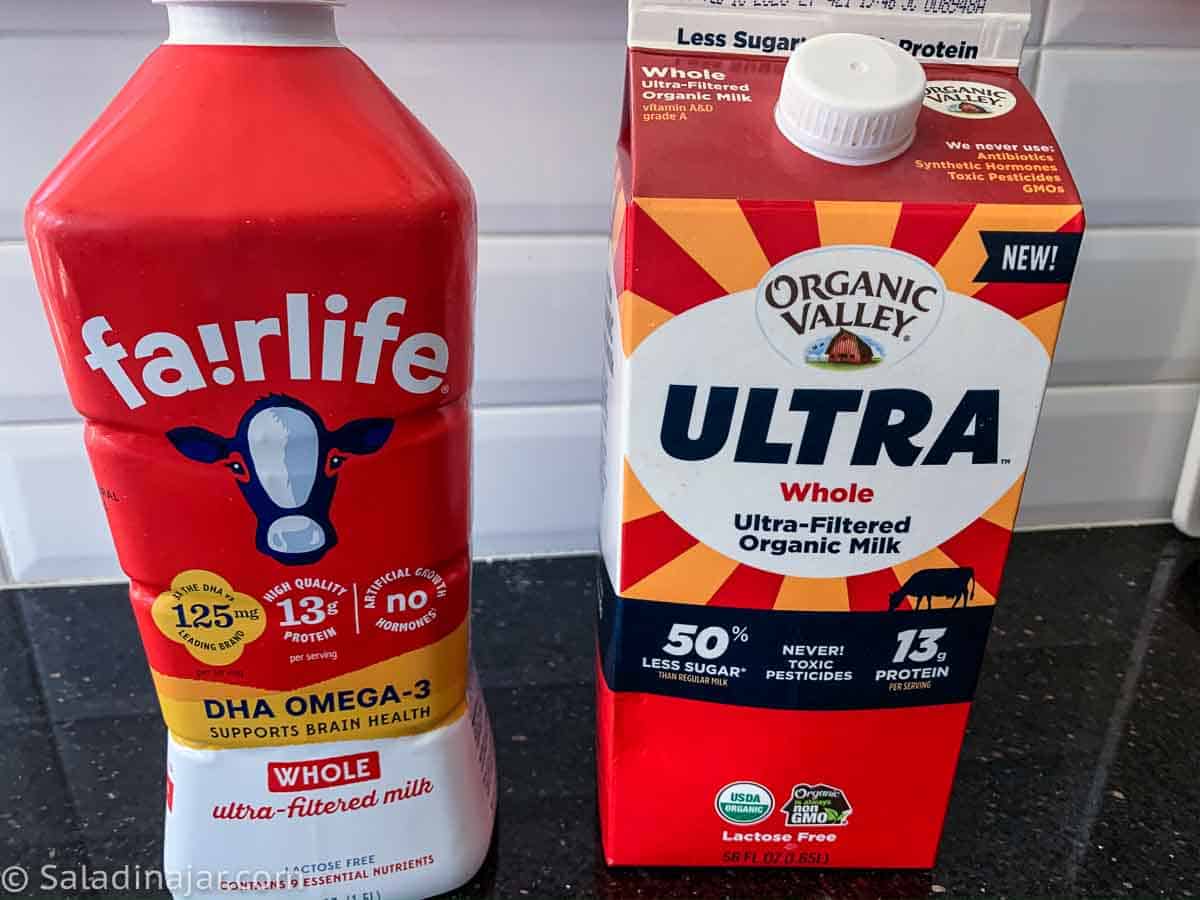
Cold-start yogurt skips the heating step entirely but requires ultra-filtered milk.
Both methods work. The main differences are time, cost, and the type of milk required.
Cold Start vs. Traditional Yogurt at a Glance
Cold Start: Ultra-filtered only (e.g., Fairlife, Organic Valley Ultra)
Traditional: Any dairy milk
Cold Start: No heating or cooling required
Traditional: Heat to 180°F, cool, then incubate
Cold Start: Ultra-filtered milk costs more
Traditional: Regular milk is usually cheaper
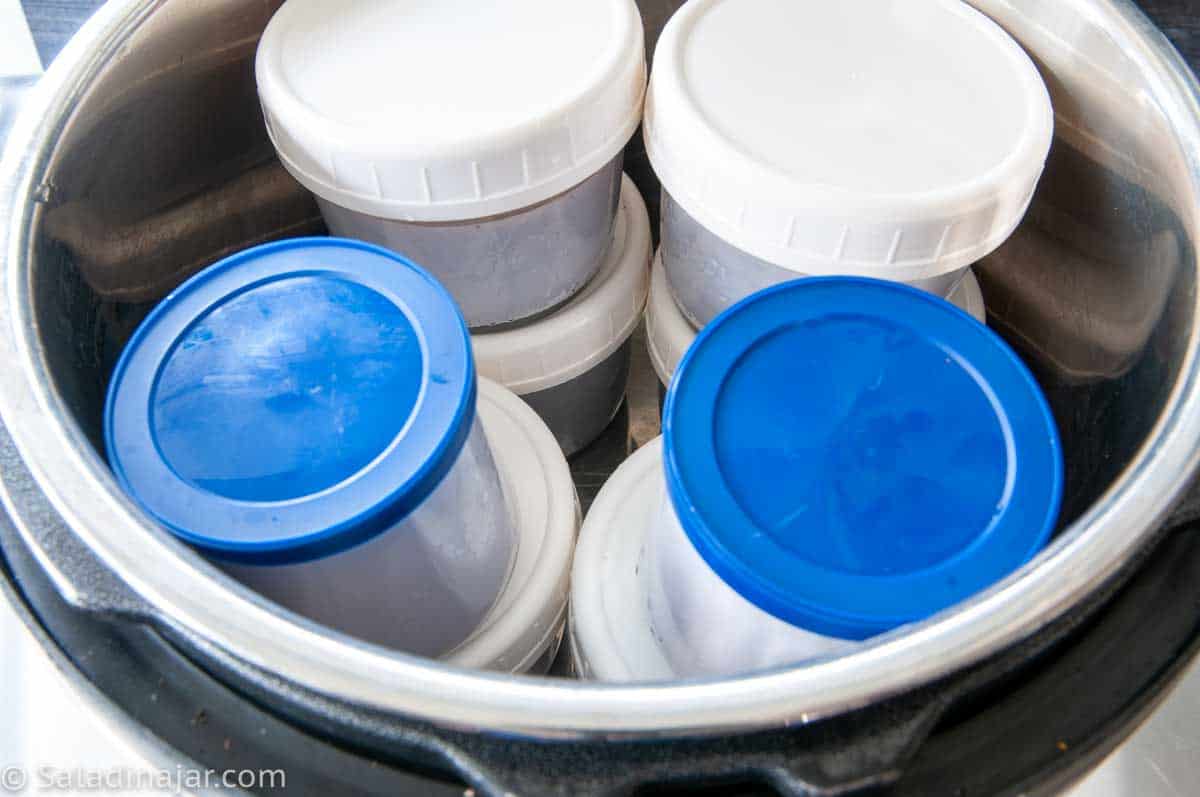
Cold Start: Container + warm incubator (Instant Pot, yogurt maker, warm oven)
Traditional: Same; any milk-heating method works
What’s the Difference?
- Traditional Method: Heat milk to 180°F (to rearrange the protein for thicker yogurt), then cool before adding a starter.
- Cold Start Method: Skip the heating step and go straight to incubation using ultra-filtered milk.
Both methods produce good yogurt—the difference is time, cost, and convenience.
Note: This post addresses yogurt made from dairy products. Making yogurt with nut or grain milk is a different game and a topic for another day.
What Ingredients Are Required?
Milk and Starter: What’s Different
Cold Start: Use ultra-filtered milk (Fairlife, Organic Valley Ultra). Some ultra-pasteurized milks may set, but results vary. Ultra-filtered and ultra-pasteurized aren’t the same—check the label.
Traditional: Works with any dairy milk, although ultra-pasteurized milk can be temperamental because many of the bacteria yogurt cultures prefer are reduced during high-temperature pasteurization.
Starter Cultures (both methods): Use the same types—plain yogurt (store-bought) with live cultures, freeze-dried starters, or homemade yogurt.
In the name of thorough experimentation, I once tried making yogurt with chocolate ultra-filtered milk.The result was yogurt with a somewhat softer texture than yogurt with unflavored milk. My grandkids loved it with Redi-Whip on top.
Time: Which Method Is Faster?
Cold-start yogurt skips the heating and cooling step, so you can begin incubation immediately. Traditional yogurt takes longer because the milk must first be heated to about 180°F, then cooled before adding the starter.
In practice, cold start saves about 45–60 minutes of hands-on waiting.
Cost: Which is Cheaper?
Ultra-filtered milk used for cold-start yogurt is usually much more expensive than regular milk. If you make yogurt frequently or in large batches, the traditional method is almost always the more economical choice.
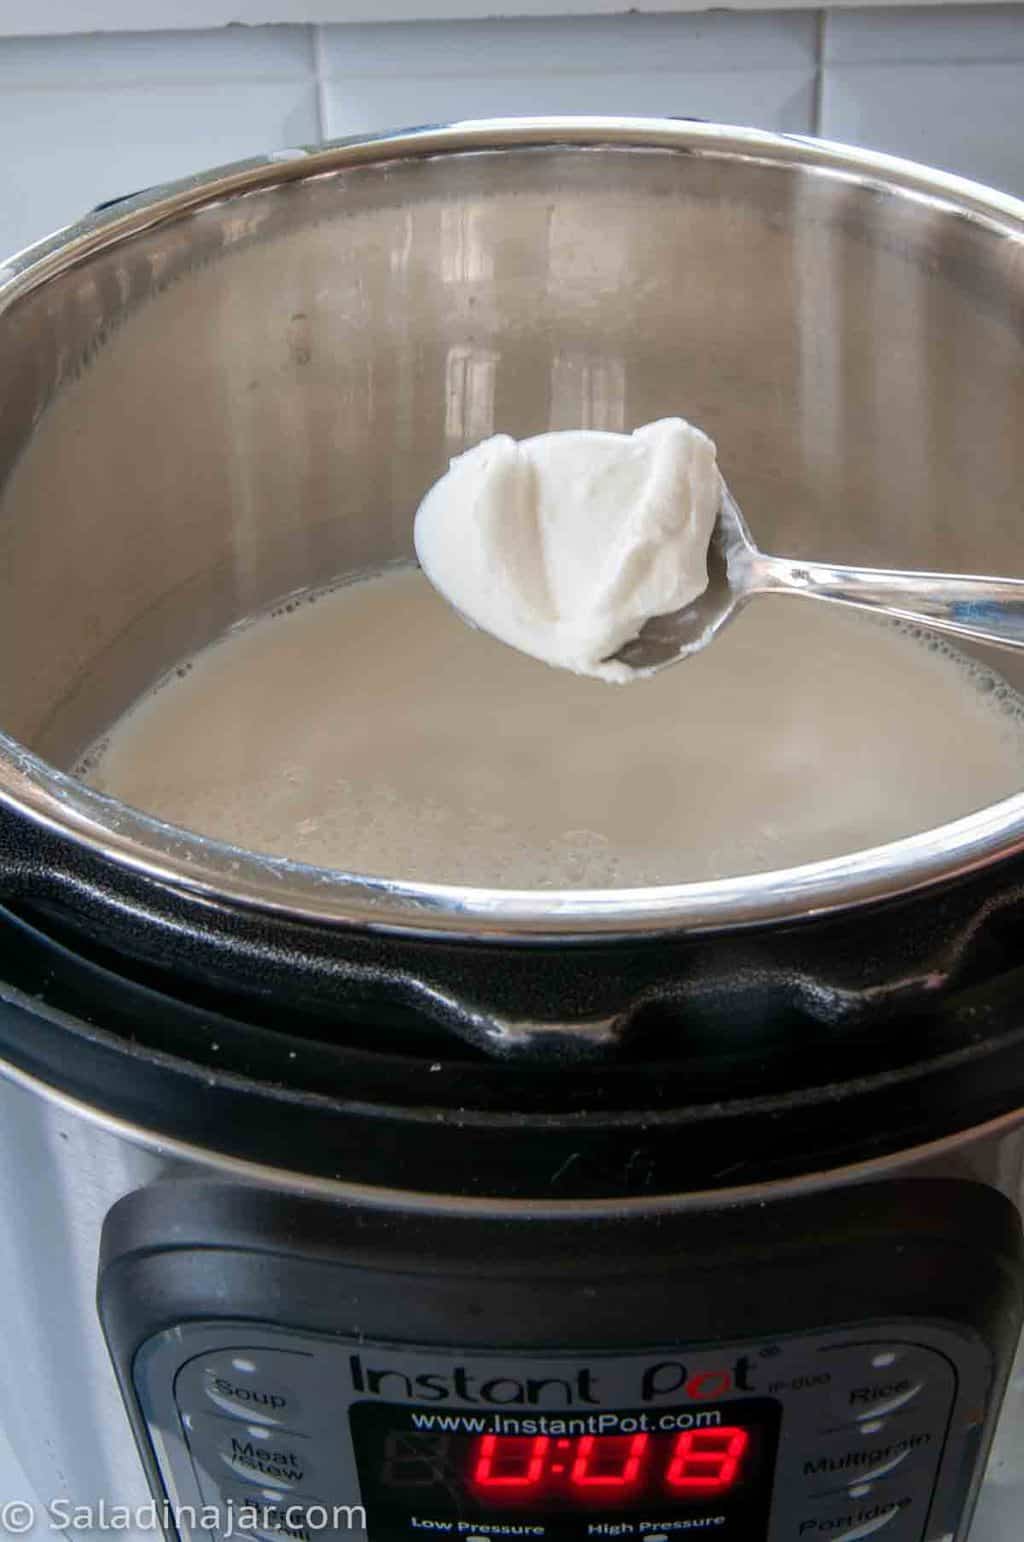
Cold Start Method: Watch How It’s Made
Watch how I make Cold Start Yogurt step by step:
Traditional Yogurt Method: Watch the Process
See the traditional yogurt process from heating to incubation:
Equipment: Do You Need Special Tools?
Both methods need a container and a warm place to incubate. Options include:
- Instant Pot (Yogurt mode)
- Yogurt maker
- Warm oven
No Instant Pot? Any heat-safe container will work as long as you have a way to keep the yogurt warm during incubation.
Texture & Taste
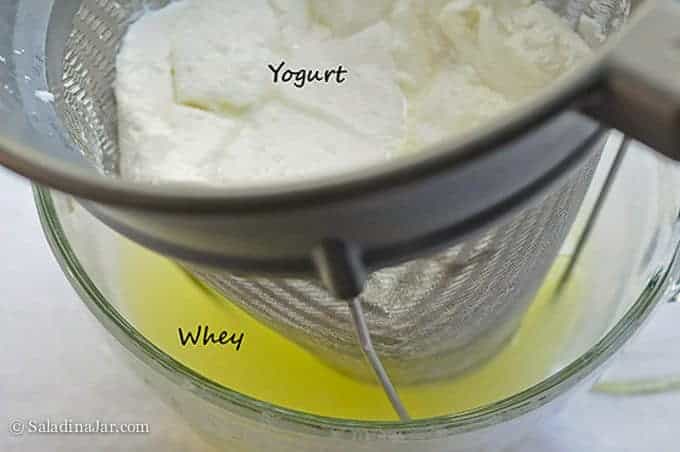
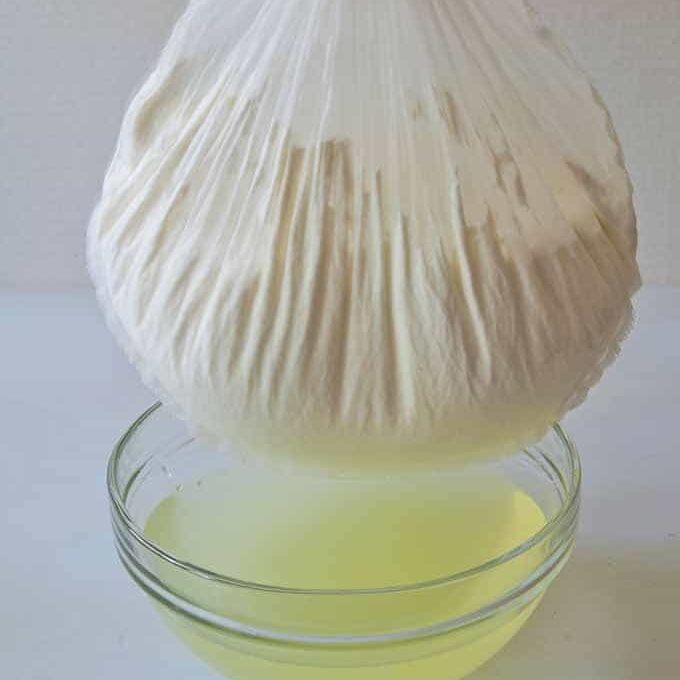
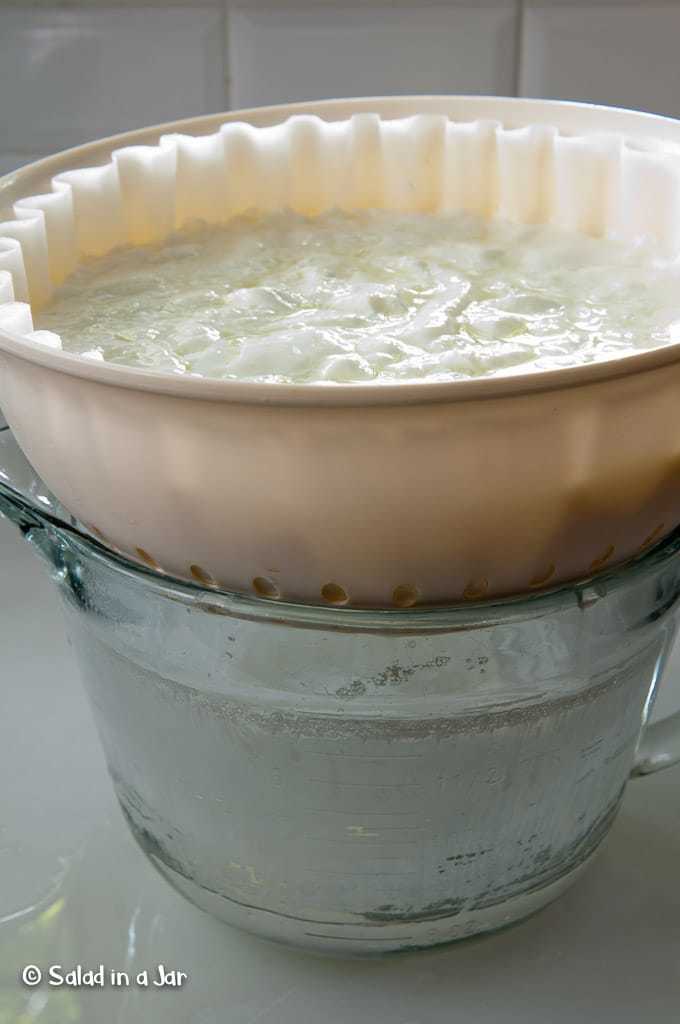
Both methods can produce creamy yogurt. Thickness depends more on milk fat, incubation time, and whether you strain the yogurt afterward than on the method itself. A longer incubation produces tangier yogurt with either technique.
Milk Skin: A Cold Start Advantage
Traditional yogurt can develop milk skin when cooling. Cold start avoids this issue entirely since the milk isn’t heated.
Conclusion
Both methods make spoonable, delicious yogurt. The trade-offs come down to convenience and cost:
• Traditional: Budget-friendly and works with any milk, but takes longer.
• Cold Start: Faster and easier, but requires pricier milk.
Which Method Is Right for You?
✔ Want to save time? Cold Start
✔ Watching your budget? Traditional
✔ New to yogurt-making? Cold Start
Final Thoughts
If you still can’t decide, try both. If you’ve never made yogurt, check out Five Things you Should Not Do When Making Yogurt.
— Paula, Home Economist
Homemade Food Worth Sharing
Need help troubleshooting?
Email me: Paula at saladinajar.com — photos help!

I and many others have an additional option. i use powdered milk to start. Mix as per the instructions or make it with a bit more milk powder. Then just use as for cold milk start. Great yoghurt and not more cost.
Hi DJ,
Thanks for mentioning that. Some people do like making yogurt with powdered milk because it’s shelf-stable and convenient. I tend to use fresh milk for my recipes, but it’s great for readers to hear about other options that work well for different kitchens.
One of the best yogurt making posts I have read! I do have a question though.
I use Fairlife milk and the cold start method. I add a can of sweetened condenced milk and my 1/8 cup of starter and let ferment for 8 hours (in yogurt setting in Instant Pot with glass lid).
More times than not, the finished yogurt has a very thick skin on the top that creates large clumps in the yogurt after being stirred. The amount of whisking it takes to smooth them out, destroys the proteins and thins the yogurt terribly.
Why is this happening (and why only sometimes) and how can I prevent it?? It is really unpleasant.
Thanks in advance! ?
Hi Lisa,
Thank you for your kind words about the article.
I don’t recommend adding anything but an unflavored starter to your milk before incubation. Although I haven’t specifically tried adding sweetened condensed milk before incubation, in my experience, adding any flavorings or thickeners can mess with the texture. What you describe sounds rather unappetizing. Can you add the milk after the yogurt is incubated?
I use ultra-pasturized milk to make my yogurt, and it sets perfectly. I use a cold-start method w/a sous-vide bath. I’ve tried this with a few different organic ultra-pasturized whole milks, and the results have been consistent. I just checked my carton, and it does not say ultra-filtered.
That’s great! Whatever works for you, keep doing it.
Fairlife jugs have 1.5 liters of milk (see the front label), not 1, as you state. This means it’s not quite as expensive as using regular milk, which is sold in 1-quart (1.06 liter) jugs. Nice, huh?
Hi Catherine,
You are right about the Fairlife jugs being 1.5 liters. However, I can buy my favorite pasteurized milk that I use for yogurt–a whole gallon, for the same amount as a carton of Fairlife. A gallon equals 3.78 liters. Both are 4 dollars and some change. Maybe it’s different where you live.
I bought an extra 3 quart Instapot just for yogurt. No chance it will taste like Mac and cheese. As I am pretty much homebound I have time for hot start and cool down. I like My yogurt sweeter than regular (and am trying to put on a little weight) so I add a can of condensed milk right after the cool down. And maybe a dash of vanilla. My breakfast with fruit and bread from my Zo machine. Yogurt and bread shared with new neighbors across the street.
So that’s my preference in go-to yo.
Judy. Greetings from Mt Vernon, Texas
Hi Judy,
I thought about you when we drove through East Texas on our way home about a month ago. Sounds like you’re doing great. I think your yogurt may be against the law with a can of condensed milk in there. WoW! I can only imagine how delicious it is.
Since I use my Instant Pot to make yogurt, I cool the milk after heating it by sticking the inner pot inside a Dutch over that is half full of ice cubes. I whisk it and let it sit for 9 minutes. Then I take it out of the ice bath and let it sit on the counter for another 9 minutes. At that point, it has reached approximately 110°. So only 18 minutes to cool!
Hi Diane,
I like your method. Quick with no extra dirty dishes. Brilliant!!
Excellent post Paula. I got here today when researching the cold start method of making yogurt after recently watching how to make homemade yogurt on the Mary’s Nest YouTube channel. Mary mentioned the cold start method, but she hasn’t publicly published a recipe yet.
Hi Kurt,
Thank you for your kind and encouraging comments. Cold start is easier but in my area, I would have to pay double to get the right kind of milk. It’s not worth it to me, but it is worth it to many people.
Do you know how many generations are possible with homemade yogurt as your starter?
Hi Cindee,
That is a good question. The answer is not clear cut. The experts(?) say 3-4 times is the max before you buy new yogurt to use as starter. In my own experience, you can get many more batches than that if you want to take your chances. I’ve gone for months before I got a bad batch. I talk about starters in detail in this article about slimy yogurt. You might find it interesting. Hope it helps.
FYI: I have started using a “traditional” starter so I don’t have to buy yogurt anymore. It works out great as long as I make yogurt at least every 7-10 days.
More good info to know. Thank you Paula.
Great post! Now, thanks largely to your advice, I’ve made my second, successful batch of cold start yogurt. I think my cold starts are every bit as good as my previous hot start batches. But the ease of the cold starts make them my choice from now on. Either method produces yogurt that’s better than any commercial products I’ve tried. I use an Instant Pot for both. Before, I typically ate Brown Cow, Aussie, and other whole milk organic products. As I typically add homemade jams/preserves/syrups to my yogurts, the lower sugar contact of the U/F whole milks doesn’t seem to affect the outcome. So far, I’ve used Cultures for Life’s Traditional starter, and will try their Bulgarin next. I’ll also try YoGourmet’s starter, which produced more of a Greek yogurt in my hot starts.
For the cold start yogurts, I pour 1 C. water in the Instant Pot and place 5, 8-ounce jars in the pot, each with 6 ounces of cultured milk. I then set the IP for 8.5 hours. Those Oui jars look interesting. I know that the Oui yogurts are packed 5 ozs. in weight to the jar, but do you know how much they hold in terms of fluid ounces? Thanks!
Hi Jimmy,
Thanks for your kind words. I love the Oui jars, especially since I found the blue plastic lids. If filled to the very top, they will hold 5.4 oz. or very close to 5/8 of a cup.