5 Things You Should Not Do When Making Homemade Yogurt
Sneak Preview: Read about these five common homemade yogurt problems and mistakes beginners often make. I hope you will be inspired to try again.

As an Amazon Associate, I earn from qualifying purchases.
Avoid common homemade yogurt problems and mistakes by learning from mine. I’ve made every one of these myself. I know that doesn’t make me the expert. However, homemade yogurt is addicting, so I continue to make it almost every week as I have for the past 10+ years.
Homemade yogurt is a team project, like a farmer who works the ground, plants the seed, then prays for a good crop. You don’t have complete control. You must set up the banquet hall correctly and provide the food.
When dinner is ready, the little yogurt bodies enter the dining hall to eat and procreate. If they’re not in the mood because they don’t like the temperature or the menu or are too old for such foolishness, they will either croak or go to sleep.
The result? Milk.
When, not if, that happens, don’t let the disappointment discourage you. Nearly all yogurt makers have experienced it, including me.
This is not a comprehensive guide to making yogurt or a troubleshooting manual. Instead, I learned these lessons from over 20 years of experience with homemade yogurt problems.
Happy Cooks Speak Up
Thanks for this page, Paula. I came here looking for the answer to a question and pretty much found it in your comments–CHARLES W
If you’ve already run into trouble or need help with the details, check out the related information linked at the end of this article for your convenience, or shoot me a question in the comments.
#1
Don’t be overly anxious.

Readers often report sleepless nights anticipating a successful batch of yogurt. It’s understandable.
I remember how exciting my first attempt was. However, waking up to check on your incubating yogurt like it was a sick child with a fever is unnecessary.
Resist checking the yogurt every 30 minutes to see if it’s “done” yet. Jostling or moving the bowl will most likely spoil the process.
After 4-6 hours, shaking the bowl ever so gently is OK. Watch for a gelatin-like jiggle.
If a slight shake causes a splash (of the milk, not just the clear liquid sitting on top), apologize for interrupting. Excuse yourself for another hour or two while the yogurt bacteria multiply.
Along the same line, NEVER STIR or disturb your incubating yogurt before it has set. Pouring it into a strainer or another container stops the incubation process. Again, you have no choice but to use it as is or try again with more “starter.”
#2
Don’t use slightly old milk.
Using slightly old milk to make yogurt is not a suitable way to salvage it. The fresher the milk, the better the taste. The finished yogurt will also last longer.
Homemade yogurt will stay fresh in the fridge for at least two weeks. However, if you plan to use your homemade yogurt to start another batch, it should not be older than 7-10 days for the best results.
#3
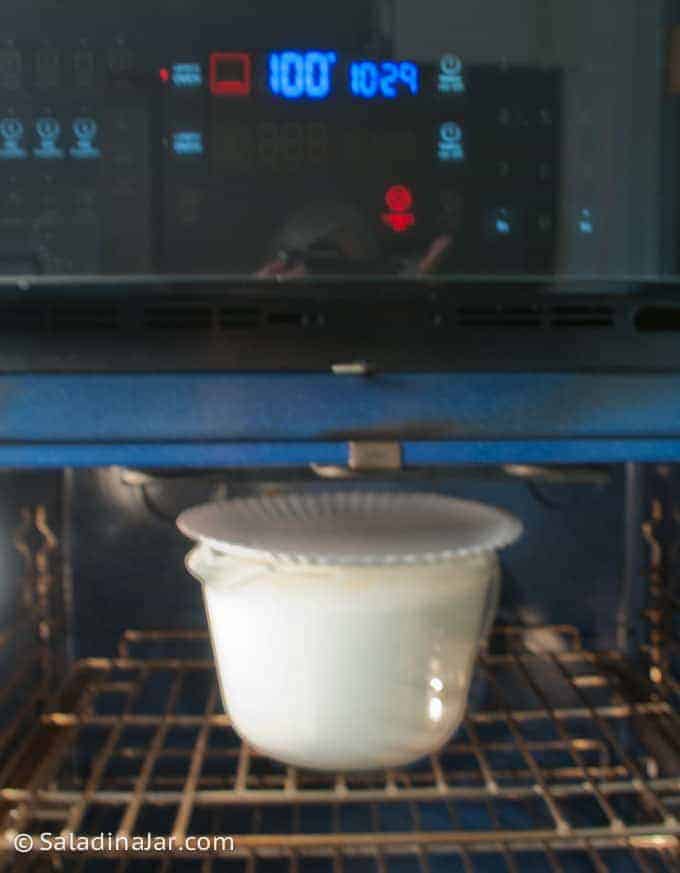
Don’t Incubate Yogurt in Your Oven Immediately After Using It for Baking Dinner.

Doing so can lead to the mass murder of yogurt microbes and the sudden cancellation of your yogurt project. You might be surprised how long it takes a 400˚F oven to cool down to 100˚F.
It might be safe to use the second oven if you have a double oven, depending on how well your oven is insulated.
If this happens, read this post about how to salvage a batch of unsuccessful yogurt.
#4
Don’t Skip the Heating Process Just Because You Are Using Pasteurized Milk.

I don’t completely understand the chemistry. However, heating milk to 175-180˚F rearranges the proteins in a way beneficial to yogurt bacteria. Thus, the heating process is not primarily to kill bacteria in the milk, as some would suggest.
Skipping this step will result in thinner yogurt that is more suitable for drinking.
If you don’t want to heat your milk, try this cold-start process for making yogurt. It is much easier.
#5
Don’t Eat Every Last Drop of Your Precious Yogurt.
I know it’s hard to stop. But save a few tablespoons to use as a starter for your next batch. Do it before you add any flavoring or sweeteners. Then, hide it behind the broccoli so nobody will eat it.
Usually, you can make 3-4 batches before you start over with store-bought yogurt. However, traditional yogurt starters (paid link) for sale online are reusable for a much longer time.
Read more about yogurt starters for homemade yogurt here.
Are you looking to tweak your method of making Greek yogurt? Don’t miss my video showing one way to do it.
Bonus tip:
Can I Freeze Yogurt To Use as a Starter for My Next Batch?
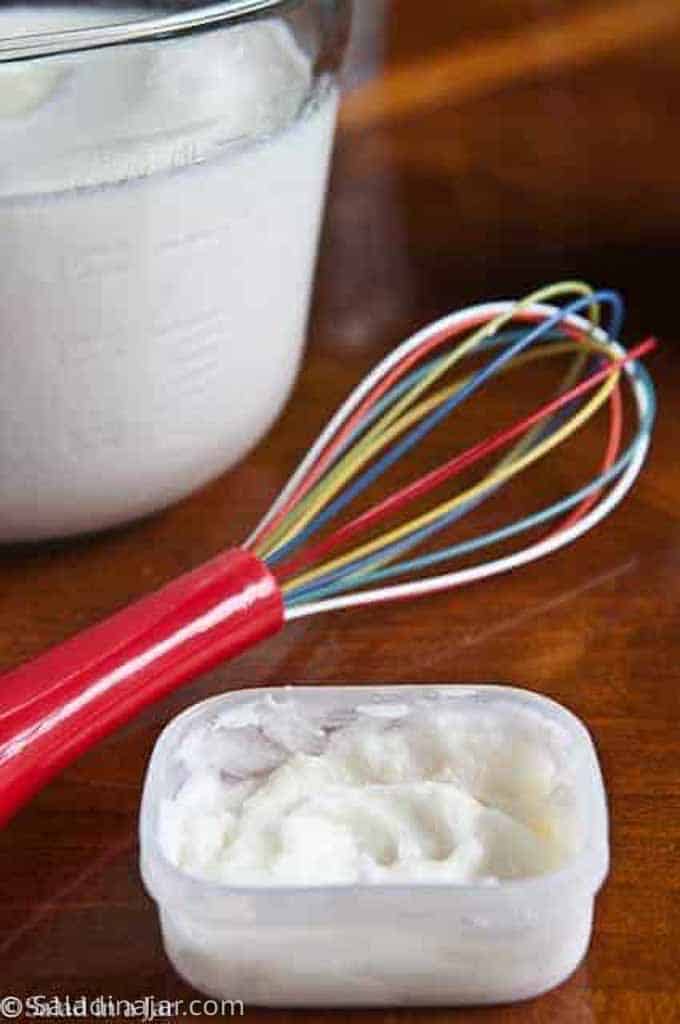
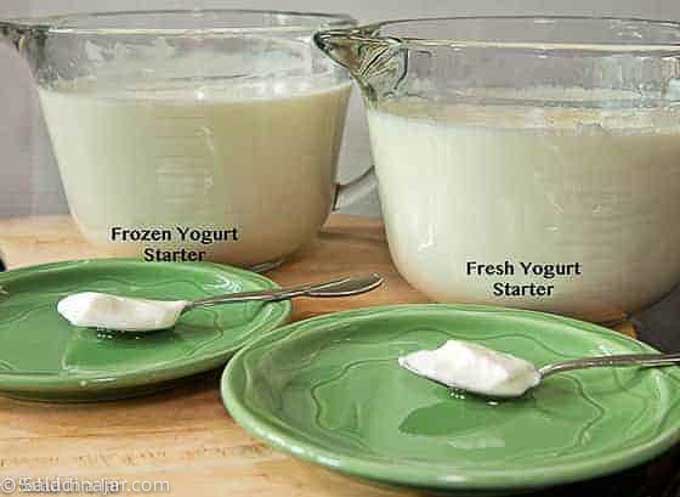
Put about 1/4 cup of your (unflavored) freshest homemade yogurt in a small plastic container. Placing it in your freezer and saving it for a rainy day is a good idea.

Think of this frozen yogurt as an insurance starter for the day you forget and accidentally eat the last yogurt, go on vacation, or need a break but don’t want to give up the idea forever.

I tried it several times and could not tell the difference between using my t
Admittedly, I have not extensively tested how LONG one can keep it in the freezer. However, It should keep at least one or two months, based on my experience. (Update: Throw it out after three months.)
Parting thoughts: If you have a cautionary tale gleaned from your yogurt-making experience, I would love to hear about it in the comments.
If you have questions or suggestions, email me privately for a quick answer: Paula at saladinajar.com. Hope to see you again soon!


Paula Rhodes, owner
As a retired home economist, I created Saladinajar.com to share my belief that you don’t have to be a chef to find joy in creating homemade food worth sharing. Bread machines (used in an unconventional way), homemade yogurt, and quick microwave recipes are my specialty.