Easy Espresso Ice Cream Recipe (Uncooked)
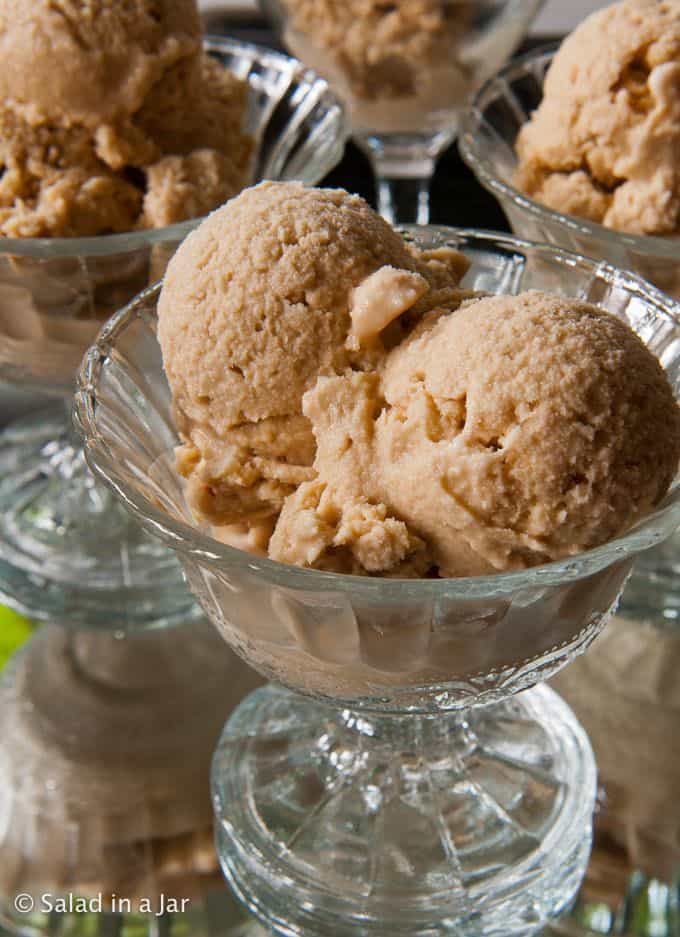
Sneak Peek: This easy Espresso Ice Cream Recipe is a simple, uncooked recipe that makes about 1 qt. I like to make it in a Donvier Hand-Crank Freezer, but you could just as easily use an electric freezer. If you love coffee-flavored desserts, it’s addictive!
As an Amazon Associate, I earn from qualifying purchases.
Are you a coffee or espresso ice cream lover? Have you tried making it yourself? If you have a small-batch ice cream maker (1-quart), this recipe is simple and easy to mix up at home.
Five Reasons Why You Should Add This Recipe to Your Ice Cream Collection
- You don’t have to separate eggs (use the whole egg, not just the egg yolks), make a custard, or cook anything with a double boiler.
- You also don’t have to make espresso since the recipe calls for instant espresso powder.
- All you need is a whisk or portable mixer and a small bowl, along with an ice cream freezer.
- This recipe is written for a small quart-size ice cream freezer like the Donvier, but you can use any of the smaller electric ice cream freezers instead.
- The flavors are pure and rich: Cream, espresso, and sweetness.
Ingredients and Substitutions
- SUGAR: Use granulated sugar. I can’t recommend any substitutions.
- EGGS: I use large eggs in all my recipes. The eggs do not need to be at room temperature. If you are not comfortable eating raw eggs or are serving immuno-compromised guests, use pasteurized eggs or pasteurize them yourself.
- MILK: Whole milk is best, but I often use 2% milk. Using milk with less fat will result in ice cream that doesn’t taste as rich and freezes too hard.
- SALT: A pinch of table or sea salt is all you need to bring out the flavor.
- HEAVY CREAM: Heavy cream or heavy whipping cream makes the best ice cream.
- INSTANT ESPRESSO POWDER: This is the magic ingredient. Look for it in the coffee and tea aisle of your supermarket.
- VANILLA: Pure vanilla extract is my first choice.
How to assemble espresso ice cream
- Mix the sugar and eggs in a medium-sized bowl until the sugar is dissolved and the eggs are lightly colored.
- Add the milk, salt, vanilla extract, and instant espresso powder. Mix well.
- Stir in the heavy cream just until combined. Don’t overmix.
- Chill this mixture for at least 3-4 hours or overnight.
- Pour the chilled mixture into the frozen ice cream freezer and churn as shown below.
Have you recently come into a small Donvier hand-crank ice cream maker? I see them all the time at thrift stores. Or maybe you inherited one. In case you don’t have access to the manufacturer’s instructions, I’ve provided pictures and directions below.
How To Use a Small Ice Cream Maker for This Recipe
Any small electric ice cream freezer will work. The one shown in the pictures below is a hand-crank model (Donvier). It makes ice cream as good as an electric model.
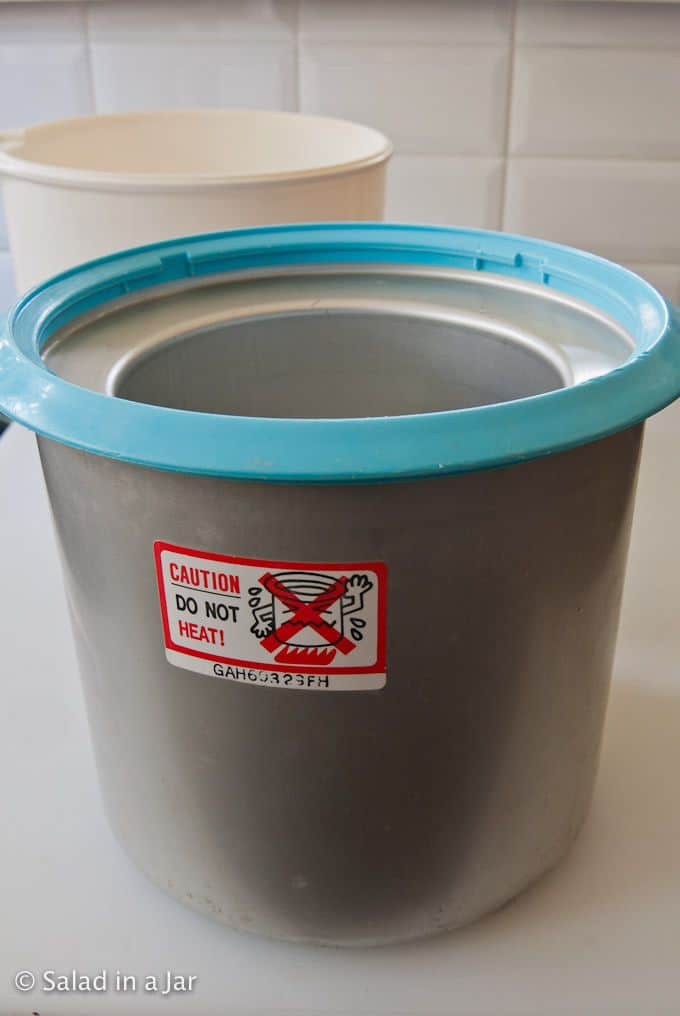
Store the inner liner in your freezer or place it in your freezer for a minimum of 12 hours. If it doesn’t freeze hard, it’s possible that someone has run it through a dishwasher. In that case, you will need to find a replacement. There’s no fixing it.
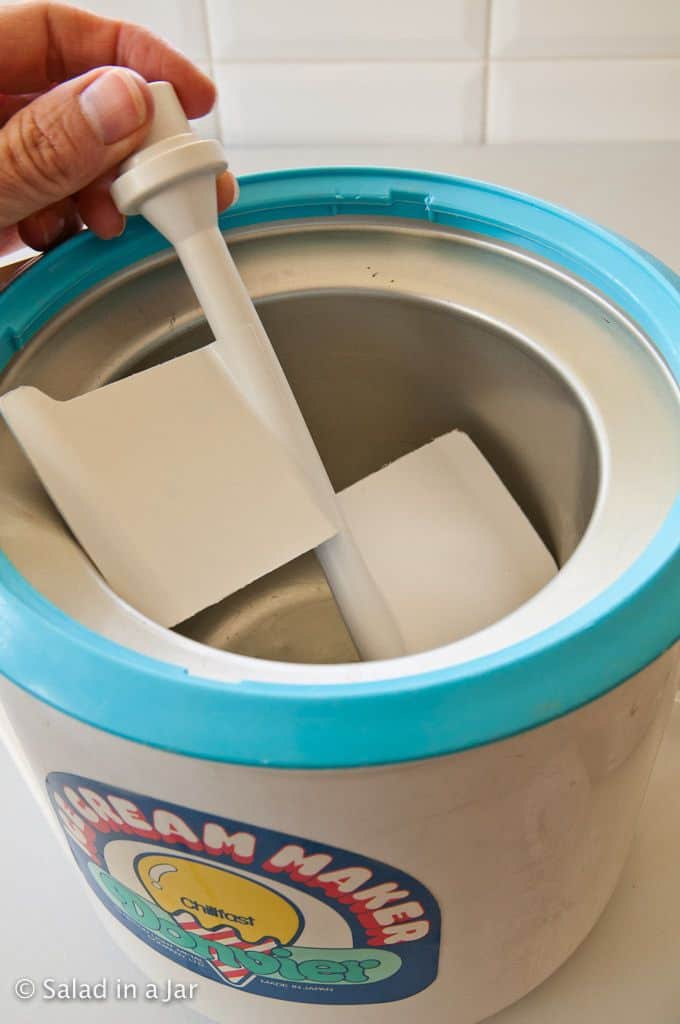
Insert the paddle and pour it into a chilled ice cream mixture. It’s important that the milk mixture has been chilled in the fridge for at least 3-4 hours.
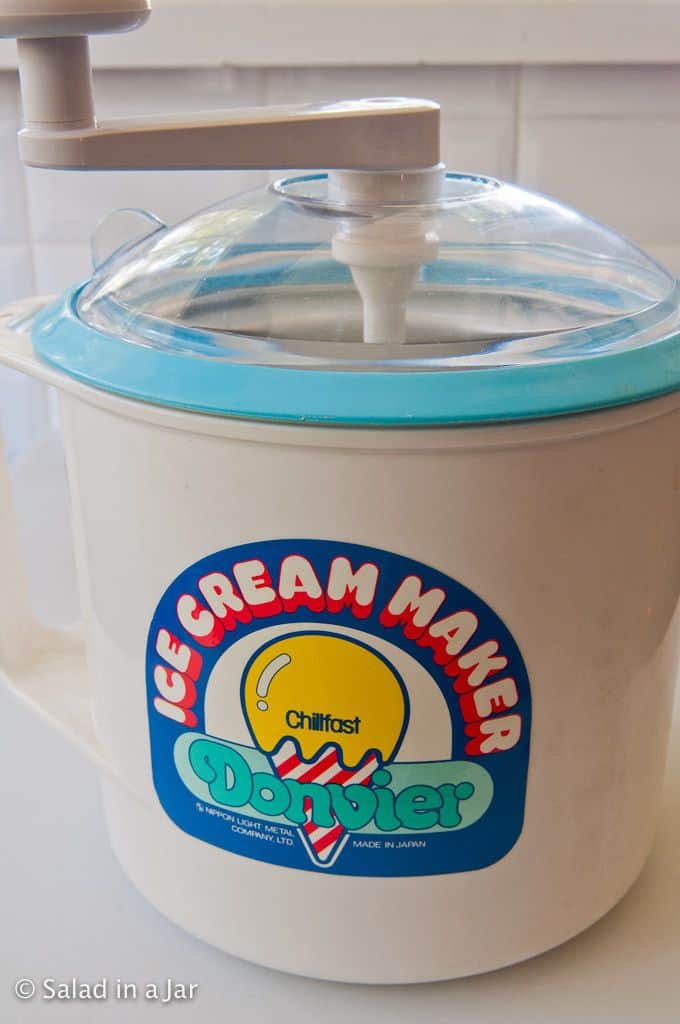
Put the lid on and turn the paddle to churn the ice cream mixture.
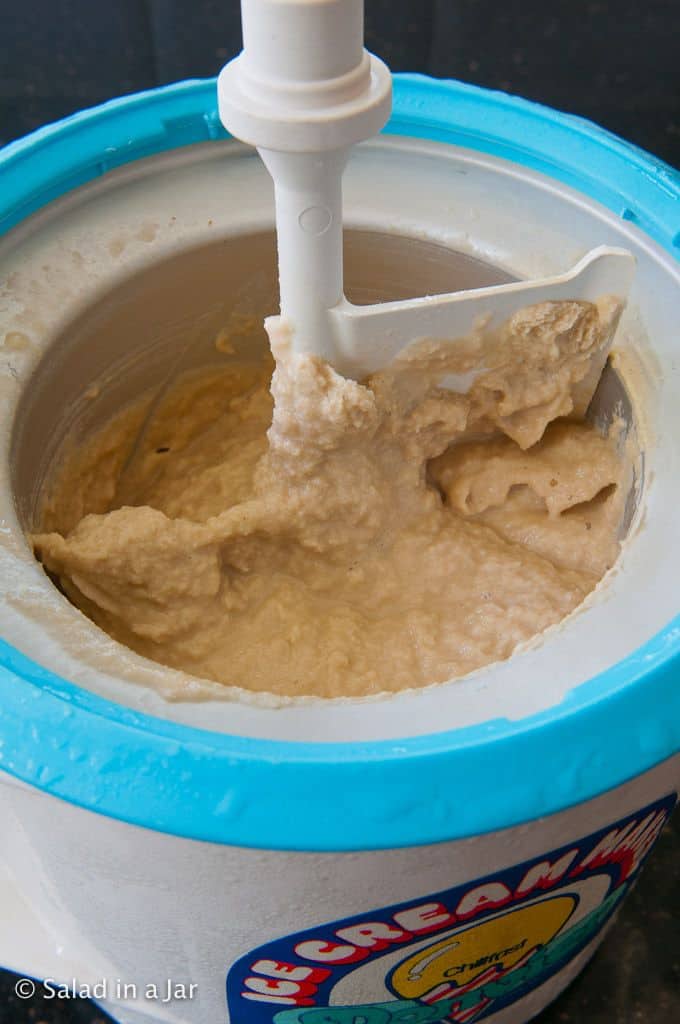
Keep turning until frozen.
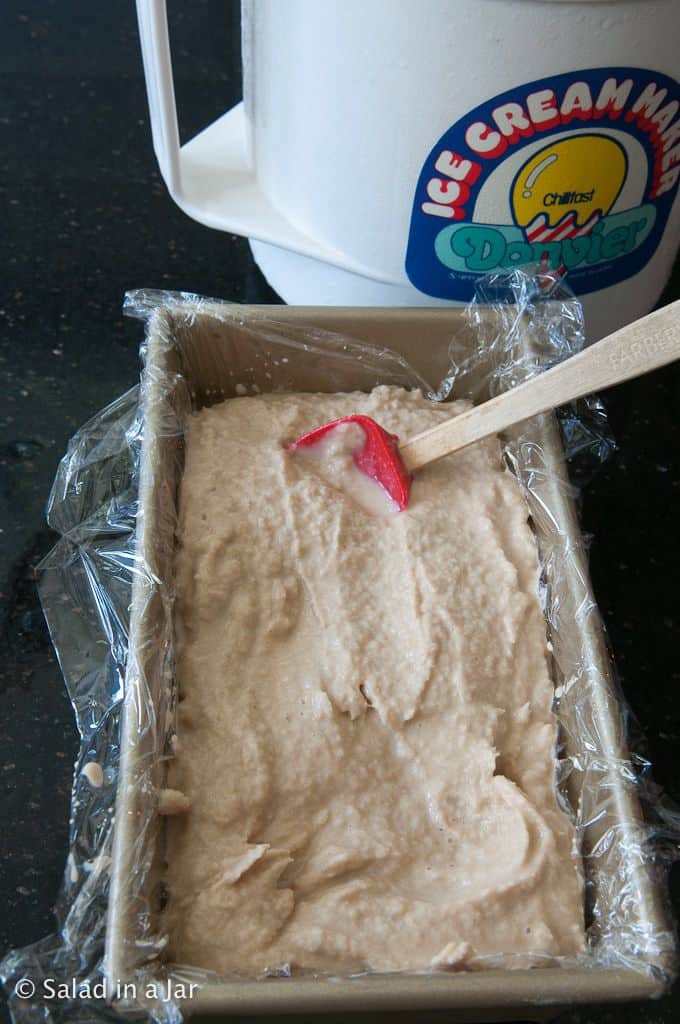
Pour into a chilled loaf pan lined with plastic wrap
Is a Hand-Crank Ice Cream Machine Like the Donvier a Lot of Trouble?
You only need to give the ice cream a couple of turns every minute for 3 or 4 minutes in the beginning. As the ice cream gets hard, you’ll need to turn it less and less–like once in 5 minutes.
Typically, I start my ice cream and then proceed with another task in the kitchen, stopping once in a while to give it a turn. I’ve even carried it to my laundry room or upstairs to my desk, where I turn it periodically while working.
Moreover, it’s a great job for children. They really can’t mess it up.
NOTE: Hand-crank ice cream machines like the Donvier have become scarce. If you have one in good working condition, hang on to it. Otherwise, this recipe works just as well in an electric ice cream maker.
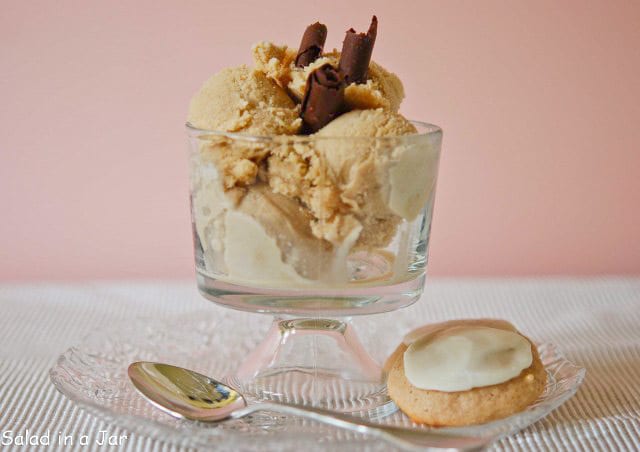
Espresso or coffee is my favorite homemade ice cream flavor. However, if you don’t share my passion, leave the coffee out for a tasty vanilla ice cream. Add a teaspoon or two of vanilla extract. It’s also delicious with chopped fresh fruit, chocolate chips, or chopped Oreo cookies.
If you prefer an uncooked ice cream base as we do, try this Blackberry Ice Cream with Chocolate Shards, Peachy Amaretto Frozen Greek Yogurt, and Creme Fraiche Ice Cream with Nutella Flakes.
Adapted from the Sweet Cream Base recipe published in Ben & Jerry’s Homemade Ice Cream & Dessert Book(paid link).
FAQ About Espresso Ice Cream
Yes.
I can’t recommend it unless you use pasteurized eggs.
Yes, but the coffee flavor will not be as intense.
During the first five minutes, it is essential that you turn the paddle every minute until the temperature of the milk mixture is closer to the temperature of the inner liner. After that, you can turn less often.
If you use a Donvier and a part breaks, don’t throw it away just yet. Parts are available online.
Random thoughts: I recently found a Donvier at an estate sale. It didn’t have the inner liner that actually freezes the ice cream, but I was happy to take it home for the parts. The plastic handle and paddle can break when they meet up with too much force.
Help at Your Fingertips: For questions or suggestions, email Paula at saladinajar.com. If you need help, I’m happy to troubleshoot via email (faster than leaving a comment). Attach pictures and as many details as possible for the best advice.

Easy Espresso Ice Cream Recipe for a Small-Batch Ice Cream Maker
Rate this recipe
(5 stars if you loved it)
Ingredients
- 2 large (100 g) eggs
- ⅔ cup (133 g) granulated sugar
- pinch table or sea salt
- 1 teaspoon vanilla extract
- 1 cup (227 g) whole milk
- 2 tablespoons powdered instant espresso
- 2 cups (454 g) heavy whipping cream
Instructions
- Blend 2 large (100 g) eggs and ⅔ cup (133 g) granulated sugar in a medium mixing bowl until the sugar dissolves and the eggs turn light yellow.
- Whisk in a pinch table or sea salt, 1 teaspoon vanilla extract, 1 cup (227 g) whole milk, and 2 tablespoons powdered instant espresso. Stir in 2 cups (454 g) heavy whipping cream.
- Chill for 3-4 hours. Pour ice cream mixture into your ice cream freezer and follow the manufacturer’s instructions.
Notes
Equipment
Nutrition
All images and text ©️ Paula Rhodes for Salad in a Jar.com


Paula Rhodes, owner
As a retired home economist, I created Saladinajar.com to share my belief that you don’t have to be a chef to find joy in creating homemade food worth sharing. Bread machines (used in an unconventional way), homemade yogurt, and quick microwave recipes are my specialty.