Browned Butter Pecan Pie Recipe
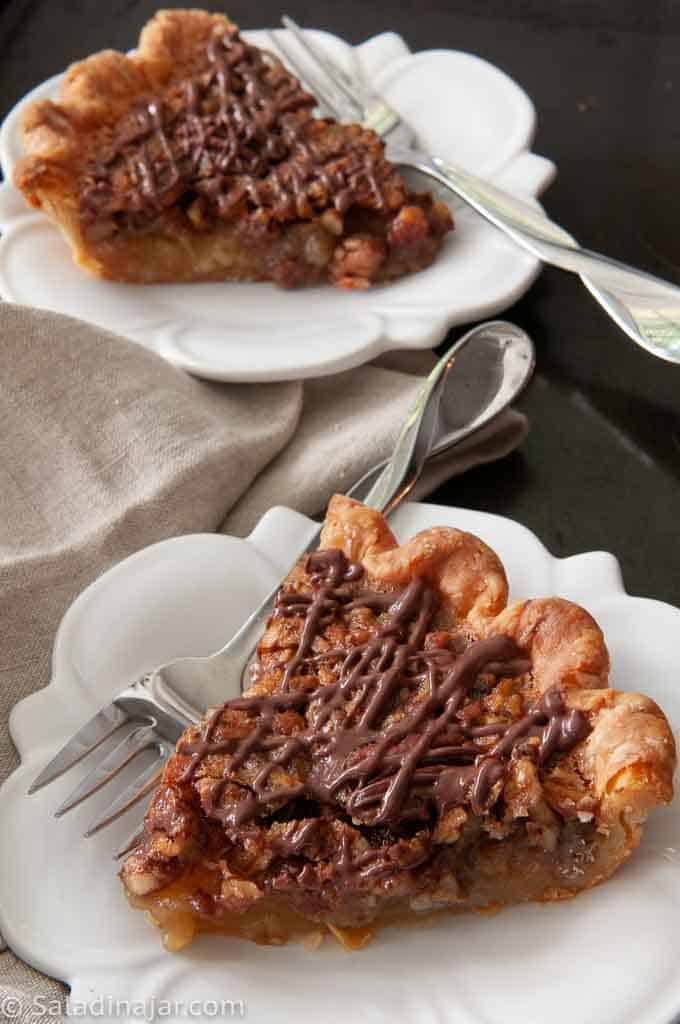
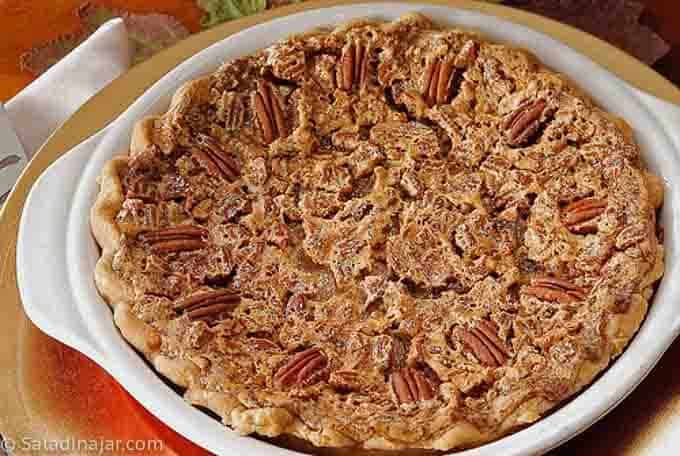
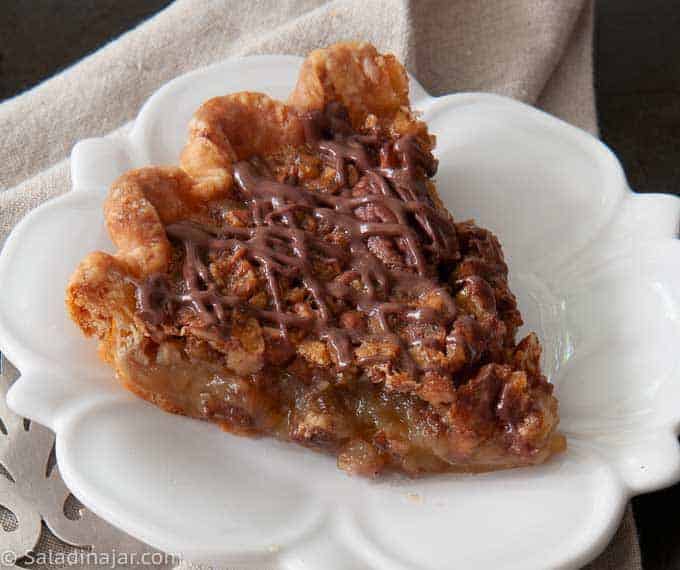
Sneak Preview: This brown butter pecan pie has a rich, caramel-like filling and toasted pecans for deeper flavor than a classic pecan pie. Ready in about 2 hours, it’s a memorable dessert for holidays and special dinners.
This post contains affiliate links. As an Amazon Associate, I earn from qualifying purchases at no extra cost to you.
Brown butter gives pecan pie a deeper, toastier flavor that makes people pause after the first bite. It’s still the classic pecan pie everybody expects—sweet, rich, and loaded with pecans—but the browned butter adds a subtle caramel-like depth that makes it feel extra special.
This has become one of my favorite holiday pies because it tastes familiar while still feeling just a little more memorable than the standard version.
Ingredients & Substitutions
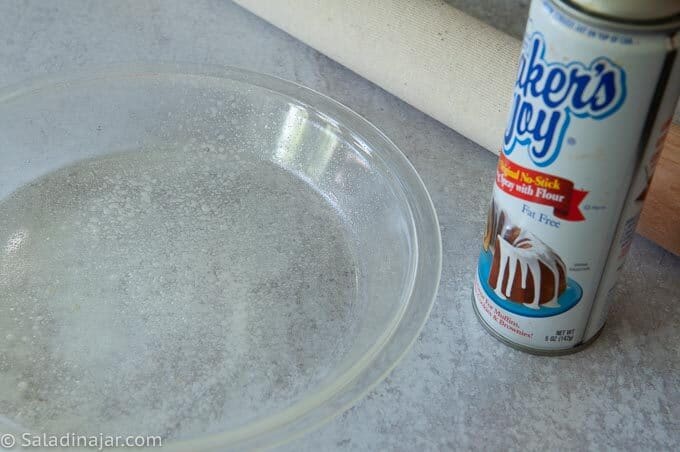
• PIE SHELL: Use a 9-inch unbaked crust, homemade or store-bought; chill or freeze before baking.
• UNSALTED BUTTER: Brown for nutty flavor—don’t substitute margarine.
• GRANULATED SUGAR: White sugar gives a classic texture; brown sugar makes the filling heavier.
• CORN SYRUP: Light corn syrup is traditional; dark syrup adds a stronger molasses flavor.
• EGGS: Use large eggs; sub 4 medium eggs if needed.
• PECANS: Toasted pecans add more depth; chopped or halved both work.
• LEMON JUICE: Optional, but brightens the flavor and cuts sweetness.
• VANILLA EXTRACT: Pure vanilla preferred for best flavor.
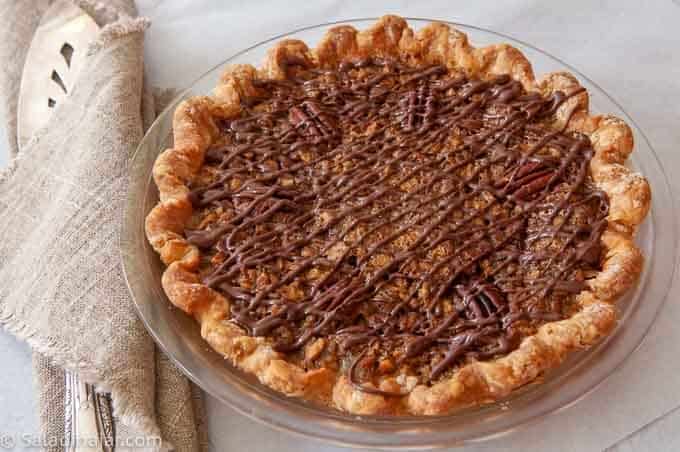
• CHOCOLATE CHIPS: Optional drizzle; use semi-sweet or bittersweet chocolate.
Step-by-Step for Browned Butter Pecan Pie
⬇️ Jump to the recipe below for exact amounts and detailed instructions.

Browned Butter Pecan Pie Recipe
Video
Ingredients
- 1 9-inch unbaked pie shell
- 6 tablespoons (84 g) unsalted butter
- ¾ cup (150 g) granulated sugar
- dash of salt
- 3 large (150 g) eggs, thoroughly beaten
- ¾ cup (240 g) light corn syrup
- ½ teaspoon fresh lemon juice
- 1 teaspoon vanilla extract
- 1-1/4 cup (156 g) pecans, coarsely chopped and toasted
Instructions
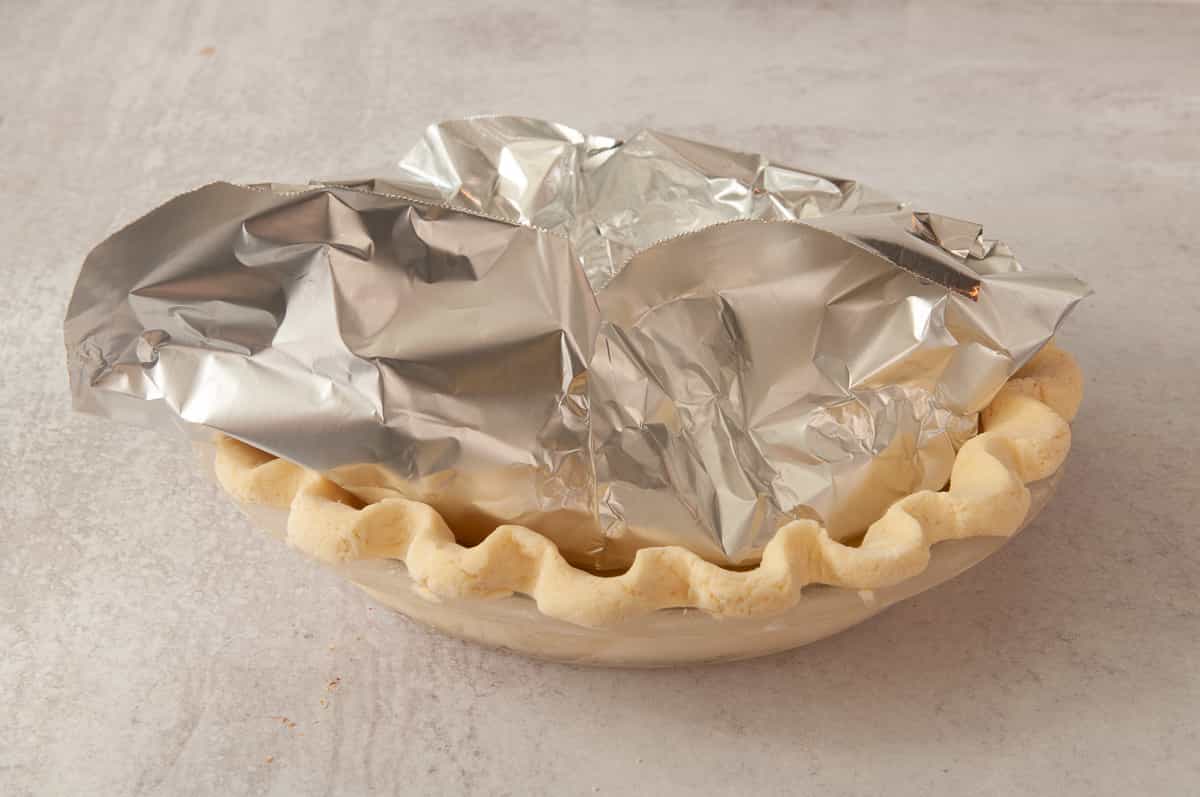
- Pre-bake the crust: Line a well-chilled or frozen 9-inch unbaked pie shell with two layers of foil. Press the foil snugly into the crust and fold edges over to protect from overbrowning. Fill with pie weights, rice, or a metal chain. Bake at 375°F (190°C) for 25–30 minutes. Remove foil and weights, and let the crust cool slightly—it should still be warm when filled.
- Brown the butter: In a small skillet or saucepan, melt 6 tablespoons (84 g) unsalted butter over low heat. Stir gently until it turns golden brown and smells nutty. Watch closely—it can go from brown to burned quickly. Remove from heat and let cool slightly.
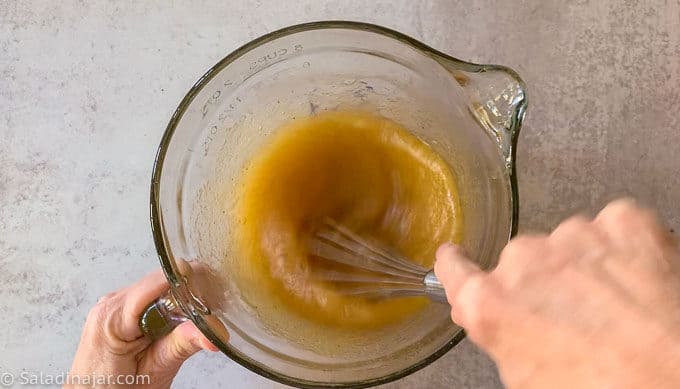
- Prepare the filling: In a microwave-safe bowl, combine the browned butter, 3/4 cup (150 g) granulated sugar, and a dash of salt. Whisk in 3 large (150 g) eggs, thoroughly beaten and 3/4 cup (240 g) light corn syrup. Microwave on HIGH for about 45 seconds, or until the mixture reaches 130°F (54°C).
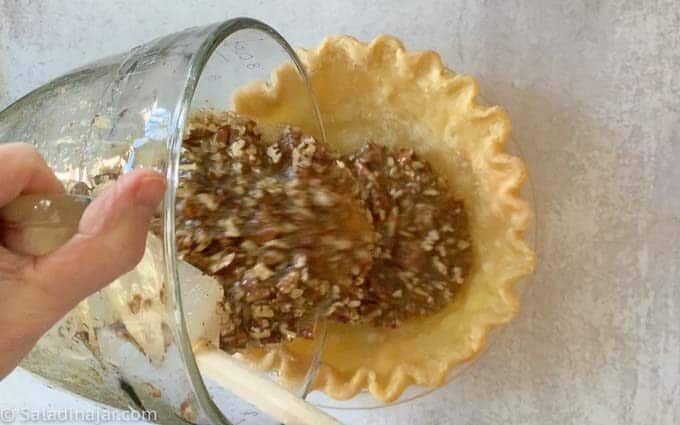
- Add flavor and pecans: Stir in 1/2 teaspoon fresh lemon juice, 1 teaspoon vanilla extract, and 1-1/4 cup (156 g) pecans, coarsely chopped and toasted.
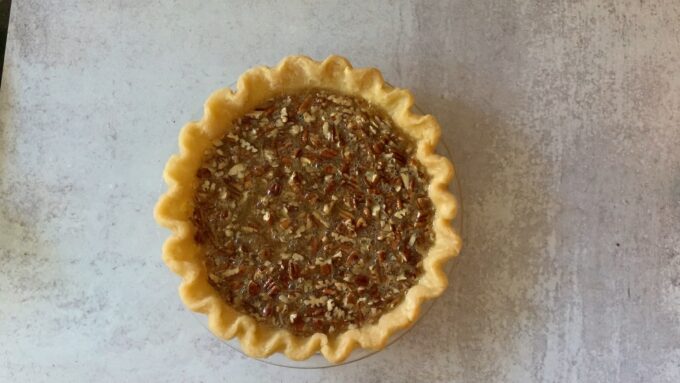
- Fill and bake: Pour the warm filling into the warm pre-baked crust. Bake at 275°F (140°C) for 55–60 minutes. The pie should be set in the center but may still be slightly soft.
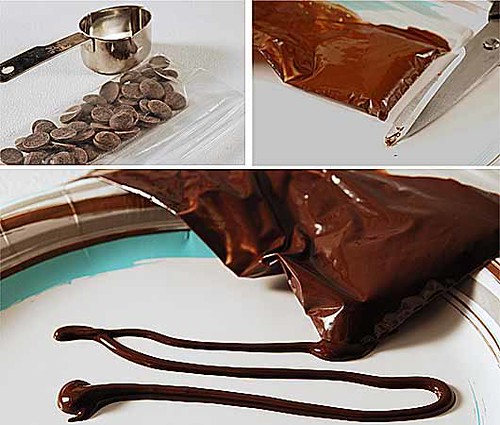
- Cool completely: Let the pie cool before slicing so the filling can fully set. Refrigerate after 2–3 hours. See recipe notes for decorating with the chocolate swirl.
Notes
Equipment
Nutrition
All images and text ©️ Paula Rhodes for SaladinaJar.com
Final Thoughts
Pecan pie is a once-a-year treat for many of us, so it’s worth getting right. This version with rich browned butter delivers a pie that’s both beautiful to serve and deeply satisfying to eat.
If you’re after that same flavor in a more bite-sized form, my Chocolate Pecan Tartlets are a great alternative. No need for a knife—just pick one up and enjoy.
— Paula, Home Economist
Homemade Food Worth Sharing
Need help troubleshooting?
Email me: Paula at saladinajar.com — photos help!

I will be making this recipe later this week. Question, can I add some chocolate chips to this recipe to make it a chocolate pecan pie? Do I reduce the sugar?
Thanks!
Hi Donna,
Yes, you can add chocolate chips. I recommend using the mini-chips. I haven’t tried reducing the sugar, but surely that would work. Sugar also affects the texture, so don’t cut it down too much. Hope it turns out well for you.
This pie made a pecan pie hater convert! Thanks for the recipe – loved it!
OMG this was sooooooooo good. I am now in love with browned butter. It adds such a nice flavor to pecan pie. I was worried about it not setting properly or that it would be runny. I made it this Thanksgiving and It came out perfect. The flavor is so nice. Thank you for sharing this. I look forward to trying more of your recipes.
Hi Tasha,
So glad you liked it. I used my mini-tart crust recipe this year instead of a regular pie crust and it was fabulous too!
Hi, I made this yummy pie today. Had a slice for dinner while it was still warm… Fantastic! Thank you for sharing this great recipe.
Well I did make this for dessert at Christmas and it was absolutely delicious (my family loved it). Thank you so much for this beautiful recipe. All the amounts and instructions were spot on.
I know it’s not traditional, but I’m making this for Christmas. Can’t wait to see how it turns out 🙂
Do you foil wrap your crust then? I have tried everything – shields, wrapping, frozen, unfrozen, homemade – the crust gets crunchy – what am I doing wrong?
Jenny, I do not generally use foil, but I occasionally use a metal piecrust shield. They are cheap and it’s way easier.
Are you baking the pie closer to the bottom of the oven?
Is your oven true to temperature? You can check with an inexpensive oven thermometer.
Just made this pie, and had surprisingly good results browning the butter. (Question, explain why you would use unsalted vs. salted butter) You may have mention this hint about browning sugar on another part of your blog, so overlook this if I am repeating. For years I was a failure at browning sugar like my southern mother-in-law did it. Thought the southern black iron skillet was essential. Just in recent years I realized that the black or dark color of a skillet makes it much harder to determine when the butter is the right color. Today I used a heavy small stainless steel sauce pan, and it worked like a charm.
Now the pie itself?? Well, I set the butter aside to cool, and you guessed it, I forgot to include it in the filling. Knowing it would NOT be pecan pie without the butter, I poured the batter out of the pie shell and put in the butter and returned it to the oven. Big mess! Sure, but can’t wait to taste it when it is finished cooking. Even the raw batter tasted good. I know – I know – raw eggs, etc. :+)
I made this for Thanksgiving this year and although I was sure I was going to mess up the browning the butter part it turned out very nicely. The pie was a huge hit with my husband. It may have to become a TG staple in our house.
This really looks delicious. I’m always looking at recipes with browned butter but I haven’t tried any yet. Love the chocolate on top…that seems mandatory rather than optional! 🙂
This is going on my list. I need to bake this one. Have you tried the Browned Butter Brown Sugar cookies from Deb at Smitten Kitchen? To die for.
Wow—does that look delicious. Thank you for posting the tip from CI on the pie crust!! I saw that on CI, but had not tried it! Your photos are terrific.
I will definitely be printing this off for the next time I get the urge to back (after all I’ve done this past week…it may be awhile! lol)
Yummy, will have to try it.
BTW, you can see my granddaughter baking your oatmeal cookies at
http://www.myramoran.blogspot.com
I love brown butter too. Mr. Mimi’s says pecan is his favorite pie, but I ‘m beginning to think he says that about every pie he wants to eat.
Mimi
Have you already given the pie CRUST recipe in a former post? If not, I need that recipe too.
Looks great and tastes great! I have had the chance to eat this before. Printed it off the “right way” and will be on my list for Thanksgiving foods to prepare!
I was just looking for a good pecan pie recipe! This looks so good! Can’t wait to try it this week!
What a stunning and decadent treat! Romaine, how do you stay sooooo skinny?!
Ummm WOW? That looks awesome!!!