Mini Pecan Pie Tarts with the BEST Shortbread Crust
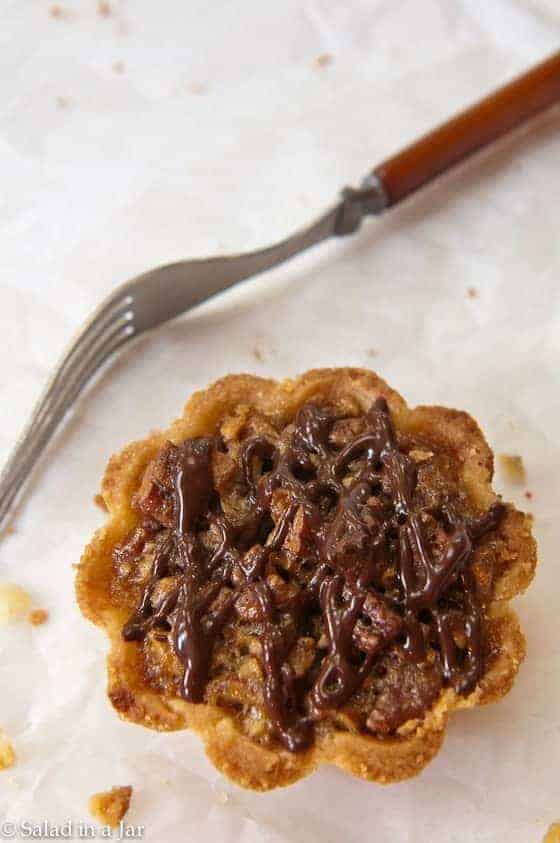
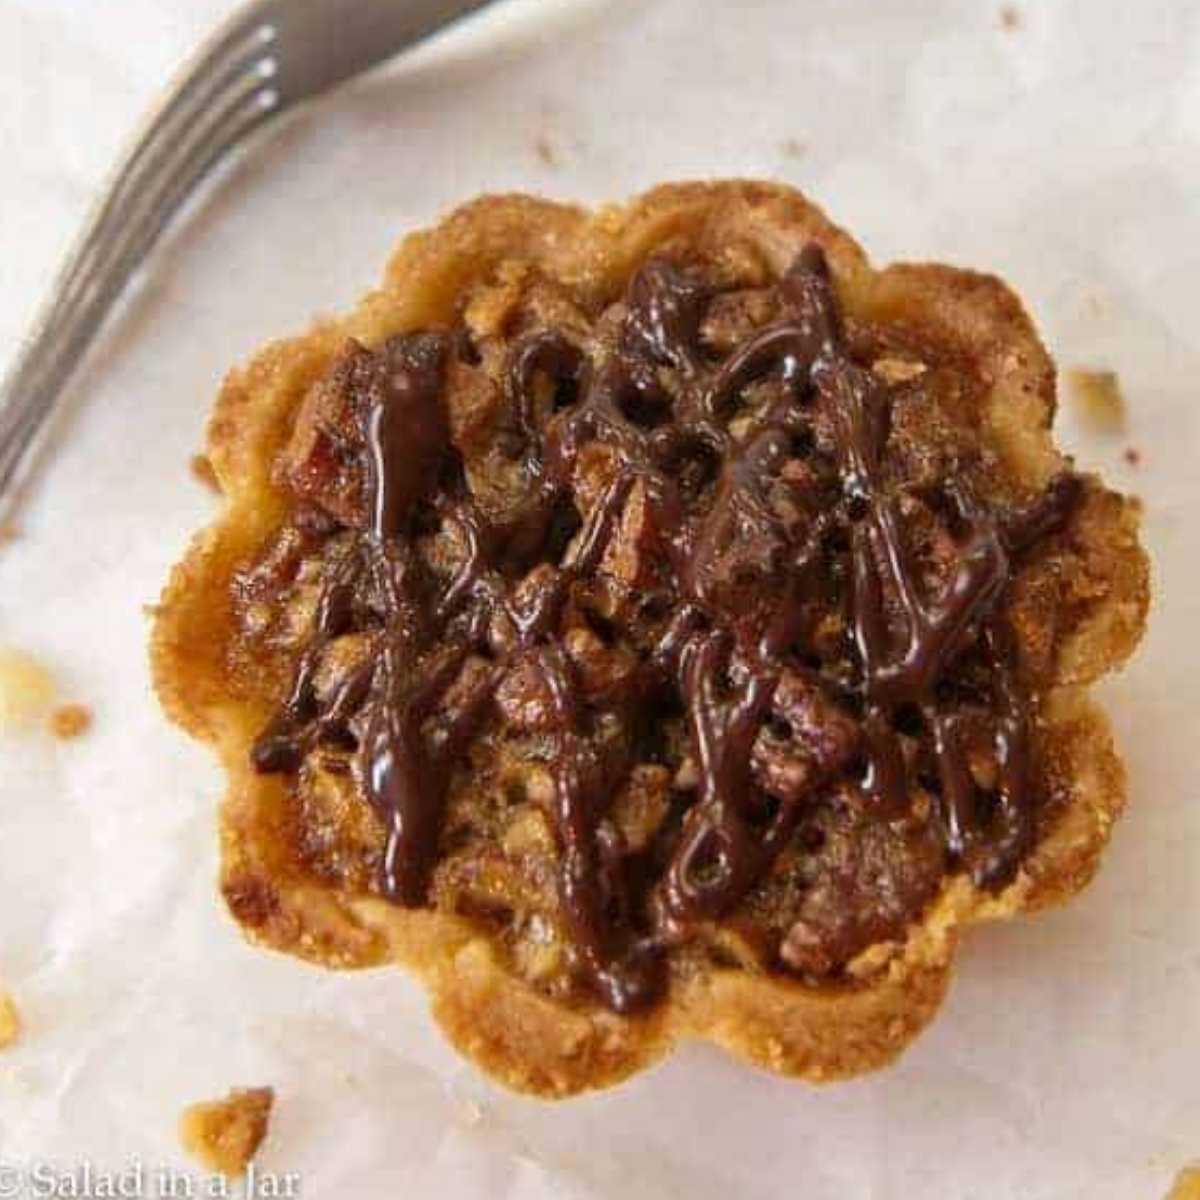
Sneak Preview: Mini Chocolate Pecan Tarts pack all the flavor of pecan pie into bite-sized treats. A buttery shortbread crust holds a rich chocolate-pecan filling, finished with an optional drizzle of melted chocolate for a candy-bar touch.
This post contains affiliate links. As an Amazon Associate, I earn from qualifying purchases at no extra cost to you.
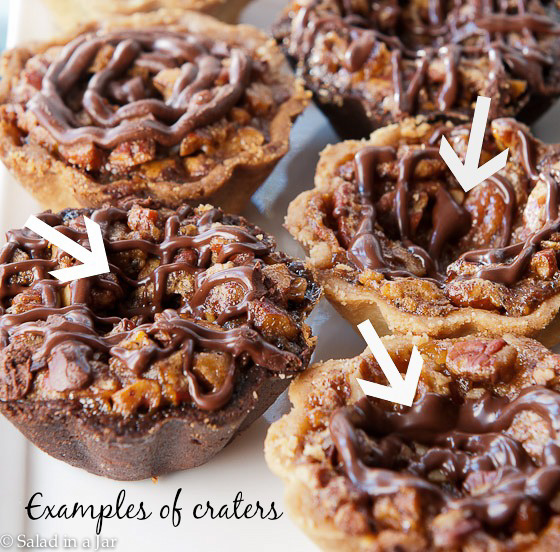
When I first made these extravagant mini-tarts, the filling puffed up proudly. But as they cooled, the centers sank as if someone had poked their finger into the middle. A full-size pecan pie can sink, too, but it’s far more obvious in a small tart.
After experimenting, I noticed the first shells I filled—packed with extra nuts—held their shape, while the later ones with fewer pecans caved in. Problem solved! Now I always add plenty of pecans to give the filling structure so it won’t collapse as it cools.
Ingredients and Substitutions
TART CRUST
FLOUR: Unbleached all-purpose flour works best.
POWDERED SUGAR: Sweetens and tenderizes the crust.
SALT: A pinch balances the sweetness.
BUTTER: Use chilled unsalted butter for flaky texture.
EGG YOLK: Adds richness and helps bind the dough.
HEAVY CREAM OR HALF & HALF: Moistens the dough; add a few drops more if dry.
PECAN FILLING
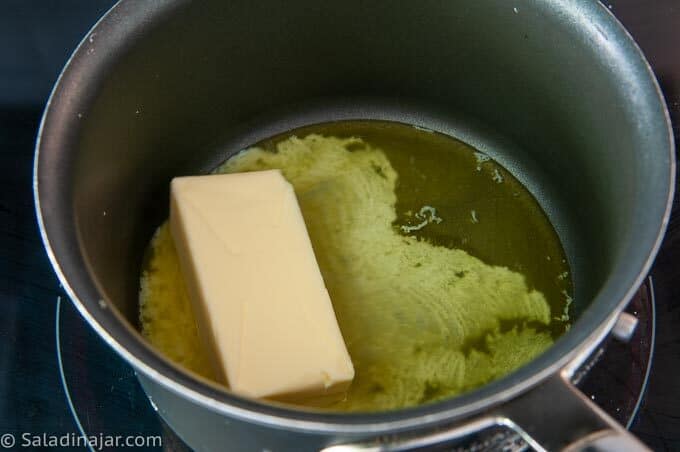
BUTTER: Brown first for nutty flavor.
SUGAR: Sweetens and blends with the syrup.
CORN SYRUP: Creates the classic pecan pie texture; use light or dark syrup.
SALT: Enhances flavor.
VANILLA: Adds warm, aromatic depth.
LEMON JUICE: A touch of acid brightens the filling.
EGGS: Thicken the custard and hold the filling together.
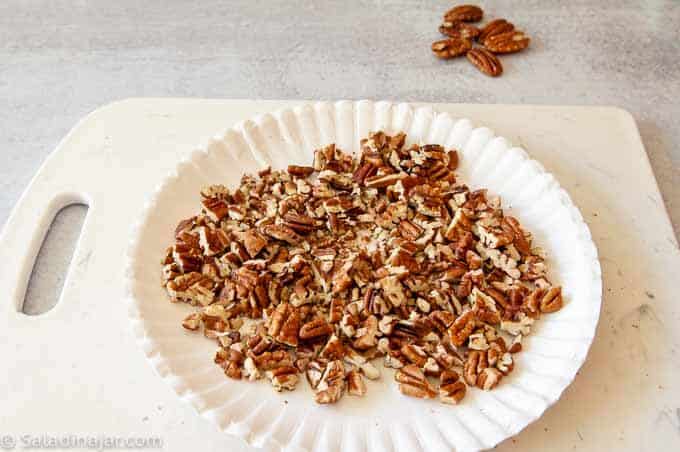
PECANS: Coarsely chopped and toasted; don’t skimp or the centers may sink.
TART SHELLS: Use homemade shortbread shells (recommended) or store-bought mini tart shells.
CHOCOLATE DRIZZLE (OPTIONAL)
CHOCOLATE CHIPS: Melt and drizzle for a candy-bar finish.
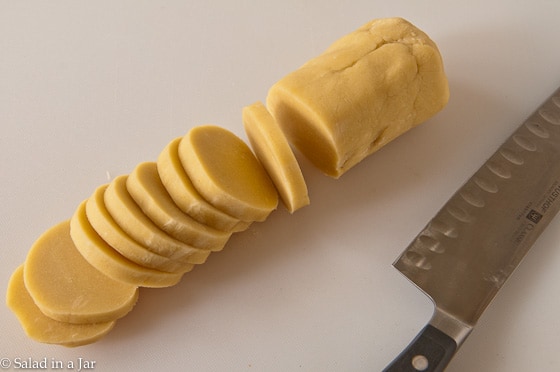
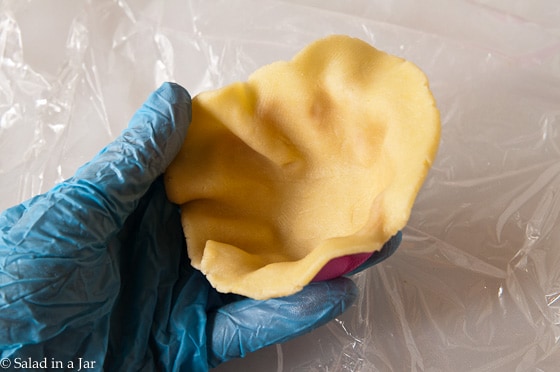
Step-by-Step: Shaping Shortbread Mini-Tart Crusts
Don’t miss the video in the recipe card.

Step-by-Step: Making Tart Filling
⬇️ Jump to the recipe below for exact amounts and detailed instructions.

How To Drizzle Chocolate
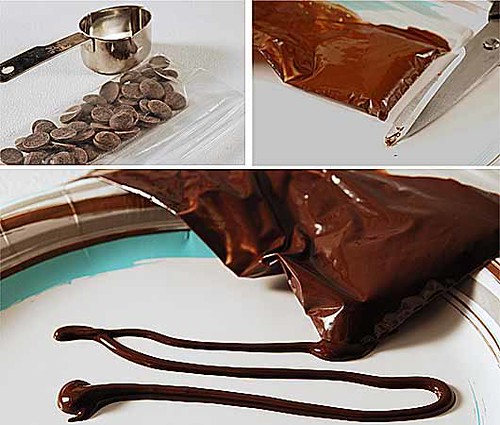
Place chocolate chips in a small zip-top bag and microwave until melted (about 1 minute, 15 seconds). Snip a tiny corner, test on a plate for flow, then drizzle over the cooled tarts. Optional—but it adds a polished, festive finish.
Tips That Make a Difference
• Make Ahead: Shape tart shells ahead of time and freeze until ready to bake.
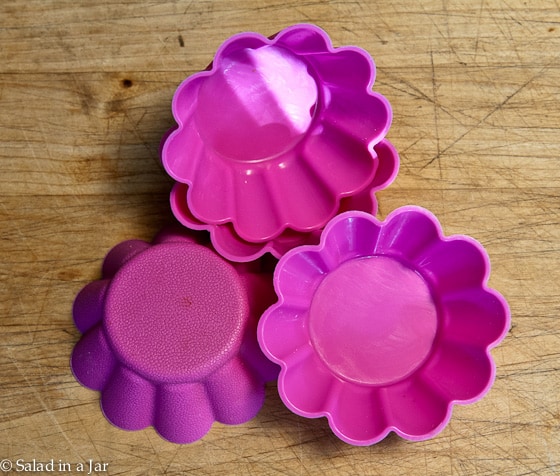
• Silicone Molds: Individual silicone tart molds(paid link) are easier than muffin tins, don’t need greasing, and release cleanly.
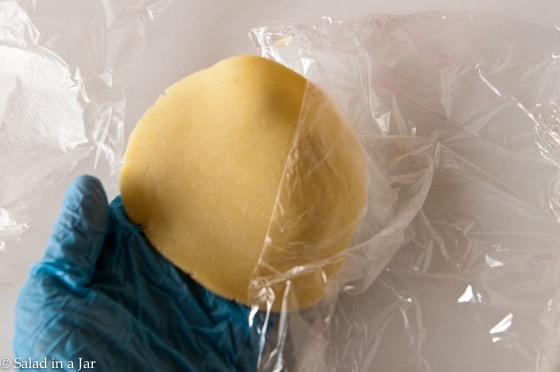
• Wear Gloves for Crusts: Exam gloves keep your body heat from softening butter flakes in pie or biscuit dough. If you skip them, work quickly to keep the dough cold.
• Prevent Craters: Use plenty of pecans in each tart. The nuts give structure so the filling doesn’t sink as it cools. (See picture below.)
Mini Pecan Pie Tarts with the BEST Shortbread Crust
Video
Ingredients
Tart Crust:
- 1½ cups (180 g) unbleached all-purpose flour
- ⅓ cup (40 g) powdered sugar
- ¼ teaspoon table or sea salt
- ½ cup (113 g) unsalted butter, chilled
- 1 egg yolk
- 1 tablespoon heavy cream or half and half
Pecan Filling
- ½ cup (113 g) butter
- ⅔ cup (133 g) sugar
- ¾ cup (255 g) corn syrup such as Karo, not the same as high fructose corn syrup
- ¼ teaspoon table or sea salt
- 1 teaspoon vanilla extract
- Lemon juice from half a small lemon
- 3 eggs, mixed with a fork
- 1⅔ cup (165 g) pecans, coarsely chopped and toasted
- 15 unbaked and frozen tart shells
Chocolate Drizzle:
- ¼ cup (45 g) semi-sweet or bittersweet chocolate chips
Instructions
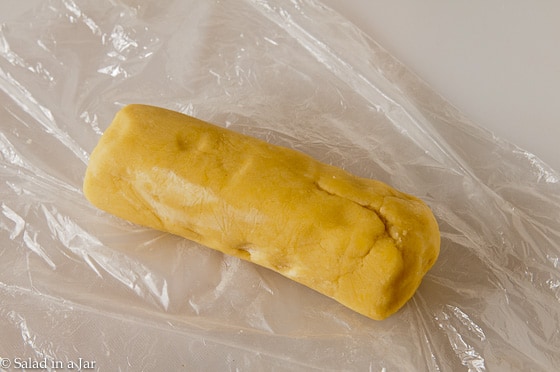
- Make the Tart Crusts: Combine 1½ cups (180 g) unbleached all-purpose flour, ⅓ cup (40 g) powdered sugar, and ¼ teaspoon table or sea salt in a food processor. Cut ½ cup (113 g) unsalted butter, chilled into 8 slices, and add to flour mixture, pulsing several times until mixture resembles oatmeal. Add 1 egg yolk mixed with 1 tablespoon heavy cream or half and half. Pulse until all ingredients are moistened. Allow the machine to run for a few seconds until the dough comes together in a ball. (Add additional drops of cream if the dough seems too dry.) Press dough into a roll like refrigerated cookie dough. Wrap in plastic and chill for 30 minutes.
- Prepare Molds: Spray molds generously with Baker's Secret or something like it. (Baker's Secret is an aerosol spray that mixes flour and oil.) If using silicone molds, no greasing is necessary.
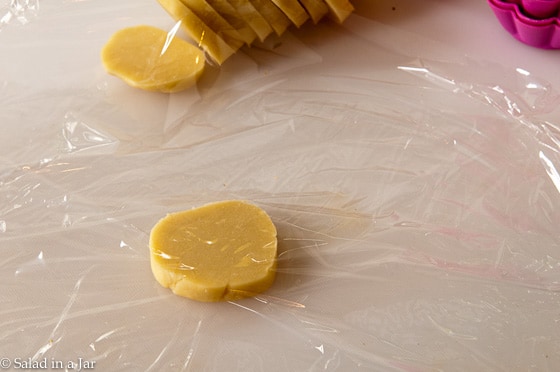
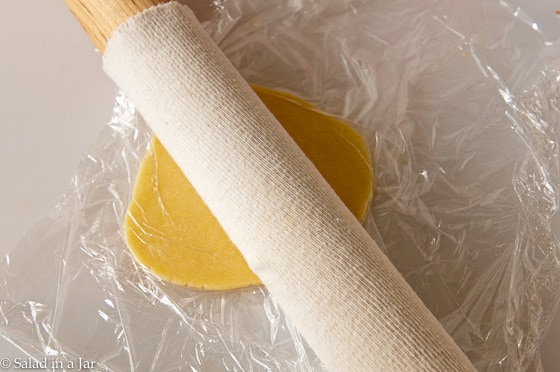
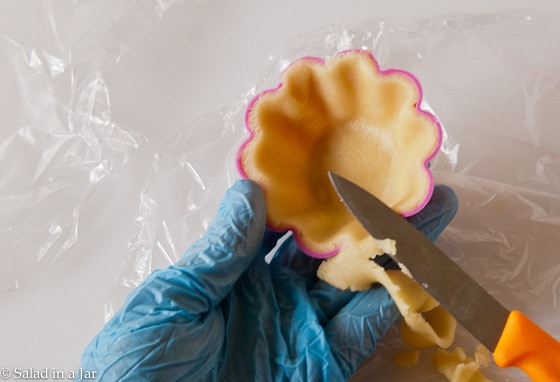
- Shaping the Dough: Slice the roll of dough into 15-16 pieces. Using a rolling pin, flatten dough between two pieces of plastic wrap into a circle slightly larger than tart molds. Press into a mold with fingers, being careful to keep the thickness consistent. Use a knife to trim off any extra at the top. I usually have enough scraps to make another tart or two. Freeze for at least 30 minutes, overnight, or up to a month.
- Preheat oven to 375˚F (190˚C).
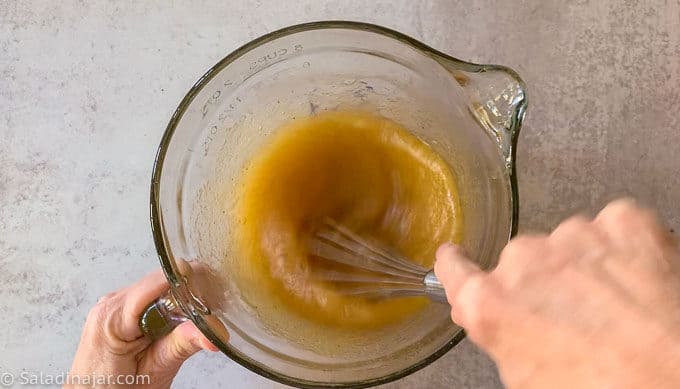
- Prepare the Filling: Brown ½ cup (113 g) butter in a medium saucepan over low heat until golden and fragrant. Stir ⅔ cup (133 g) sugar into hot butter until it dissolves. Add ¾ cup (255 g) corn syrup , ¼ teaspoon table or sea salt, 1 teaspoon vanilla extract, and Lemon juice from half a small lemon and stir. Whisk in 3 eggs, mixed with a fork and whisk gently into the butter mixture until combined and smooth. Add 1⅔ cup (165 g) pecans, coarsely chopped and toasted.
- Fill and Bake: Pour about 1/4 cup of filling into each of 15 unbaked and frozen tart shells and place them on a rimmed baking sheet.Bake in oven at 375˚F (190˚C) until browned and set. My mini tarts take about 25 minutes, but the time may vary depending on the size of your tarts.
- Add Chocolate Drizzle (Optional): Melt chocolate chips in a zip-top bag in the microwave. Snip a tiny corner and drizzle over cooled tarts.
Equipment
Nutrition
All images and text ©️ Paula Rhodes for SaladinaJar.com
FAQs
Cool completely, then refrigerate in an airtight container for up to a week. All the tartlets to come to room temperature before eating.
Silicone molds release cleanly without greasing. For metal pans, use a baking spray with flour.
One other suggestion: Ensure there are no breaks or leaks in the tart dough that would allow the filling to leak underneath.
Not enough pecans. The nuts provide structure so the filling doesn’t collapse as it cools.
They need more baking time. The centers should be set, not watery, when removed from the oven.
Yes—cool completely, wrap well, and freeze up to 2 months. Thaw in the fridge or at room temperature before serving.
Final Thoughts
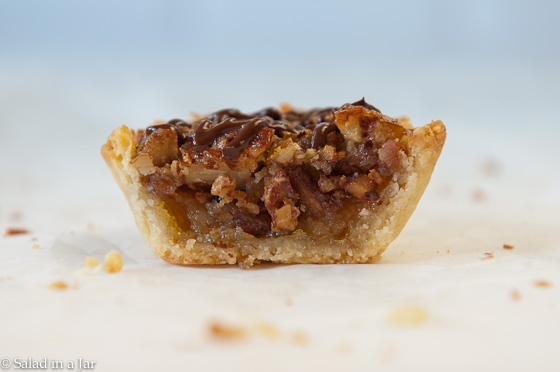
Whether you call these mini-tarts, tartlets, mini pies, or small pies, they are easy to serve, fun to eat, and quite luxurious on your taste buds. My family loves them in place of a full-size pecan pie.
If you like these mini pies, you might also like this these favorites: Mini Fruit Tarts Recipe with Pastry Cream and the BEST Shortbread Crust, Chocolate Ganache Mini Tarts, or these Lemon Mini-Tarts with a Shortbread Crust.
Need help troubleshooting? Email me: Paula at saladinajar.com—photos welcome!

I make this filling for my cream cheese dough that I cut fit into my tart molds. Filling is really delicious but mine flowed a little over the top of the dough so I guess next time I’ll either have to use a little less filling or make the edges of the dough a little higher. Really nice result though.
Hi Jade,
Thanks for taking the time to write. Because of the eggs, the pecan filling tends to puff up quite a bit. Now you’ll know for next time.
I like the tip here on the pecan mini tarts with more nuts in each one. I’m also thinking of making mini tarts for all my favorite pies that way I get a little bit of everything in a smaller bit!
Just an “interested why” question. Why the lemon juice?
Cuts the sweetness a touch and makes the whole pie sing a bit. 🙂
Is the Karo syrup in the recipe the light colored or the dark colored? I have seen both. Thank you..this recipe looks amazing!
Good question! I always use light.
Thanks Paula!!