Flaky Pie Crust with Shortening and Butter (Less Shrinkage)
Sneak Preview: This beginner-friendly flaky pie crust uses both shortening and butter for a blend of flavor and structure. Includes tips for rolling, shaping, and blind baking.

This post contains affiliate links. As an Amazon Associate, I earn from qualifying purchases at no extra cost to you.
Back in the ’70s, I was a county extension agent who somehow ended up doing a pie crust demonstration on local TV. Why I chose pie crusts, I’ll never know—except that they were tricky enough to challenge me and basic enough that every home cook wanted to master them.
All these years later, I’ve tried every variation, shortcut, and trick. But this recipe—with a blend of shortening for structure and butter for flavor—is the one I come back to. It’s easy to roll out, bakes up beautifully flaky, and holds its shape like a pro. Whether you’re a beginner or just tired of store-bought crusts that fall flat, this is the one I recommend.
Ingredients and Substitutions
- SHORTENING: Adds flakiness and helps the crust hold its shape; use lard if preferred.
- BUTTER: Adds rich flavor and golden color.
- UNBLEACHED ALL-PURPOSE FLOUR: Standard pie crust flour; no need for pastry flour.
- SALT: Enhances flavor—table or fine sea salt both work.
- SUGAR: A small amount to balance the flavor; optional.
- ICE WATER: Keeps the fat cold for a tender, flaky texture.
Step-by-Step for How to Mix this Pie Crust
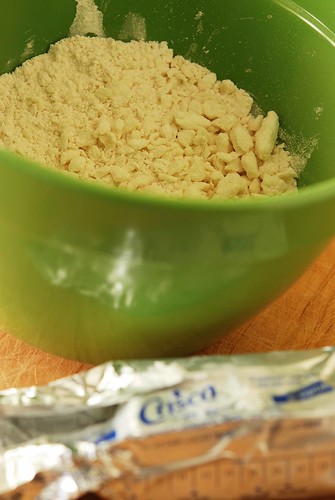
➊ Cut butter and shortening into the dry ingredients until crumbly.
➋ Add ice water a little at a time until dough holds together.
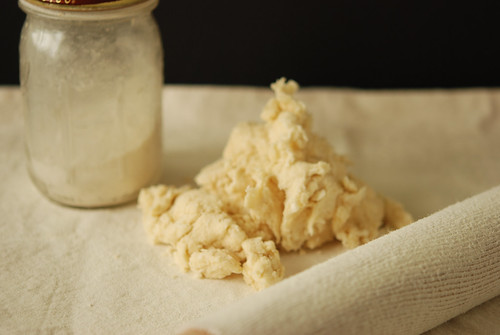
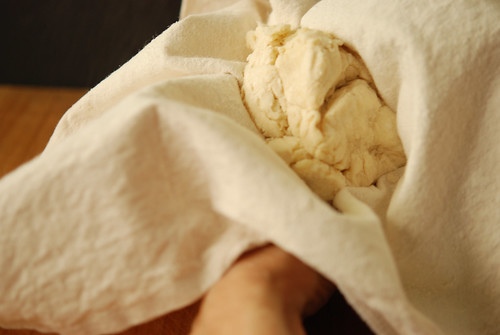
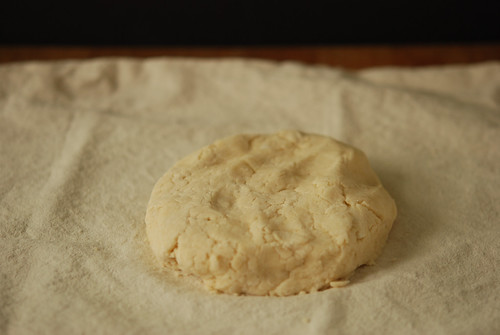
➌ Smush flour into two discs using a floured pastry cloth and hands. Divide dough in half, shape into discs, and chill.
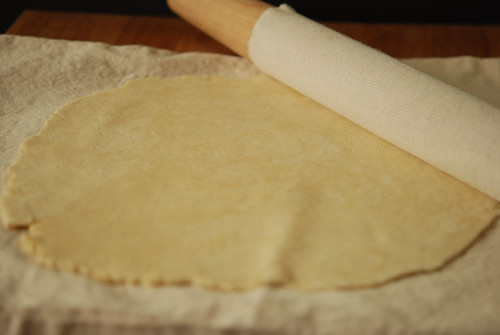
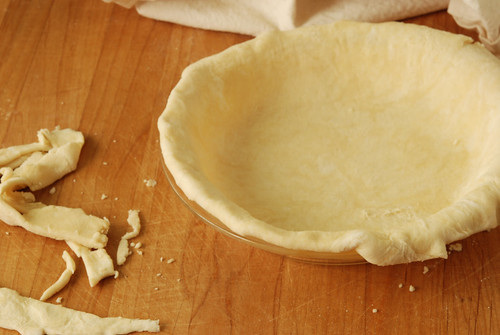
➍ Roll one disc on a floured pastry cloth using a rolling pin sock.
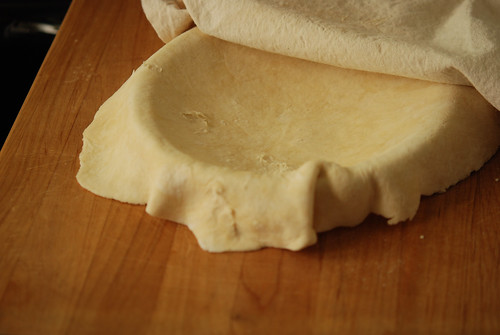
➎ Flip crust into the pie pan, peel off the cloth, and trim the edges.
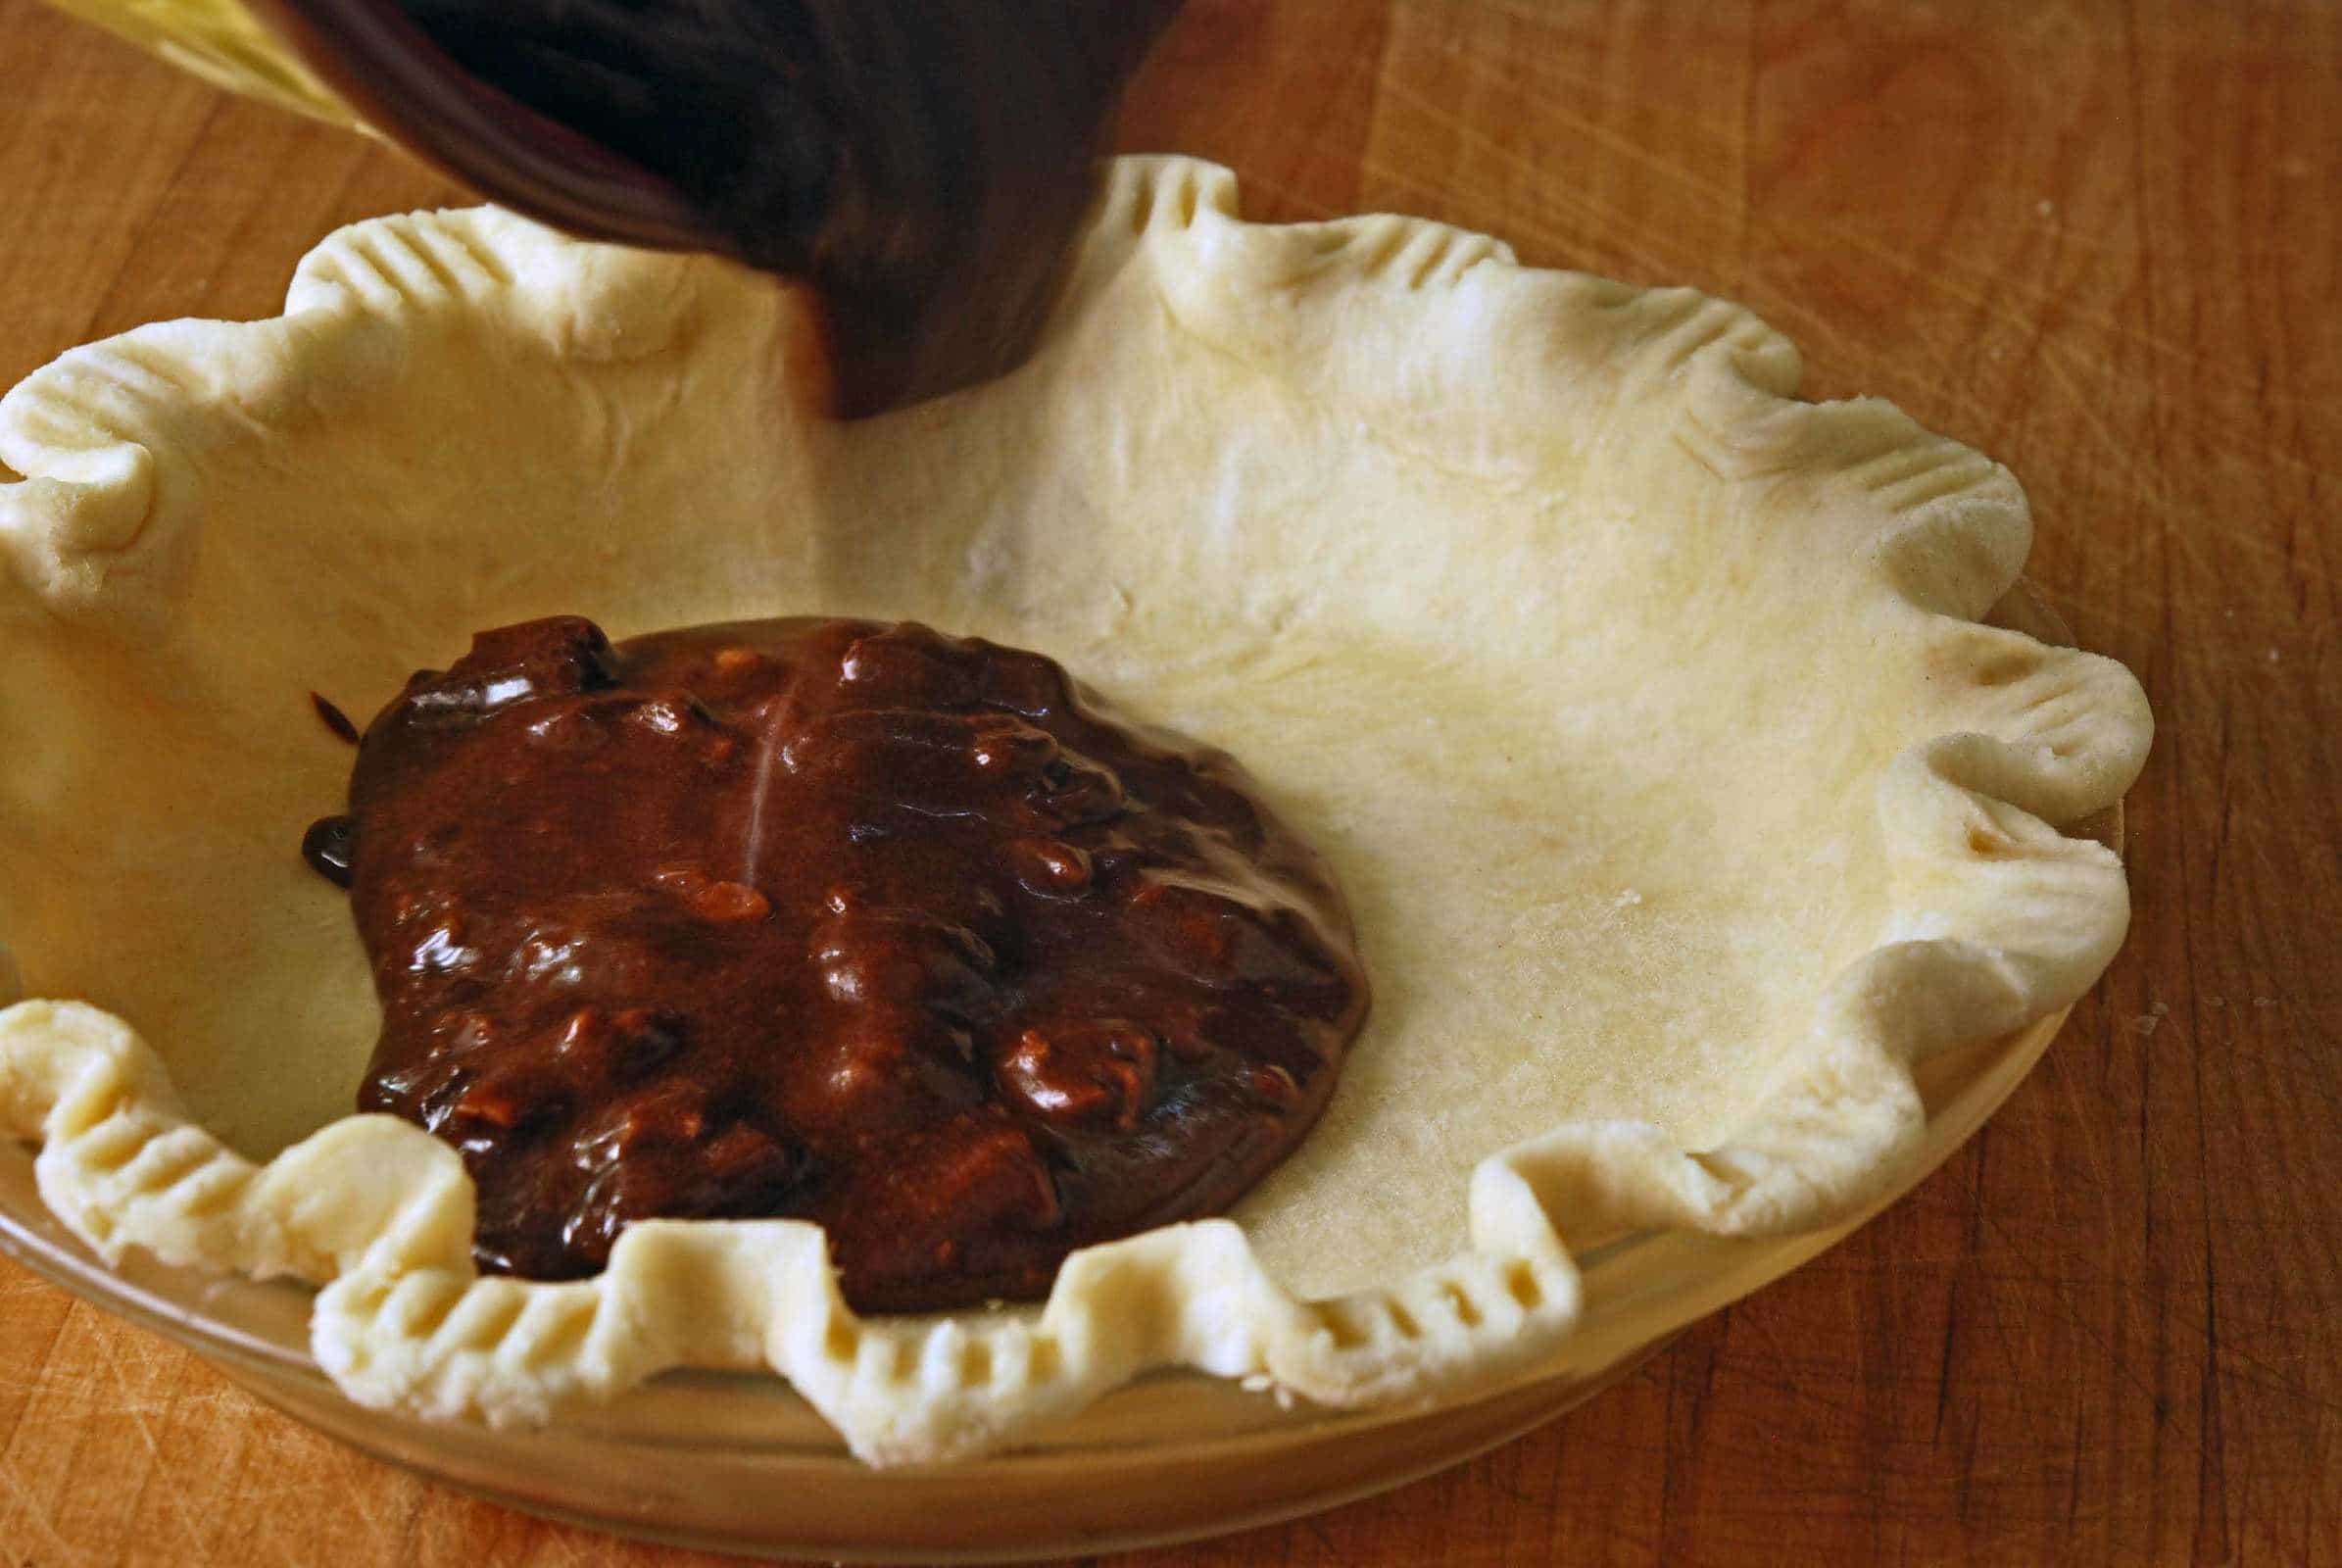
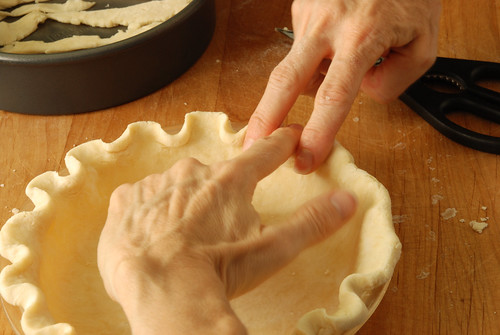
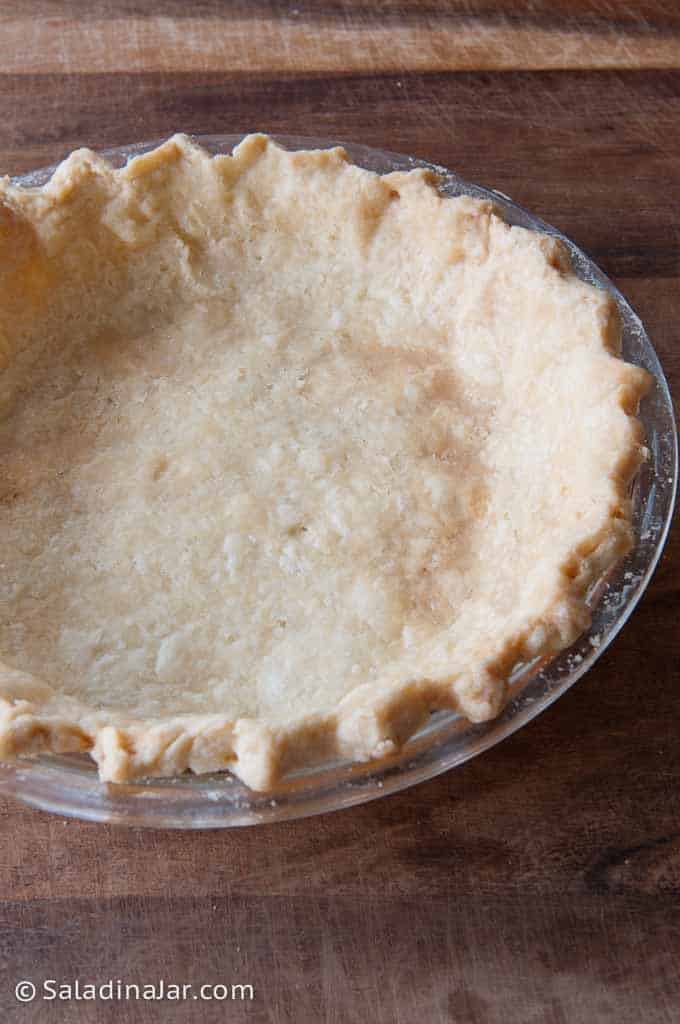
➏ Fold extra dough under and crimp the edge.
➐ Chill or freeze before baking or adding filling.

How to Blind Bake the Crust
➊ Line the chilled crust with foil or parchment.
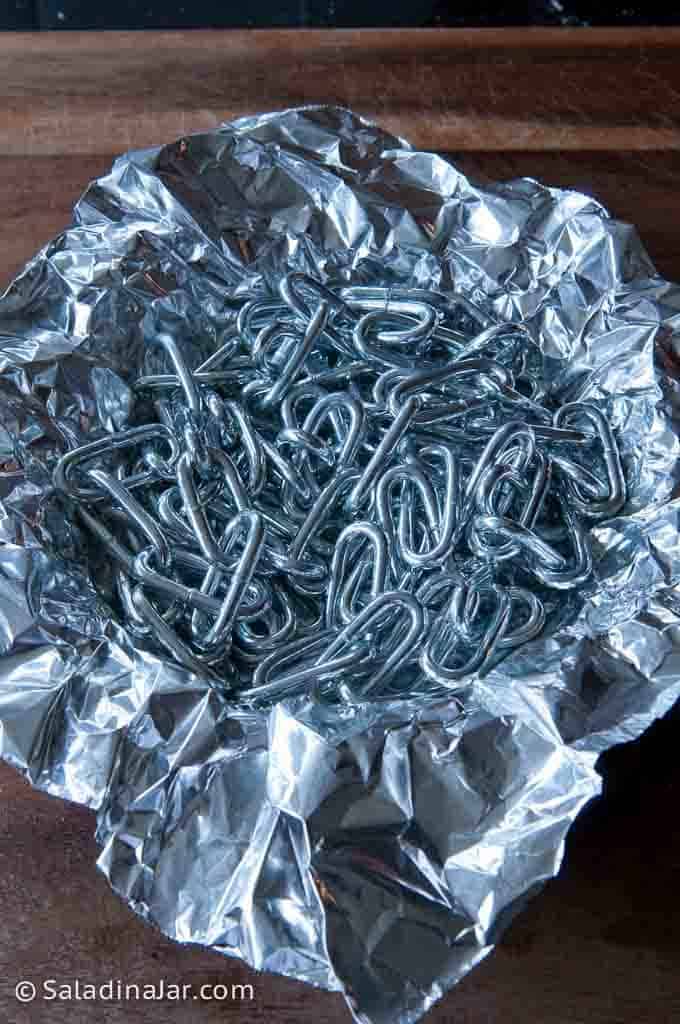
➋ Fill with pie weights or a clean metal chain.
➌ Bake at 375°F for 25–30 minutes.
➍ Remove weights and bake 5–10 more minutes until golden.
➎ Cool completely before filling.
? Tips That Make a Difference
- A pastry cloth and rolling pin sock help prevent sticking without over-flouring.
- Chill the dough before rolling and again before baking to reduce shrinkage.
- Use a metal chain instead of pie weights—it’s heavier and less messy.
- Prevent oven smoke by cutting in the fat thoroughly and baking on a cookie sheet to catch drips.
- If the crust bubbles, gently prick with a toothpick and press it back down.
Beginner’s Flaky Pie Crust with Butter and Shortening
Ingredients
- ½ cup (103 g) shortening (ice cold) can substitute lard
- ½ cup (114 g) butter cold
- 2 ¾ cups (330 g) unbleached all-purpose flour
- ½ teaspoon table or sea salt
- 1 teaspoon granulated sugar
- 7-9 tablespoons ice water
Instructions
Mixing the dough:
- Cut 1/2 cup (103 g) shortening and 1/2 cup (114 g) butter into 2 3/4 cups (330 g) unbleached all-purpose flour, 1/2 teaspoon (½ teaspoon) table or sea salt, and 1 teaspoon granulated sugar using a pastry cutter or food processor until crumbly, with some pieces looking like small peas and other pieces resembling thick-cut oatmeal.Note: Cut the fat into the flour thoroughly to prevent butter from melting out and smoking during baking. Set the pie plate on a sheet pan in the oven in case of drips.
- Add 7-9 tablespoons ice water a tablespoon at a time, mixing just until the dough holds together.
- Sprinkle flour over a pastry cloth or tea towel and work in with your fingers. I also use a special sock on my rolling pin that comes with the pastry cloth. Work the flour into it also.Dump the crumbly dough onto the floured cloth. Put your hands underneath the cloth and use the cloth to press the dough together.If the dough will not come together, sprinkle a few drops of water over the dough until it does. If the dough is too sticky at this point, put more flour on the cloth–not the dough.
- Divide the dough into 2 discs. Wrap and chill for at least 15 minutes.
Rolling out the dough:
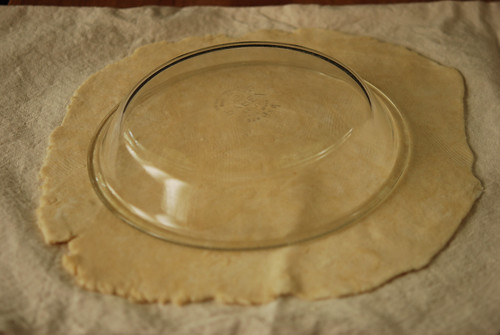
- Remove dough from refrigerator and allow to warm slightly.Flour a pastry cloth and rolling pin sock. Roll one disc into a circle, starting from the center and working outward.Check size with an inverted pie plate, then flip dough into the pan using the cloth. Carefully, scoot your hand underneath the pastry cloth and flip the pie crust upside down. The pastry cloth will end up on top.Peel off the cloth, trim excess dough to ½ inch, fold under, and crimp the edge.
- Chill or freeze before baking. Repeat with second disc if needed.
Blind Baking (if needed):
- Line chilled crust with foil or parchment. Fill with pie weights or a clean metal chain to keep the crust flat while baking. Bake at 375°F for 25–30 minutes.Remove weights and foil. Prick any bubbles with a toothpick, press flat, and bake 5–10 minutes more until golden.
Equipment
Nutrition
All images and text ©️ Paula Rhodes for SaladinaJar.com
FAQ about Pie Crust
The dough may be too dry. Add a few drops of water and gently knead to bring it together.
Overworking the dough or adding too much water can develop gluten, making it chewy instead of tender.
The Food Marketing Institute’s “The Food Keeper “ recommends storing unopened solid shortening, such as Crisco shortening, at room temperature for 8 months. After opening, store at room temperature for 3 months for best quality.
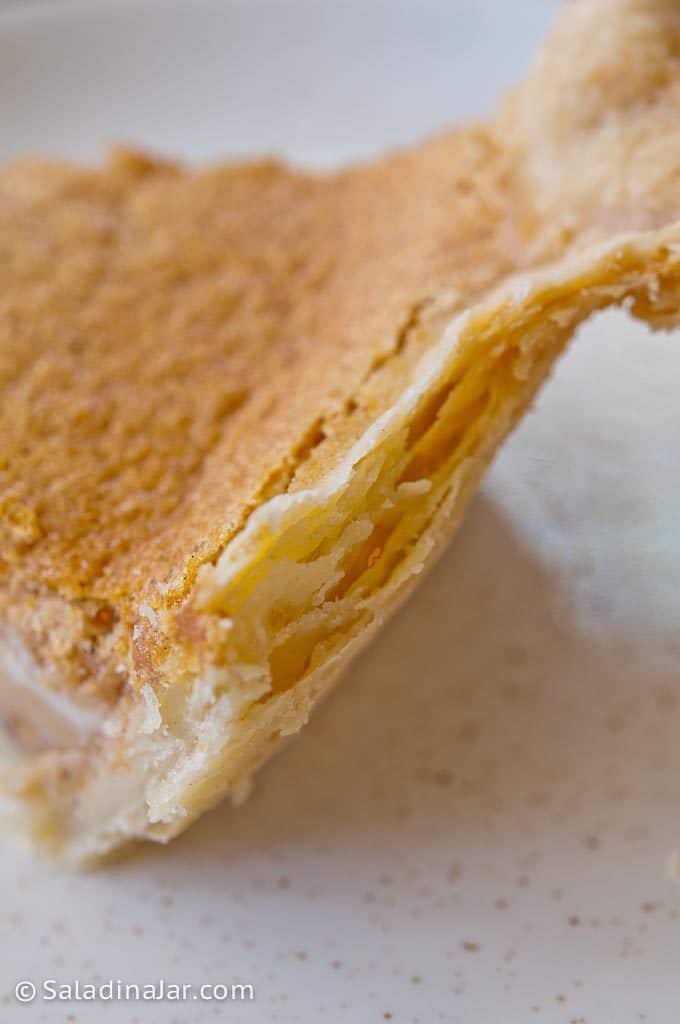
Butter adds great flavor, but all-butter crusts tend to shrink during baking—especially when blind-baked. Shortening helps the crust hold its shape, giving you a prettier, more reliable result.
Yes! Wrap discs tightly in plastic wrap and freeze for up to 3 months. Thaw in the fridge before rolling.
Final Thoughts
I encourage you to give this straightforward pie crust recipe a try. It’s a breeze to work and delicious to eat. You can also explore my alternative pie crust recipe, which incorporates yogurt for an extra flaky crust.
–Paula, Home Economist
Here are some “family favorite” pie recipes to try out: Browned Butter Pecan Pie and Grandma’s Custard Pumpkin Pie with Magical Layers.
Need help troubleshooting? Email me: Paula at saladinajar.com—photos welcome!

Great tutorial! I will try your fantastic method, thanks for sharing:))
That is awesome. I love the crimping. I was just “complaining” that I really stink at pie crust crimping. I try. But need to try harder to make it look better. Love your tutorial! Thanks.
Johnson Cty. where?
I never buy pie crusts because I think that it is too easy to make one. Then I never make pies because it seems like too much trouble to make a crust. You don’t get anywhere if you are cheap and lazy!
What a beautiful pie crust! I always like them better homemade! I will have to try your method!
What a fabulous tutorial, will have to try your method. I need to get a tea cloth. Love the design around your crust 🙂
Is this recipe for two crusts or one?
These recipes will each make 2 single crusts for 9″ pie or 1 double crust.
Thanks. No “skinny” tricks here. :+)
Thank you! I will start practicing this after the holidays.