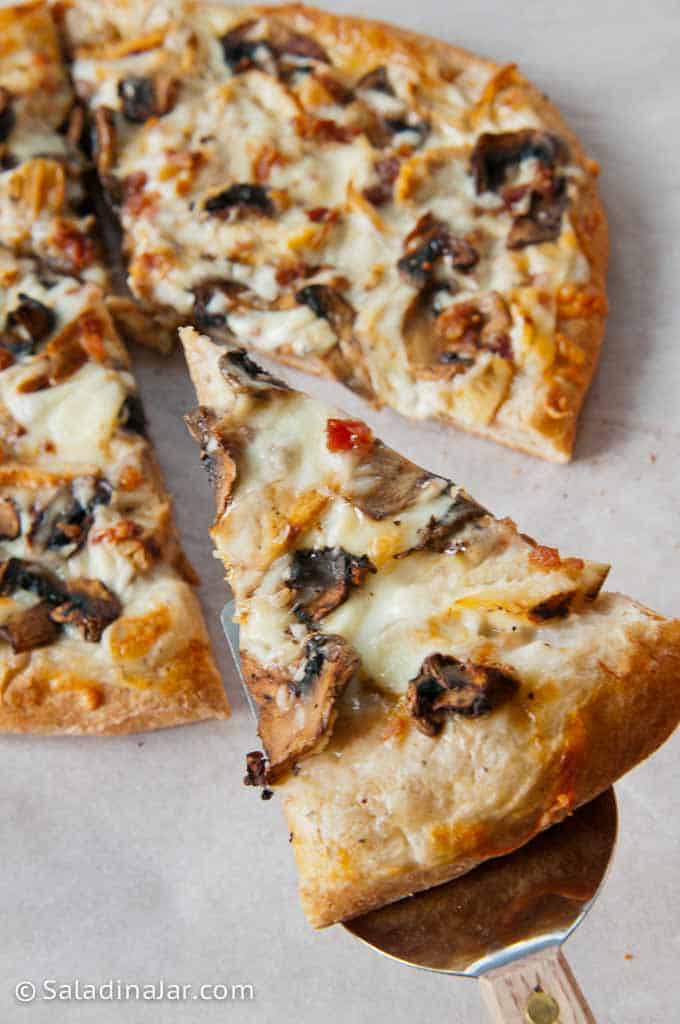
How to Get a Crispy Pizza Crust at Home (9 Practical Tips)
Sneak Preview: Love crispy homemade pizza? Learn 9 simple tips to achieve the perfect crust using your regular oven—no pizza stone needed! Whether you prefer thin and crunchy or thick and chewy, these tricks will take your pizza game to the next level.
This post contains affiliate links. As an Amazon Associate, I earn from qualifying purchases at no extra cost to you.
If you’ve ever followed a pizza recipe exactly and still ended up with a pale or soggy crust, you’re not alone. Crispy pizza isn’t about fancy tools—it’s about understanding heat, timing, and a few small but important details.
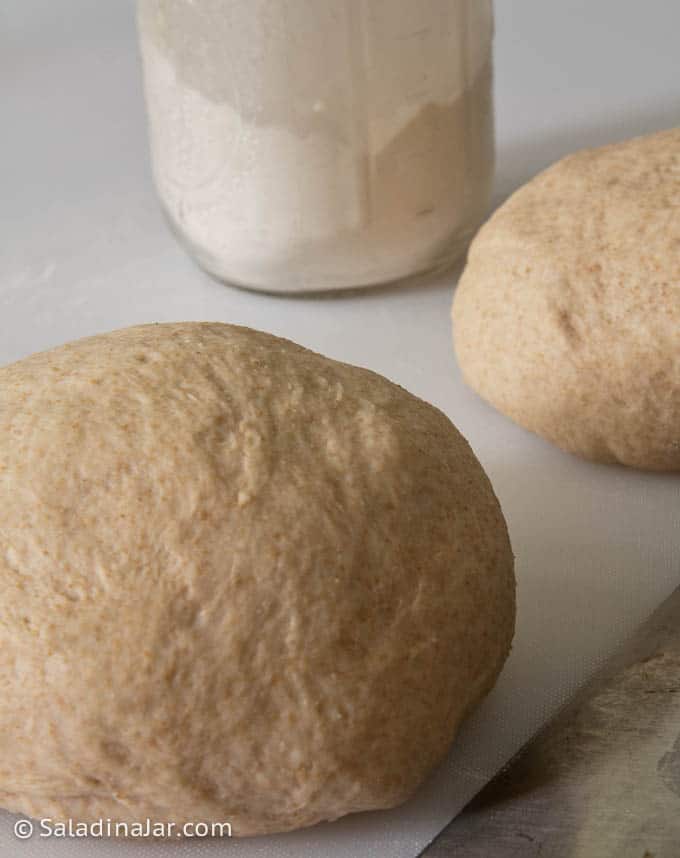
These tips work best when paired with a reliable dough. I usually mix my pizza dough in a bread machine using the DOUGH cycle, then shape and bake it in a regular home oven.
For a classic starting point, I still rely on the white pizza dough I’ve been making for more than 30 years, a dependable option for beginners and anyone without fancy equipment. When I want something heartier, I switch to a whole wheat pizza dough that’s bread-machine friendly but just as easy to make with a stand mixer or by hand.
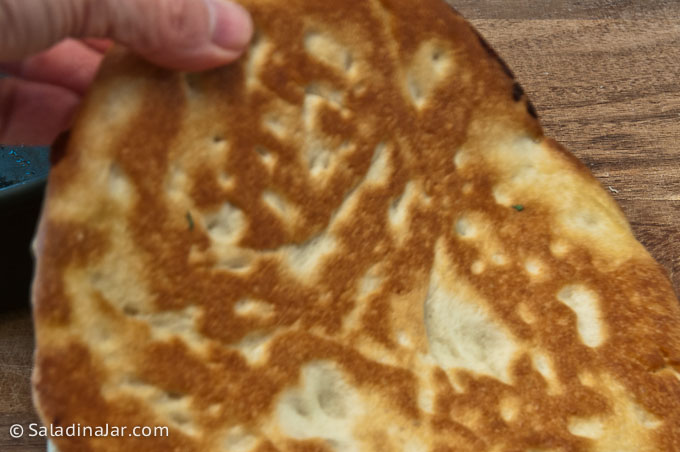
1. Use Heavy, Dark Pizza Pans
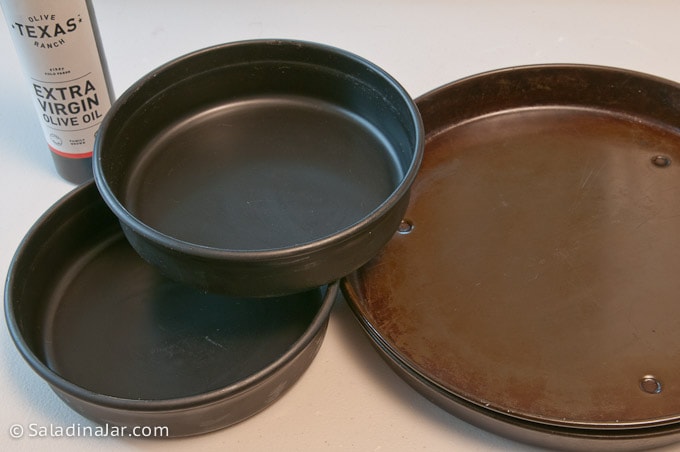
- Dark pans absorb heat better for crispy crusts.
- Look for used commercial pizza pans—they’re affordable, reliable, and pre-seasoned.
- Bonus: No pizza stone needed!
2. Generously Coat the Pan with Olive Oil
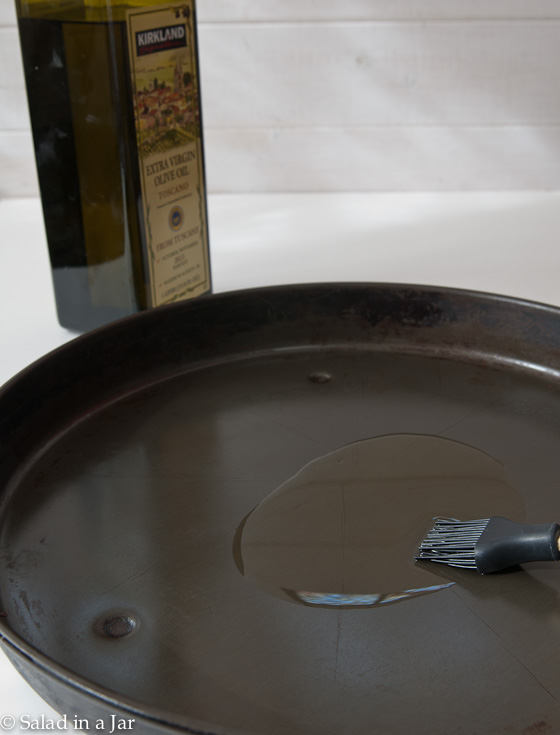
- Adds flavor and crispiness.
- Use 1-2 tablespoons for a 14-inch pan.
- Don’t skimp—the oil makes a huge difference.
3. Thin vs. Thick Crust Adjustments
Thin Crust:
- Roll dough thinner.
- Use a dough recipe without fat.
- Dock with a fork to reduce puffiness.
Thick and Chewy (but still crispy on the bottom)
- Let dough rise once before shaping. Cover and let dough relax for 10-15 minutes.
- Gently press into the pan and let rest for 10 minutes if necessary to make shaping easier.
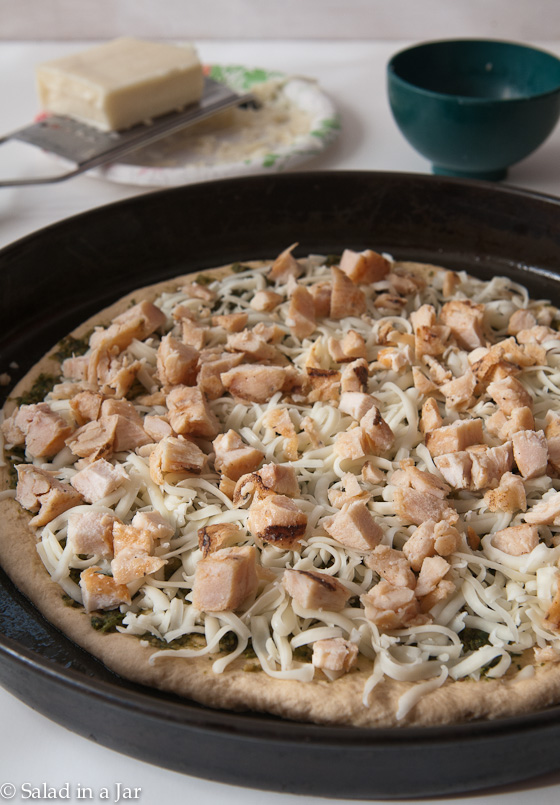
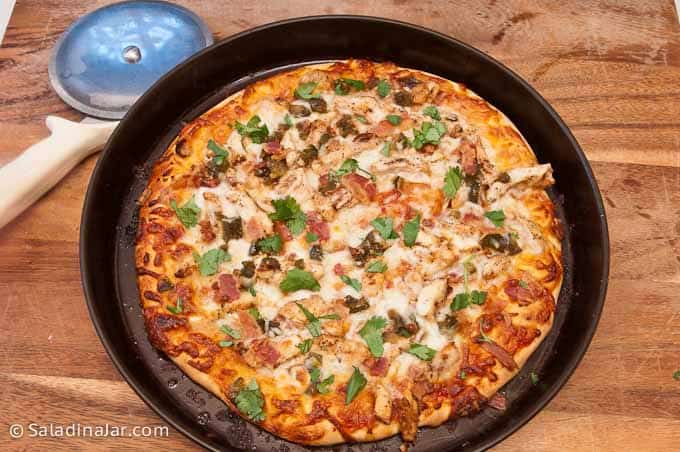
4. Build Your Pizza in the Right Order
- Crust→Sauce→Cheese→Toppings→Optional, More Cheese→Fresh Herbs (after baking).
5. Go Easy on the Sauce
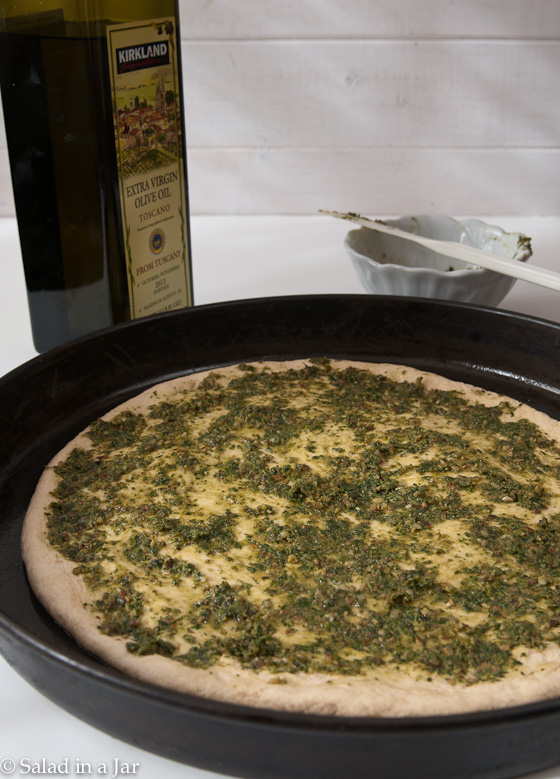
- Use a thin layer to prevent soggy slices.
- Pesto or BBQ sauce can be tasty alternatives.
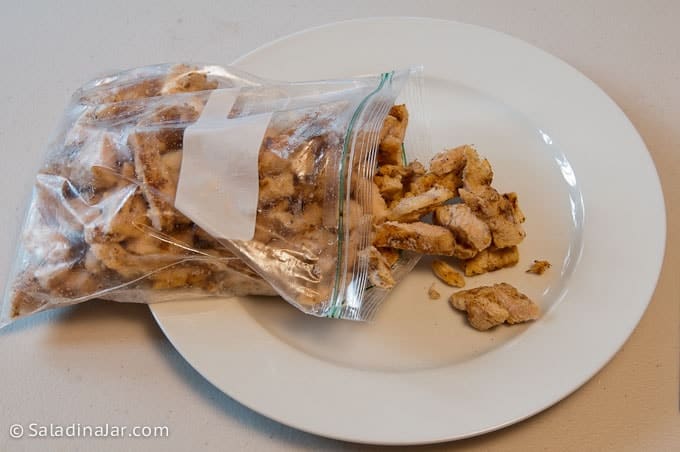
6. Mind the Toppings
- Avoid water-heavy ingredients like pineapple (or slice thinly and pat dry).
- Roast veggies first and pat dry.
- Use defrosted, cooked meats to prevent puddles.
7. Don’t Overload with Toppings
- Less is more—too many toppings lead to uneven baking.
- Keep ingredients balanced for optimal texture and flavor.
8. Turn Up the Heat
- Preheat to 475˚F; bake at 425˚F.
- Experiment with your oven for best results.

9. Watch for Air Bubbles
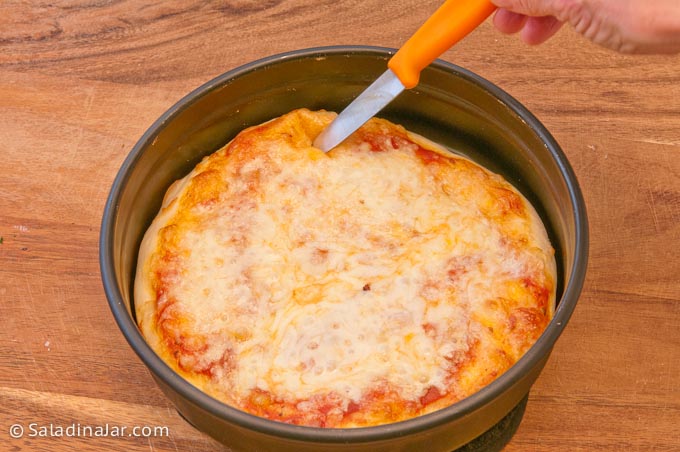
- After 8-10 minutes, check for large bubbles.
- Prick with a knife or fork to flatten them.
Final Thoughts
Pizza night doesn’t have to feel complicated. With a solid dough and a few thoughtful adjustments, you can turn out pizzas with a crisp, golden bottom in a regular home oven. Once you get a feel for how your dough and oven behave, making great pizza becomes second nature—and a whole lot more fun.
— Paula, Home Economist
Homemade Food Worth Sharing
Need help troubleshooting?
Email me: Paula at saladinajar.com — photos help!
p.s. As a former Research and Development person for a national pizza chain, I combined what I learned in the research kitchen and 45+ years of making pizza at home to write this post.

Hi Paula!
I have a question for you regarding dough cycles in bread machines. I have used the dough function for all my breads, and later baked them in the oven. After 5+ years with my KBS bread machine, I noticed that there is a setting for leavened dough. 🙄 Now research says the difference is the use of a leavening ingredient (yeast, baking soda etc.) and that the difference in bread machines is that it allows the dough to rise in the machine, unless you are making things that are flat, crackers, matzos, etc.
Now, every bread machine recipe I’ve made has rose in the machine. But now I’m wondering based on ppl saying they always use the leavening setting making dough. Seems kinda counterintuitive to me, lol! What’s your thoughts?
Btw, I’m making your pizza dough tonight, always have had great results from your recipes.
Hi Cookie,
Short answer: on KBS machines, the wording is confusing.
“Raw Dough” appears to be meant for unleavened doughs (no yeast—think noodles or crackers).
“Ferment/Leavened Dough” is the cycle that includes kneading and a proper first rise, which is what yeast dough needs.
On most U.S. bread machines, the DOUGH cycle already includes fermentation. KBS just labels it differently. If your dough has been rising well all along, you were using the right cycle—even if the name didn’t make that obvious.
So you’re not wrong, and you’re not crazy. 😉
—Paula
If only I had gone to your website and not read the instructions I have in a cookbook, I would not have
had so many disasters. Thank you for all your patience in answering my questions. I have now bookmarked this page to ensure I do not need to bother you again on this issue.
Rather than the pizza stone I will use my large cast iron frying pan (Skillet) in future.
I love a homemade pizza recipe, and this one looks like a winner!
Thank you for the best secrets.
How did I miss this original post? Of course, I guessed the #1 problem because it is my #1 problem. I usually put too many toppings on my pizzas. I struggle with pizza, even though we love it, so I will be implementing these steps. I also put my cheese on last, and it inhibits the thorough baking of the pizza because it burns too fast. These fixes seem obvious in hindsight, but I just never thought of them. Thanks for coming to the rescue with your experience and wisdom. Have a great weekend!
Hey Becky,
Always love to hear from you. I used to put the cheese on last, too. I think a lot of people do. In fact, that might be the #2 most common mistake.
I adore pesto on my pizza. Great tips, photos and a save-worthy recipe
Yum, I’d love to inherit your pizza pans!
Your pizza recipe sounds delicious! I love homemade pizza, and I’m always looking for new recipes!
Pinned!
Thanks Melissa, I am always looking for new pizza recipes myself–especially simple ones.