Mini Pumpkin Pie Tarts with Shortbread Crusts
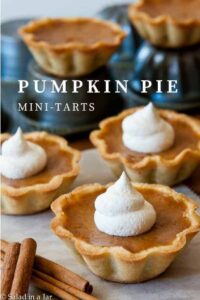
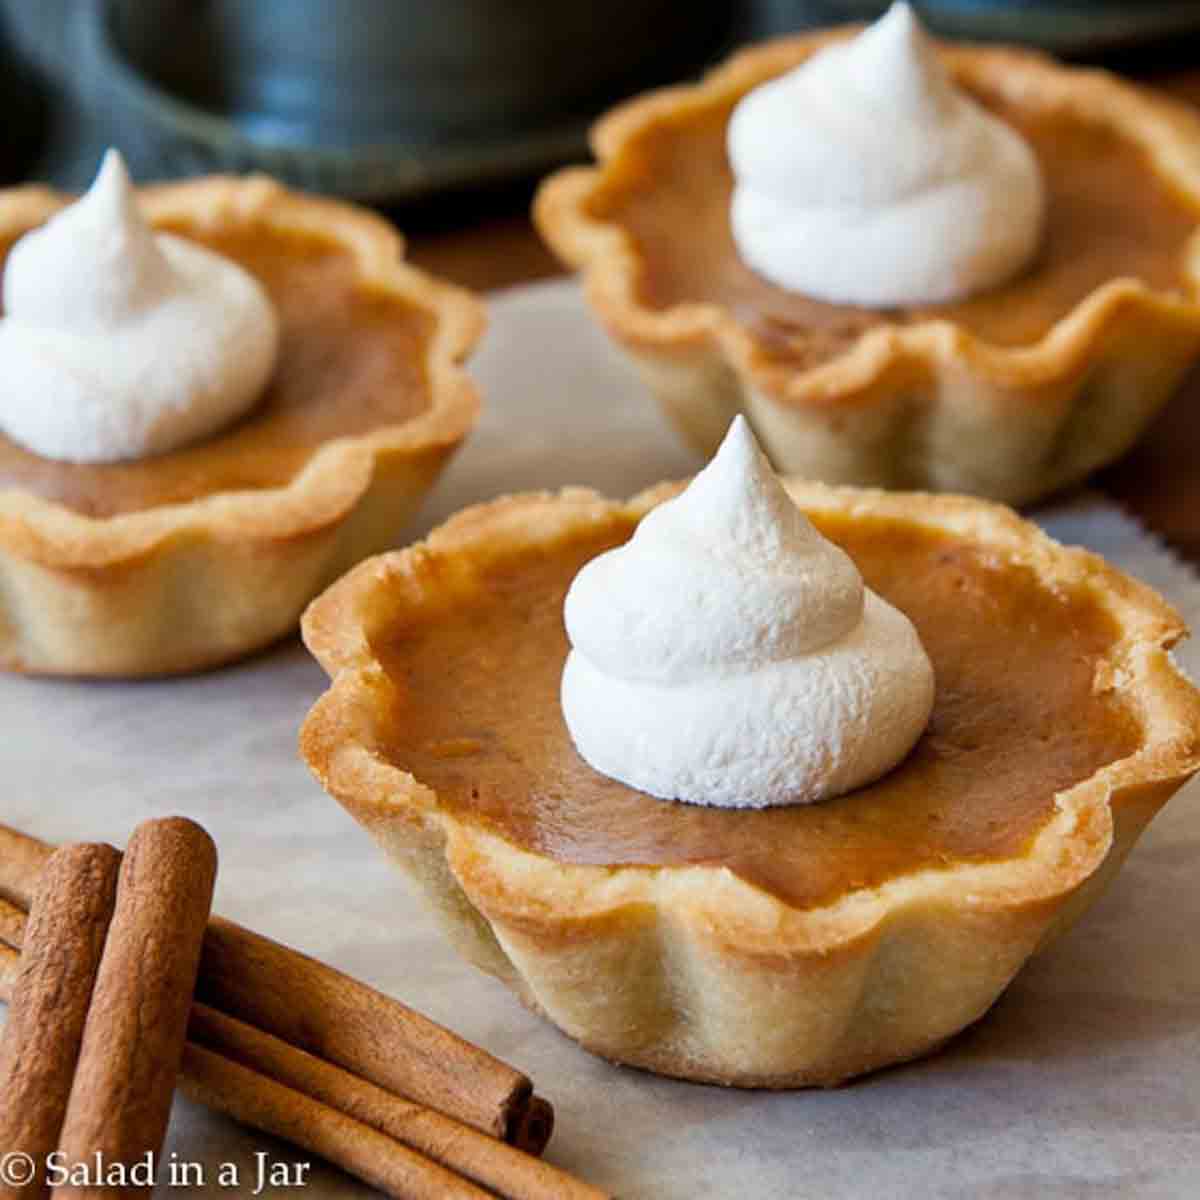
Sneak Preview: These Mini Pumpkin Pie Tarts are individual-sized versions of classic pumpkin pie, baked in tender shortbread crusts. They’re easy to serve and always a hit on holiday dessert tables.
This post contains affiliate links. As an Amazon Associate, I earn from qualifying purchases at no extra cost to you.
We all have that one guest who wants a sliver of every dessert. That’s me—and maybe you too. These mini pumpkin pie tarts are my answer. They’re just the right size for tasting everything without overdoing it. Think of them as the “100-calorie snack” version of traditional pumpkin pie—lighter than a full slice, but with all the flavor.
The filling is my twist on Libby’s classic recipe from the canned pumpkin, nestled into a buttery shortbread crust shaped by hand. They’re festive, freezer-friendly (at least the crusts are), and always one of the first treats to disappear from the dessert table.
Ingredients and Substitutions
ALL-PURPOSE FLOUR: No substitute recommended
POWDERED SUGAR: Creates a tender crust; granulated sugar makes it crisper and harder to shape
BUTTER: Use unsalted; margarine or plant-based butter can work but may affect texture
EGG YOLKS: No good substitute—egg whites won’t provide the same richness or structure
HEAVY CREAM (crust): Whole milk may work in a pinch, but the dough may be less pliable
BROWN SUGAR: Light or dark both work; granulated sugar lacks the depth of flavor
SPICES: Use 1½ to 2 teaspoons pumpkin pie spice in place of the individual spices
MILK + HEAVY CREAM (filling): Half-and-half can be substituted for both
PUMPKIN PUREE: Homemade pumpkin puree is fine if it’s well-drained and thick
A Pep Talk About Making Tart Crusts…
Making mini tart shells takes a little practice—even mine aren’t all picture-perfect, and I’ve been baking pies for years (the “rejects” make a great snack!). If you’re baking for a special occasion, try a test batch first so you can relax when it counts. And if homemade crusts feel like too much right now, store-bought mini tart shells are a great backup—they won’t taste quite the same, but they’ll still look impressive.
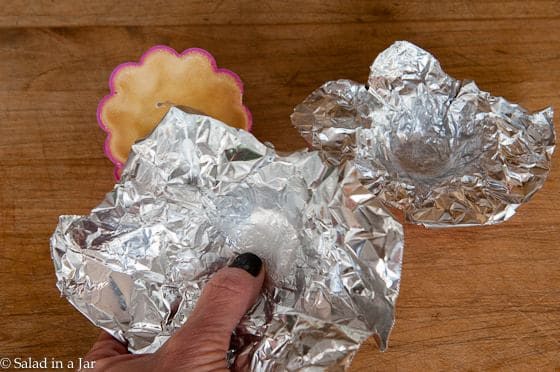
Step-by-Step: Shaping Shortbread Crusts for Mini Pumpkin Tarts
⬇️ Jump to the recipe below for exact amounts and detailed instructions.
? Tips That Make a Difference
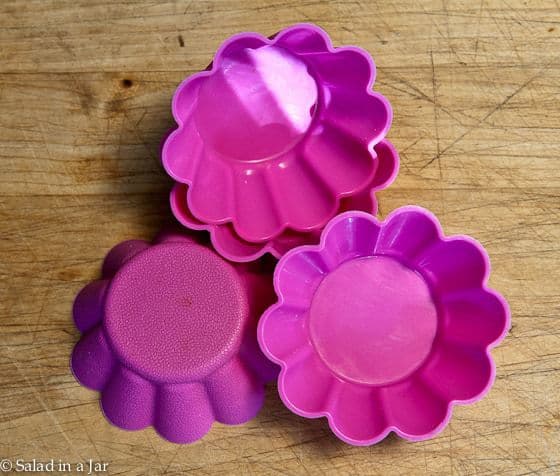
- Silicone molds are useful beyond tarts—I also use them for muffins and freezing individual leftover egg whites for my favorite Angel Food Cake with Ganache.
- The foil is reusable. I store them with my tart molds.
- Wear food-safe gloves to keep your hands from warming the tart dough.
- Strain the filling for an extra-smooth texture.
Mini Pumpkin Pie Tarts with Shortbread Crusts
Video
Ingredients
Crust:
- 3 cups (360 g) all-purpose flour
- ⅔ cup (80 g) powdered sugar
- ½ teaspoon salt
- 1 cup (228 g) butter, chilled 2 sticks
- 2 large (32 g) egg yolks
- 2 tablespoons heavy cream
Pie Filling:
- ¾ cup (165 g) brown sugar
- 1 teaspoon cinnamon
- ⅛ teaspoon cloves
- ½ teaspoon ginger
- ½ teaspoon salt
- ⅛ teaspoon allspice
- 2 large (136 g) eggs + 1 egg yolk
- 1 15 oz. can (425 g) pure pumpkin puree
- ½ cup (119 g) heavy cream
- ¾ cup (183 g) milk
Instructions
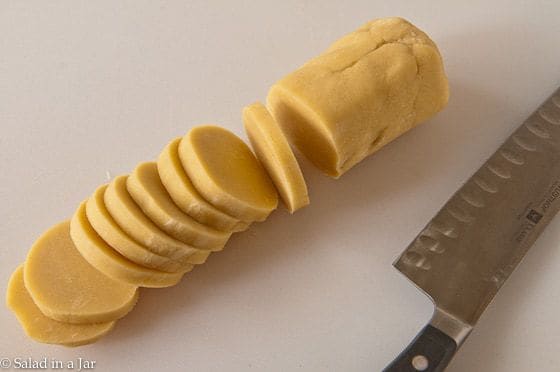
- Make the Dough: Combine 3 cups (360 g) all-purpose flour, ⅔ cup (80 g) powdered sugar, and ½ teaspoon salt in a food processor. Cut 1 cup (228 g) butter, chilled, into 16 slices and add to the flour mixture, pulsing several times until the mixture resembles oatmeal. Add 2 large (32 g) egg yolks mixed with 2 tablespoons heavy cream. Pulse until all ingredients are moistened. Allow the machine to run until the dough sticks together. (Add additional drops of cream if the dough seems too dry.) Press dough into two rolls like refrigerated cookie dough. Wrap each roll in plastic and chill for at least 30 minutes.
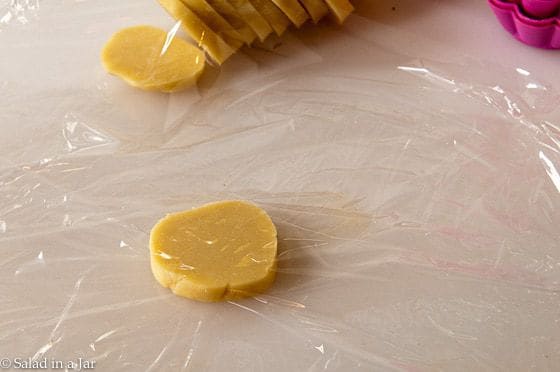
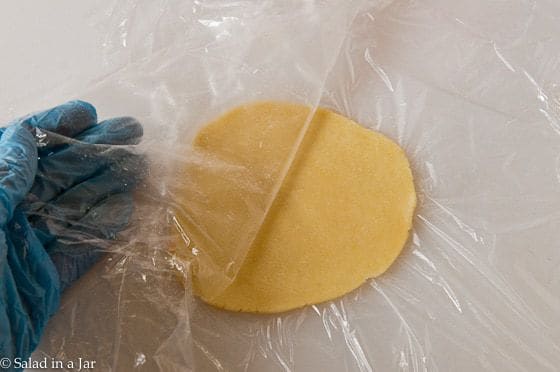
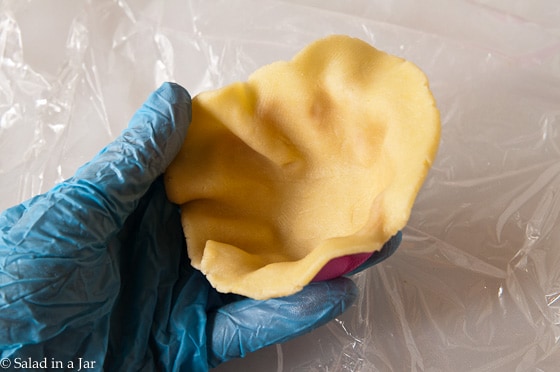
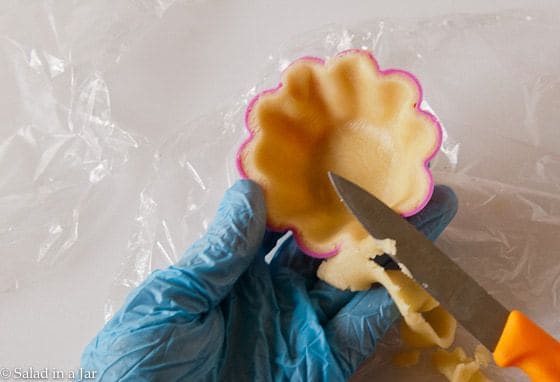
- Shape the Crusts: Slice each chilled roll of dough into 14 pieces. Using a rolling pin, flatten dough between two pieces of plastic wrap into a circle slightly larger than tart molds. Press into a mold with fingers, carefully keeping the thickness consistent. Use a knife to trim off any extra dough hanging over the top. Freeze for at least 30 minutes, overnight or up to a month.
- Blind-Bake the Crusts: Place frozen tart shells onto cookie sheets and press a small square of foil down into each crust that molds to the shape of the crust and covers the edge. Bake at 400˚F (200˚C) for 10 minutes. Remove foil and bake until golden brown, usually about 3-4 minutes.
- Mix the Filling: While crusts are pre-baking, combine ¾ cup (165 g) brown sugar, 1 teaspoon cinnamon, ⅛ teaspoon cloves, ½ teaspoon ginger, ½ teaspoon salt, ⅛ teaspoon allspice in a medium bowl.Whisk 2 large (136 g) eggs + 1 egg yolk and 1 15 oz. can (425 g) pure pumpkin puree together in another bowl. Add ¾ cup (165 g) brown sugar to the spice mixture and whisk well. Add ½ cup (119 g) heavy cream and ¾ cup (183 g) milk and whisk until smooth.
- Fill and Bake: Spoon filling into the baked crusts, nearly to the top but not overflowing. Bake at 350°F (170°C) for 15–20 minutes or until the centers are set. Cool on a rack, then chill before serving.
Notes
Equipment
Nutrition
All images and text ©️ Paula Rhodes for SaladinaJar.com
FAQ
Can I use a muffin pan instead of tart molds?
Yes, though shaping is a bit trickier. If using a dark nonstick muffin pan, you can skip blind-baking—just freeze the filled shells and bake straight from frozen until the filling is set.
Can I freeze these mini pumpkin tarts?
You can freeze the unbaked crusts while still in the molds. Bake them straight from frozen when ready to use. Fully baked tarts don’t freeze well—the filling texture may turn grainy.
Final Thoughts
MIni tarts of all kinds are my thing. I always use this same shortbread crust. It’s the best!!
One last thing…these pumpkin pie tarts have a huge advantage over the full-size variety. They don’t crack after you take them out of the oven like many of the full-size pies are prone to do. Score!!!!
Need help troubleshooting? Email me: Paula at saladinajar.com—photos welcome!

i do not have a food processor. Can I make the crust by hand? I usually grate my butter into the flour and combine by hand. Do you think this will work with this crust?
Hi Barbara, Absolutely. It might take a little more time but that should work.
Ok these were a HIT! So delicious and definitely the most I’ve ever enjoyed pumpkin pie. I’ve been trying to find a similar recipe for a large pie (with the shortbread crust) but I can’t find one anywhere – have you tested this in large pie form? I would love to make it
This recipe was originally my pumpkin pie recipe with a traditional pie crust. But I like serving the small tarts so much better. They don’t crack and the shortbread is just as delicious as the flaky pie crust. And they are easier to serve. No slicing in the plate and making a big mess. Enjoy.
would like to know if you can switch out sweet potato for pumpkin in this recipe
Jenny, I haven’t tried it. Not sure. paula
It worked fabulously! i just switched out the cloves for mace and it was delish!
Thank you for the recipe and your reply!
If we are going to bake at the same day or time, do we have to freeze it before baking?
Or, should be freeze for 30 míns before pre baking?
Regards; From Iceland
Yes. Freezing keeps them from shrinking too much.
Can these be made and then frozen? I’m thinking they would be great for make ahead lunch desserts
Cynthia,
I have not tried freezing these but I’m skeptical. Cooked custard filling of any kind tends to separate when frozen. You can freeze the unbaked crusts ahead of time for sure but once you put the filling in and bake them, you have about a day to eat them.
Hi, thanks for the info… going to try these this year and found your site to tell me the length of time..Happy Thanksgiving
I could eat half a dozen of these right now. Not because I’m hungry but because they look delicious. Best wishes for a wonderful Thanksgiving Paula.
I absolutely love these tarts. What’s better than a pumpkin pie you can walk around with? nothing.
SO much better than a big pie. I would imagine these are a lot easier to eat and therefore MIGHT just mean eating MORE!! Just sayin’.
Margaret,
Yes, I have had people tell me that as they grabbed “another for the road.” Be warned!
These look yummy, as usual! As for the calorie content, 1/8 of a slice of pumpkin pie is around 300 calories….so I’m guessing these may be around 150 calories if made into 16 portions. The RD side of me had to figure it out. 😉
Sounds about right, Susie. Thanks for figuring it out.
Paula, these look wonderful, what a great idea and well done tutorial. I’d eat too many thinking they were “safely small”.
Hope you’re doing well!
Chris,
So nice to hear from you. Love that term, “safely small.” Like you, I could use that term to rationalize a lot of sins. 🙂