How to Make a Yogurt Whey Sourdough Starter
Sneak Preview: Use yogurt whey to make a bubbly, strong sourdough starter in 5–10 days. Perfect for beginners and a great way to use leftover whey from homemade yogurt!
This post contains affiliate links. As an Amazon Associate, I earn from qualifying purchases at no extra cost to you.
If you make homemade yogurt, you’ve probably wondered what to do with all that leftover whey. Instead of pouring it down the drain, use it to jump-start a sourdough starter. The beneficial bacteria in yogurt whey help create an environment where wild yeast can flourish, giving beginners an easier start.
Note: If you’re brand new to sourdough, consider starting with an active starter from a friend or are a reputable commercial source (paid link). Once you’re comfortable with baking sourdough, try making your own with my easy recipe.
Using Yogurt Whey to Kickstart Fermentation
The bacteria found in yogurt whey is the perfect kickstarter for a sourdough starter. The live lactic acid bacteria create a welcoming environment for yeast microbes to flourish–especially in the beginning. Think of them as giving your starter a head start. They provide a bit of insurance against the bad bacteria or mold that could otherwise set up camp in the starter jar.
Ingredients & Substitutions
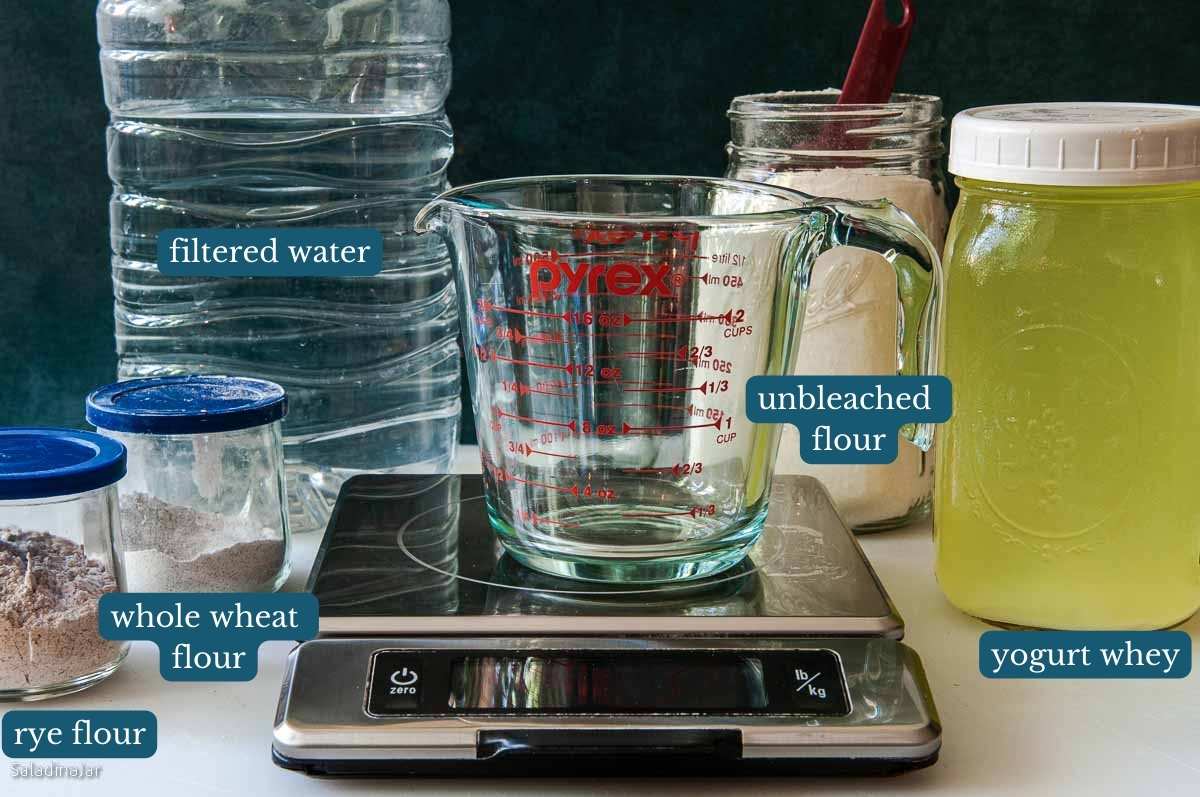
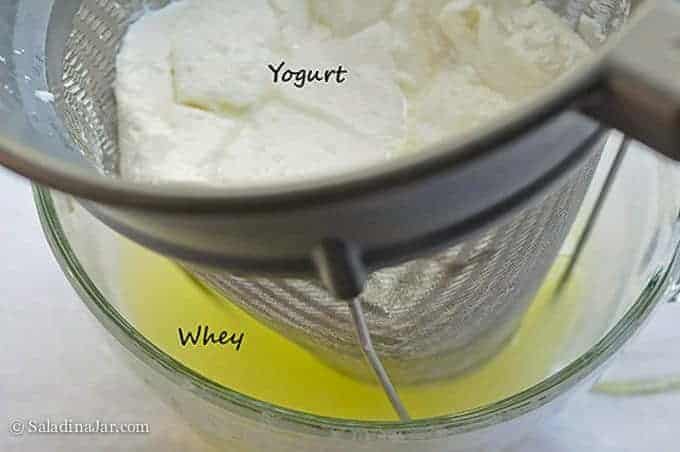
• YOGURT WHEY: Fresh whey from homemade or plain yogurt with live cultures works best.
• WATER: Filtered or tap water is fine. Avoid heavily chlorinated water.
• ALL-PURPOSE FLOUR: Unbleached flour encourages stronger fermentation.
• WHOLE WHEAT OR RYE (optional): A pinch supplies extra minerals that can encourage microbial activity.
How Do You Make a Sourdough Starter with Yogurt Whey
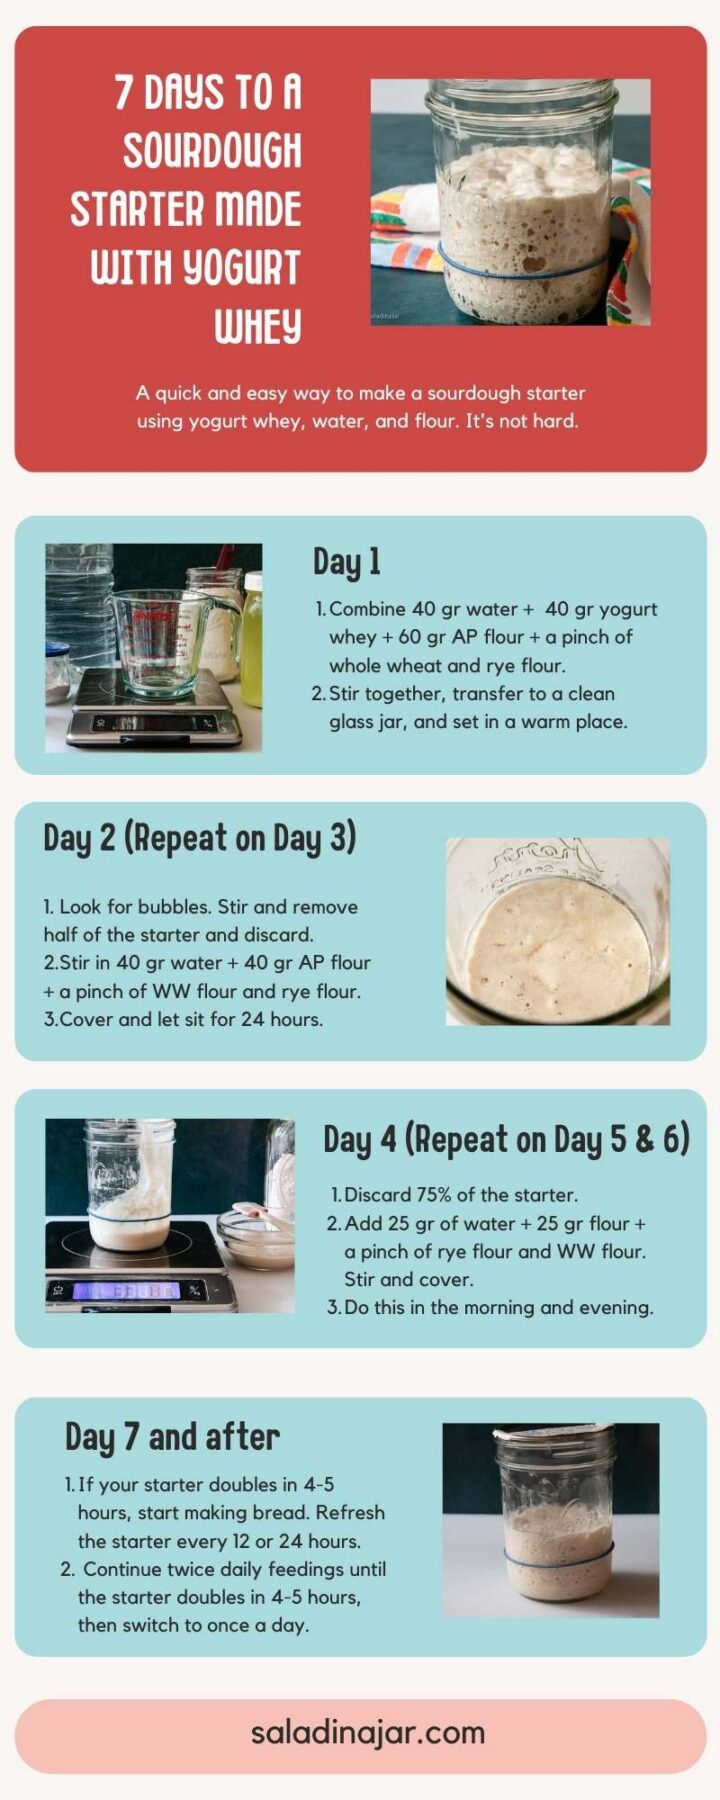
Day 1: Mix Ingredients
⬇️ Jump to the recipe below for exact amounts and detailed instructions.
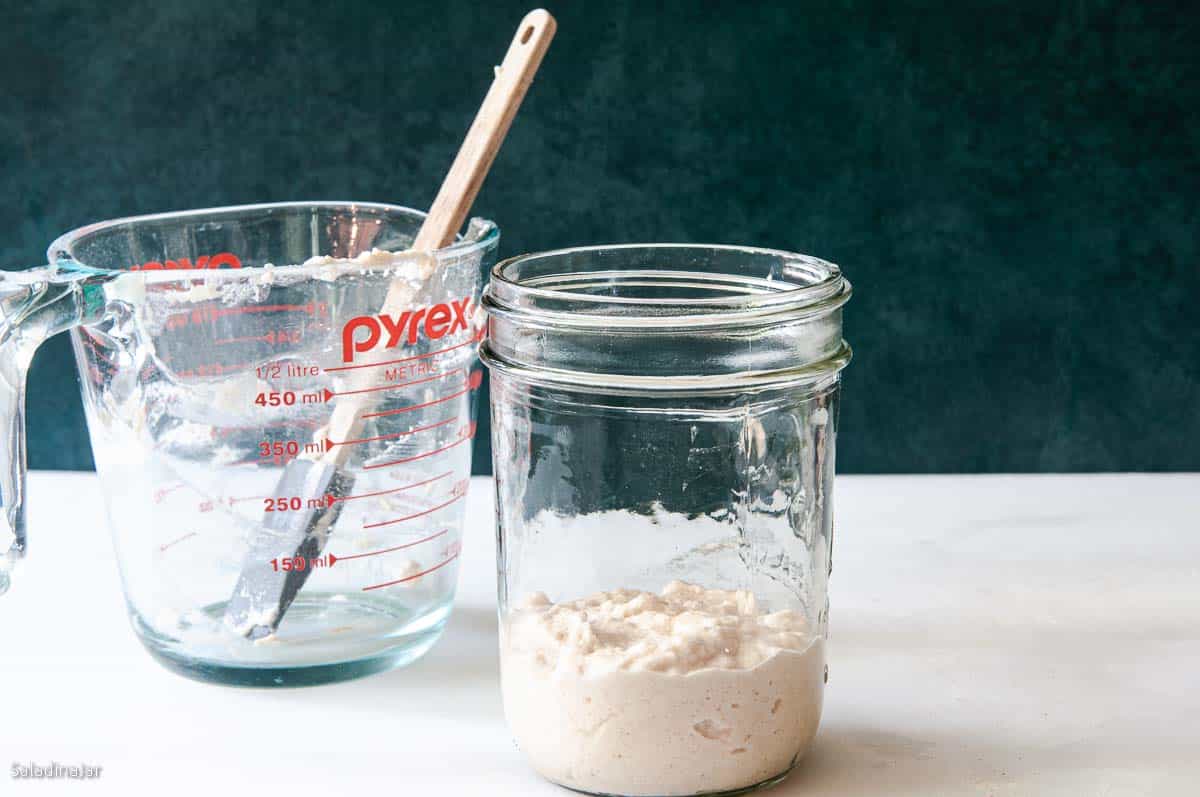
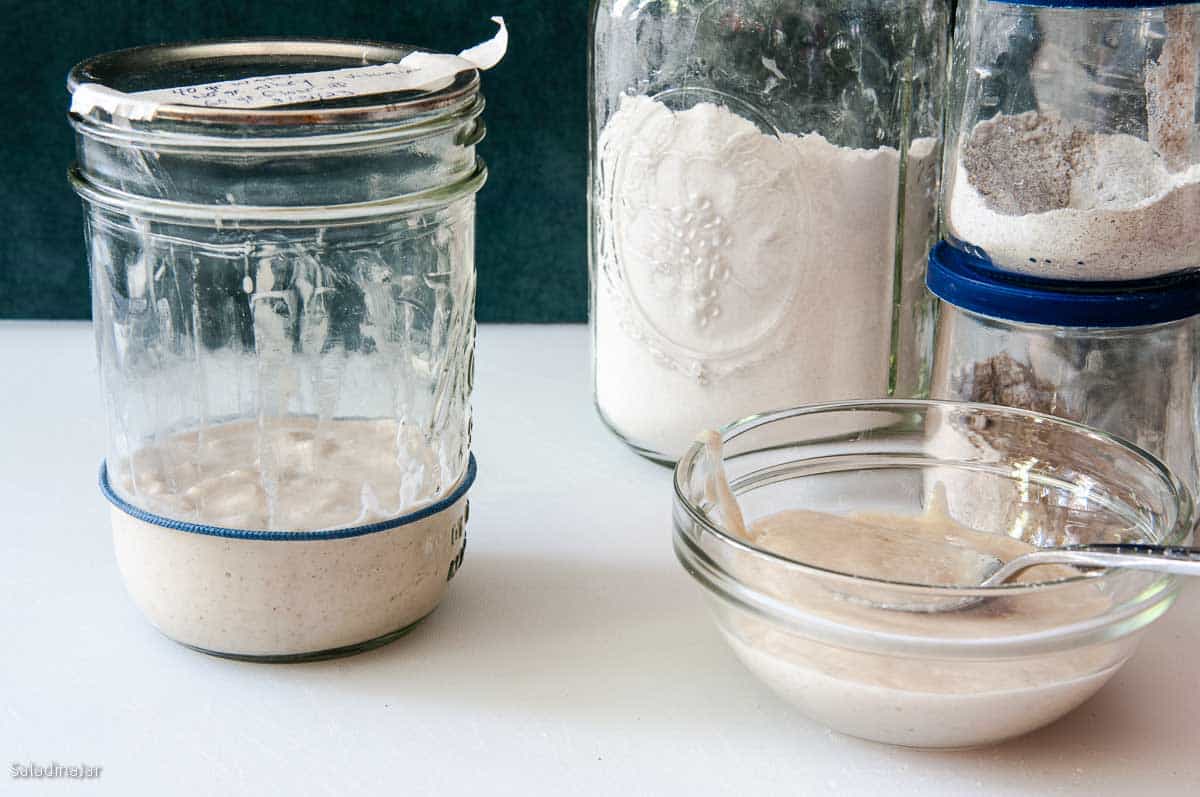
If using a Mason jar, lay a flat canning lid on top. You don’t need the metal collar for now. If you don’t have a lid for your glass jar, throw a tea towel or plastic wrap loosely over the bowl or jar to keep out foreign objects such as dust or small flying insects.
Day 2-3: Feed the Starter
- Check for bubbles after 24 hours.
- Discard half the mixture.
- Add 40g (3 tbsp) water and 40g (3 tbsp) flour. Stir well.
- Repeat every 24 hours.
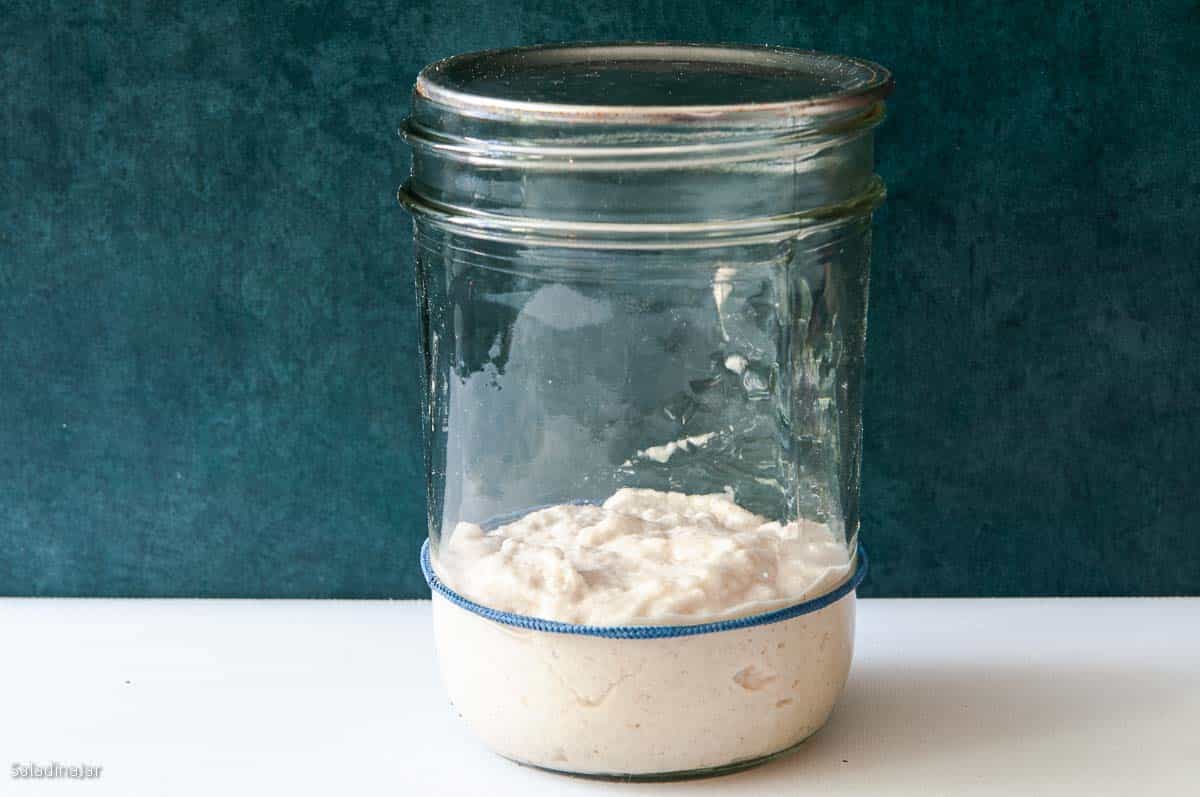
Day 4-6: Strengthen the Starter
- Discard three-quarters of the starter. Keep about 25g (1 tbsp).
- Add 25g each of water and flour.
- Stir and let sit in a warm spot.
- Feed every 12 hours to boost activity.
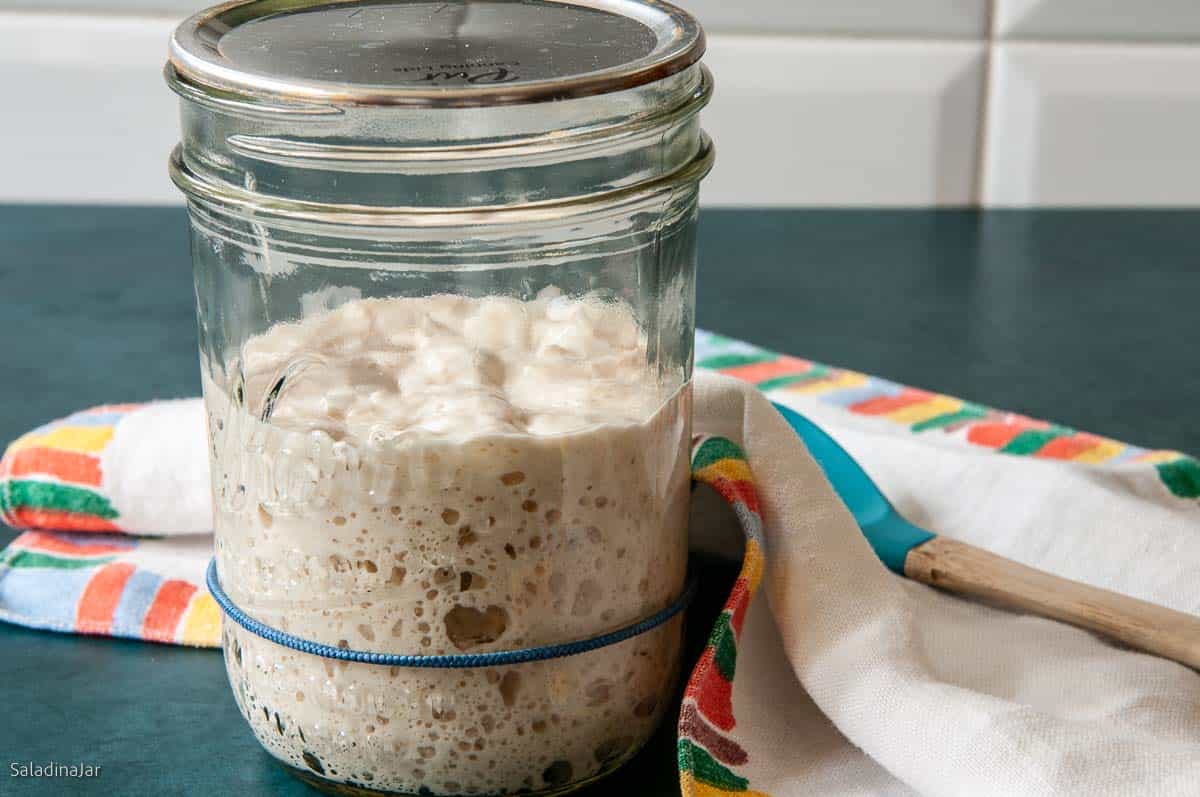
Your starter should be quite active by now, rising more each day and eventually falling back to the rubber band level.
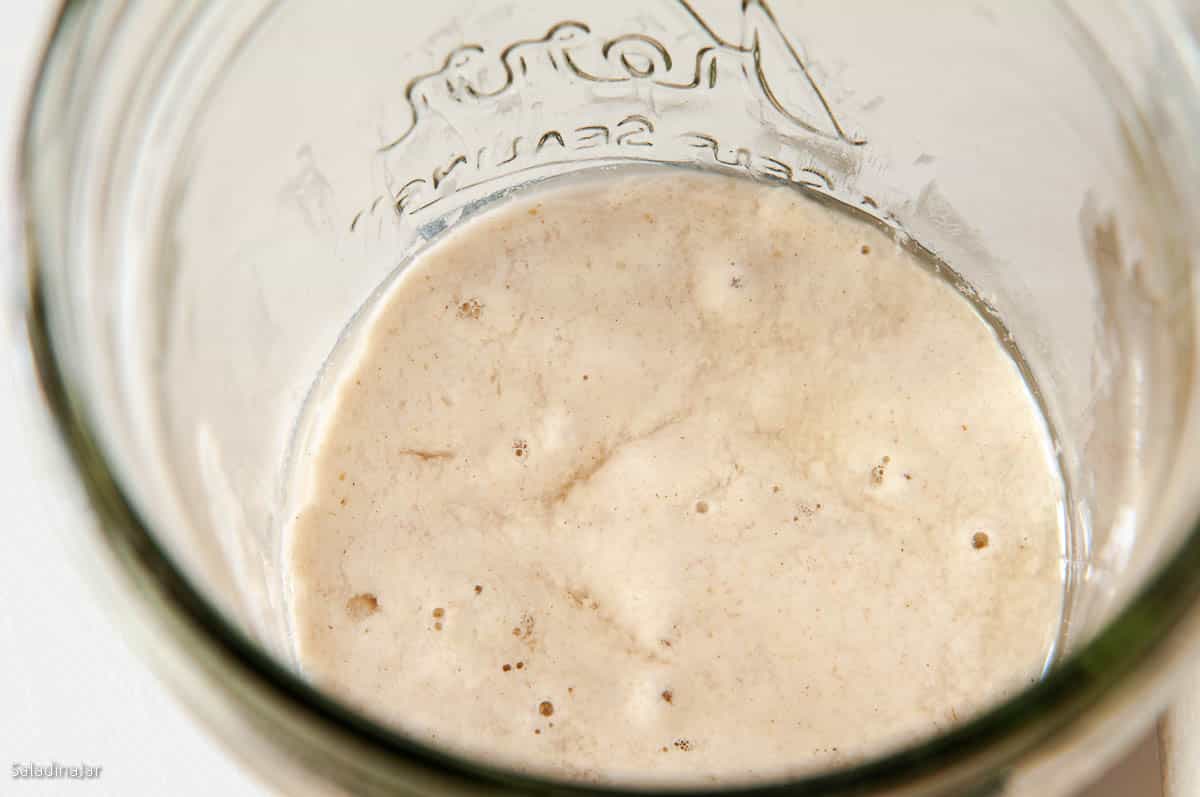
Day 7: Check Readiness
- If the starter doubles or triples in size within 4–5 hours, it’s ready to bake.
- Not ready? Keep feeding twice daily until active.
- Store in the fridge if not baking immediately; refresh weekly.
Quick Visual Guide: Yogurt Whey Sourdough Starter
Pin it for an easy reference as you build your starter.


Yogurt Whey Sourdough Starter Recipe
Ingredients
What you need on day one:
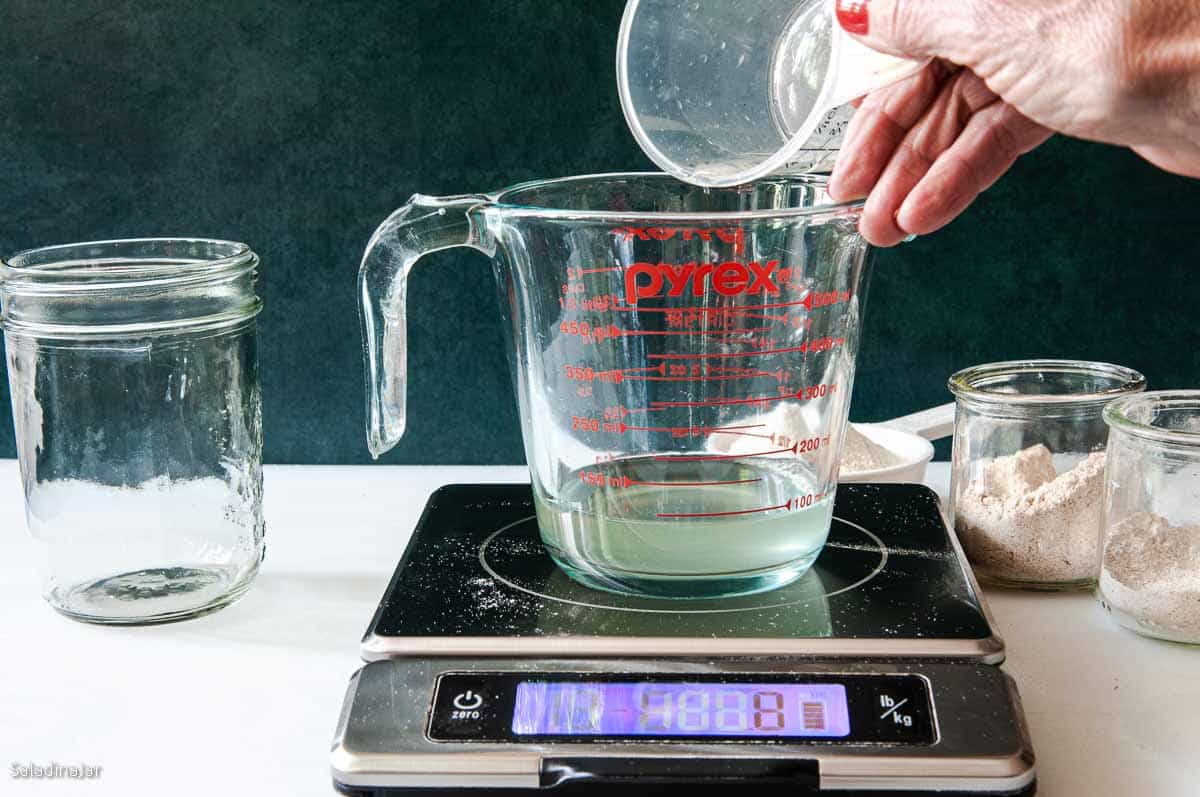
- 3 tablespoons water–filtered or tap 40 gr
- 3 tablespoons yogurt whey 40- gr
- ½ cup all-purpose white flour 60 gr
- 1 pinch whole wheat flour (optional)
- 1 pinch rye flour (optional)
Instructions
DAY 1:
- Mix 3 tablespoons water–filtered or tap, 3 tablespoons yogurt whey, and ½ cup all-purpose white flour to a small bowl or one-pint measuring cup.
- Stir until fully combined, then transfer to a clean pint jar or small bowl.
- Cover loosely and place in a warm spot 78–80°F (25-26˚C).
DAY 2:
- Check for bubbles (it's okay if none appear yet).
- Stir, discard half, and mix in: 3 T (40g )water, ⅓ cup (40g) all-purpose flour, a pinch of rye flour and whole wheat flour (if desired).
- Cover and let sit in a warm place for 24 hours.
DAY 3
- Repeat Day 2.
- If you still aren't seeing bubbles, move your jar to a warmer location.
DAY 4
- Discard 75% of the starter, keeping about 25 g of starter.
- Mix in 2 tablespoons (25 gr) of water and a scant ¼ cup (25 gr) of AP flour (+ a pinch of rye, and a pinch of WW flour, if desired). Stir and Cover. Feed twice daily (morning and evening).
DAY 5-6: Repeat Day 4.
DAY 7 and Beyond:
- If your starter doubles in 4-5 hours, you can start making bread. If not repeat Day 4 until it does.
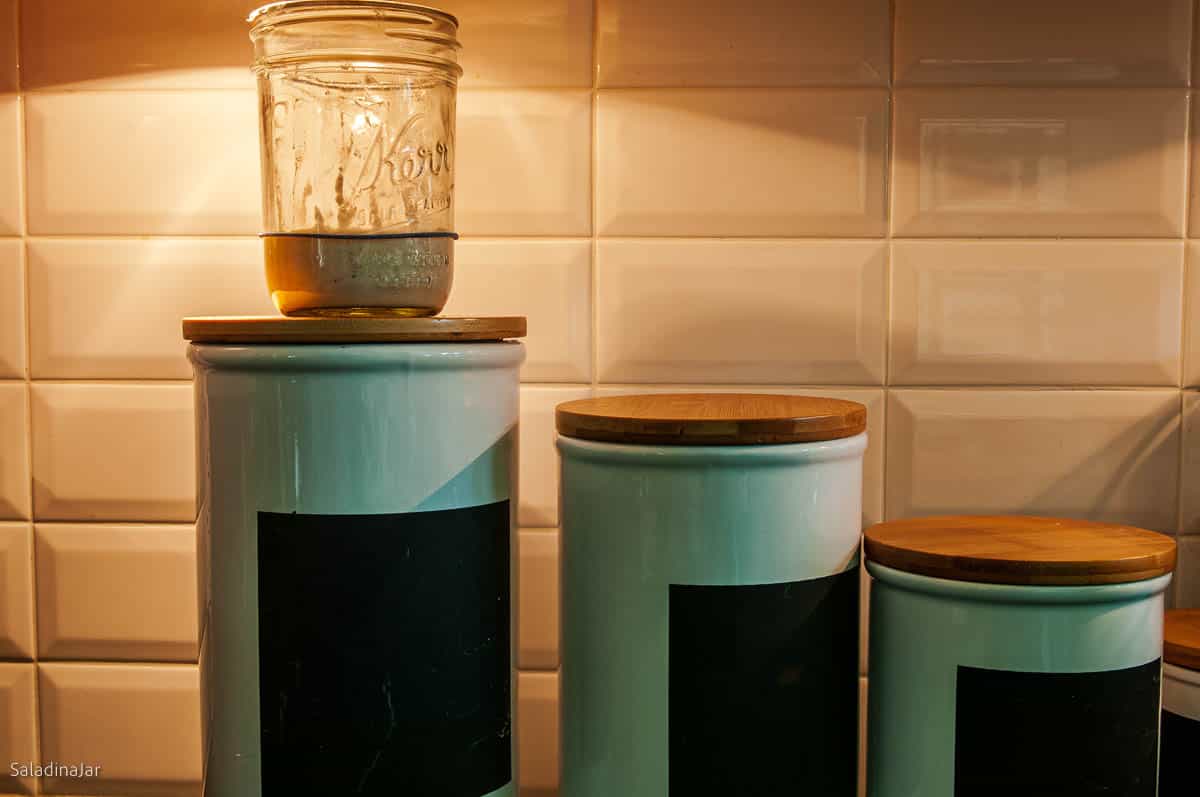
Maintenance:
- If keeping your starter at room temperature, feed once daily (or twice if the ambient temperature is very warm).
- For breaks, store in the fridge and refresh weekly.
- Before baking again, remove from the fridge and repeat Day 4 for 1–2 days.
Notes
Nutrition
All images and text ©️ Paula Rhodes for SaladinaJar.com
Frequently Asked Questions
Can I use whey from Greek yogurt?
Yes. The clear yellow whey strained from regular or Greek yogurt works well as long as the yogurt contains live active cultures.
Why isn’t my starter bubbling?
It might be too cold. Try moving it to a warmer spot between 75–85°F to encourage fermentation.
Do I have to throw away the discard?
Yes—removing part of the starter keeps the balance of bacteria healthy and prevents your bread from becoming overly sour. It also keeps the amount of starter manageable, so you don’t need a giant jar.
Can I use plain yogurt instead of whey?
You can, but whey contains more active lactic acid and helps jumpstart fermentation more effectively than yogurt alone.
Final Thoughts
Once your starter is bubbly and active, you’re ready to bake everything from sandwich bread to rustic artisan loaves. Don’t forget to save a little starter and refresh it regularly so it stays healthy for years to come.
— Paula, Home Economist
Homemade Food Worth Sharing
Need help troubleshooting?
Email me: Paula at saladinajar.com — photos help!

Paula, thank you so much for sharing this! I am out to make the sourest sourdough I can, as I’m trying to help my guts adjust from the good sourdough that kept me alive and thriving in Europe this summer and there is no bread in US sour enough to match it. In this case shall I keep the part you would normally discard, or is there another way I should adjust things? I’m struggling with the idea of discarding so much esp. given that you explained below that you do that to avoid the sourness, which is very much what I want more of. Thank you for the clarification!
Hi June,
If you chill the dough in the fridge for at least 24-48 hours after the bulk rise, the extra time and temperature usually intensifies the sourness. I don’t have the science background to explain the technical details, but if you don’t discard, the starter will become unbalanced. Not only will the taste be off, but the starter will no longer cause the bread to rise like it should because there is too much lactic acid and the yeasty bodies won’t thrive. I recommend experimenting and researching websites devoted entirely to sourdough for more details.
When you say feed your starter is that the removing then adding the water and flour?
Yes. I will take quick look and see if I can explain the process more clearly.
Hi Paula,
On Day 4 the directions say to discard 75% of starter & keep about 25g of the starter. Then mix in 2tbsp of water & 1/4 cup of All Purpose flour. Stir & cover. Feed 2x daily (morning & evening).
My question is when you feed 2x daily, each time do you discard 75% of the starter & add 2tbsp water & 1/4c AP flour OR do you just add the water & AP flour (and not discard 75% each time)? Thanks so much! This is my first time making sour dough starter & I didn’t want to mess it up!
Hi Amy,
I’m so glad you asked. Yes, you always want to “discard” 75% of the starter. Otherwise, the starter becomes too overloaded with acid and eventually, it will not work very well and become too sour. You won’t need to feed 2X daily once the starter is well established. I appreciate that you don’t want to make a mistake, but any sourdough baker that has been baking sourdough very long will tell you to “get used to it.” ? Sourdough is one of those things best learned by doing and experimenting. There will most likely be ups and downs. But if you are determined, you will soon be addicted and will want to bake it every week. At least, that’s what has happened to me.
Hi Paula, for sourdough starter, how much is a pinch of rye and whole wheat flour? This will be my first try at sourdough. Thanks you for your response.
Hi Helga,
A “pinch” is roughly equal to 1/8 teaspoon. I never measure, however, I just get a pinch of each between my fingertips. If you don’t have it, don’t worry about it. Your sourdough starter can be wonderful without out.
Don’t be discouraged if your first attempt doesn’t look like an Instagram picture. Working with live organisms is a learning process. Keep trying, and one day, it will be as easy as falling off a log. I promise.
Write back if you have more questions.
Thank you so much for the easy to follow instructions! I’ve tried lots of starters with varying success, but yours has been the easiest and most successful recipe! My starter was bubbly and strong in no time. I love that there is so little waste! I did save the discard and made the best tasting crackers. Thank you so very much for sharing this great method with us!
Hi Cassie, Thank you for the kind words and 5-star rating. Now I’m thinking I should try making crackers.
I’ve been following this starter recipe (on day 6 now) and just noticed there’s a discrepancy in the instructions. In the top part it says on day 4 to discard all but 25g of starter and then add 40g of flour and 40g of water, and repeat this on days 5 and 6 twice a day. However, in the quick guide below that, and in the recipe below that, it says to only add 25g of water/flour twice a day. Would love clarification on which is correct, because I’ve been following the top part (adding 40g of flour/water 2x a day) and my starter seems to have died, although it could be for another reason! Thanks so much x
Hi Abby,
Sorry for the confusing directions. I have clarified the amounts in the post to match the quick guide and recipe. In reality, it doesn’t matter. However, you would use more flour when adding 40 gr of flour and 40 gr of water when it’s not really necessary.
Did your starter begin to bubble within the first three days? Has it ever bubbled? Unless it got too hot, it is probably still alive. Sometimes, starter can fool you. Keep following the instructions for a few more days and see what happens. Hopefully you are letting it sit in a warm spot that stays around 75-80˚F.
Thanks so much for your swift reply and clarification, Paula! It did bubble the first few days, but I just realized today that I swapped unbleached flour for bleached flour on day 4… perhaps that’s why it stopped doing its thing 🙁 Do you recommend starting over? It’s ever so slightly bubbling, no rise. I am keeping it warm! Thanks again x
Using bleached flour shouldn’t kill your starter, but it might make it slightly less active. I do not recommend starting over. Sometimes, starter will stall at about the 4-5 day mark, but then picks up again. As long as it bubbles–even slightly, it is alive. How is the smell?
It’s bubbling ever so slightly! It smells faintly like paint to me..