Chocolate and Vanilla Pudding Pie (Zebra Cream Pie)

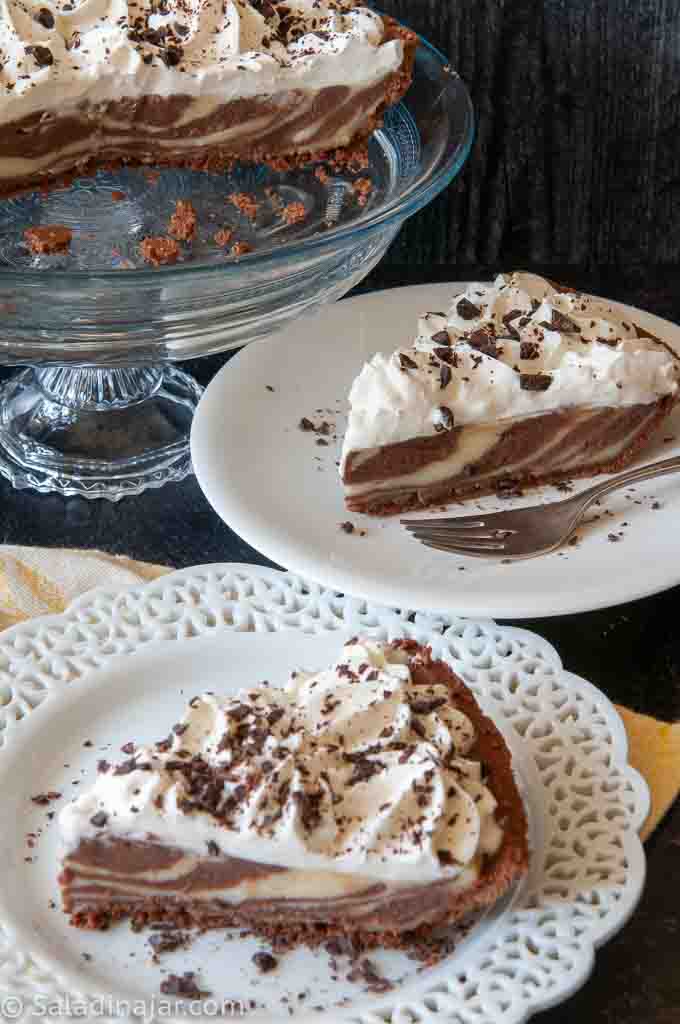
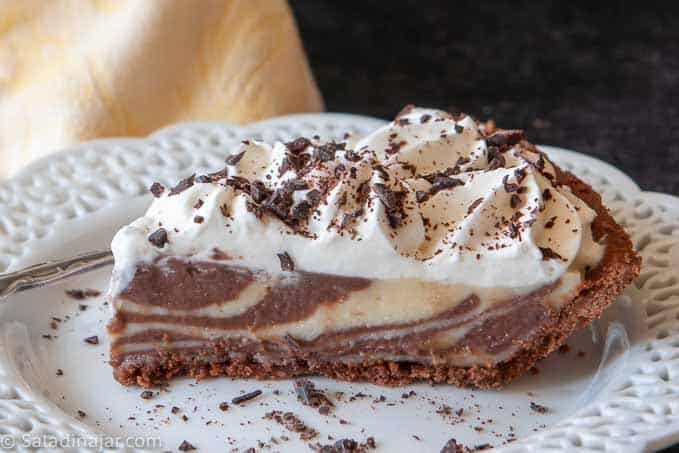
Sneak Preview: This no-bake chocolate and vanilla pudding pie features striking zebra layers inside a chocolate crumb crust. The homemade filling cooks in the microwave, then chills into a show-stopping dessert that’s ready to serve after about 4½ hours.
This post contains affiliate links. As an Amazon Associate, I earn from qualifying purchases at no extra cost to you.
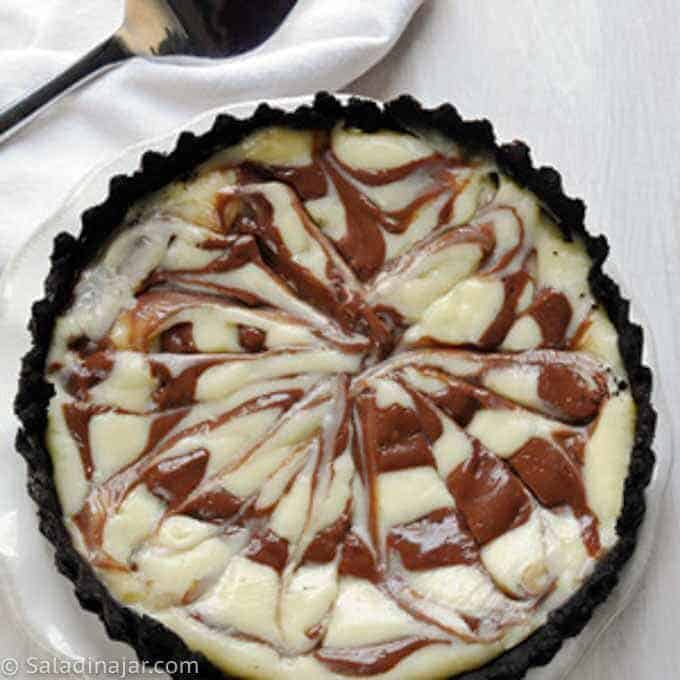
If you’re looking for a dessert that’s as much fun to serve as it is to eat, this Zebra Pie delivers. Each time you make it, the striped layers turn out a little different—just like a zebra’s unique pattern. You won’t know exactly what it looks like until you cut that first slice… and that’s half the fun.
Ingredients & Substitutions
CHOCOLATE CRUMB CRUST: Store-bought is convenient and slices cleanly. Graham cracker or homemade chocolate crumb crusts also work.
BITTERSWEET CHOCOLATE: Chocolate chips, baking bars, or chopped dark chocolate all work. Semisweet chocolate makes a sweeter pie.
MILK: Whole milk gives the creamiest texture. Reduced-fat milk works, while plant-based milks may produce a softer filling.
ALL-PURPOSE FLOUR: Thickens the pudding. I don’t recommend substituting cornstarch without adjusting the recipe.
HEAVY WHIPPING CREAM: Whips into a stable topping. Substitute thawed whipped topping if you prefer.
CHOPPED CHOCOLATE (OPTIONAL): A simple garnish if you want a more polished presentation.
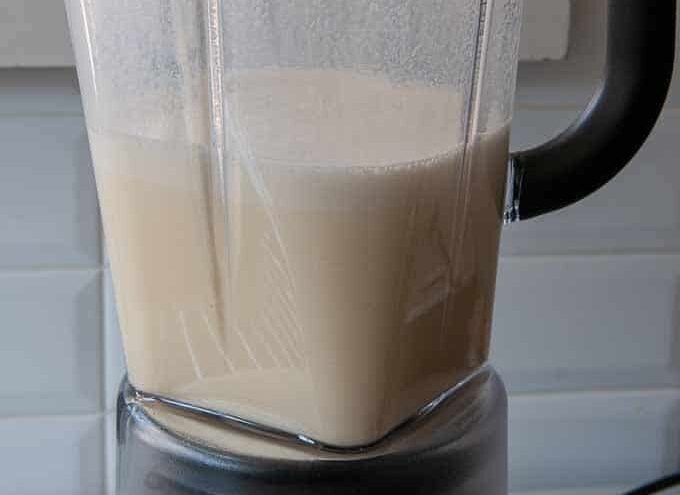
Step-by-Step Photos for Making the Pie Filling
⬇️ Jump to the recipe below for exact amounts and detailed instructions.

If Your Layers Look Like a Mess
If your layers blur or the filling shifts, run a knife through the puddings a few times and call it Chocolate and Vanilla Pudding Swirl Pie. No one will know the difference—and it’ll still taste amazing.
Tips That Make a Difference
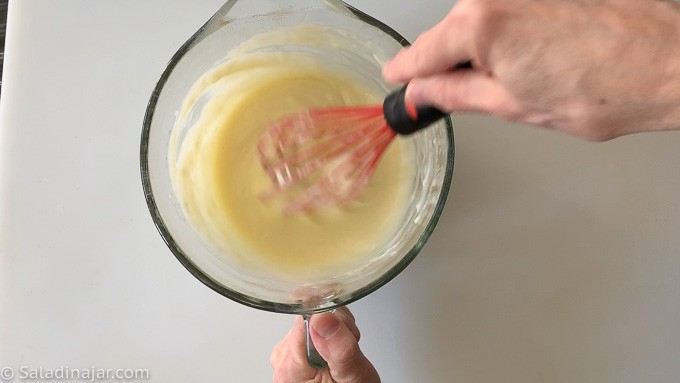
- Blend the filling until completely smooth before microwaving. Cook until it coats a spoon, adding more time if needed.
- If the chocolate pudding thickens too much while cooling, whisk in a tablespoon or two of milk before layering.
Chocolate and Vanilla Pudding Pie (Zebra Cream Pie)
Video
Ingredients
- 1 prepared chocolate crumb crust (I use store-bought)
Cream Filling:
- 2 ounces (56 g) bittersweet chocolate
- 2 cups (454 g) of milk
- ¾ cup (150 g) sugar
- ⅓ cup (40 g) flour
- ⅛ teaspoon salt
- 3 large (54 g) egg yolks
- 1 tablespoon butter
- 1 teaspoon vanilla extract
Whipped Cream Topping
- 1 cup (227 g) cold heavy cream
- 1 teaspoon vanilla extract
- 2 tablespoons powdered sugar
- finely-chopped chocolate for garnish optional
Instructions
Cream Filling
- Melt chocolate: Microwave 2 ounces (56 g) bittersweet chocolate at 50% power for about 2 minutes, stirring halfway through. Set aside.
- Blend ingredients: Combine 2 cups (454 g) of milk, 3/4 cup (150 g) sugar, 1/3 cup (40 g) flour, 1/8 teaspoon salt, and 3 large (54 g) egg yolks in a blender. Blend until completely smooth.
- Cook pudding: Pour the mixture into a 2-quart microwave-safe bowl. Microwave on HIGH for 5–9 minutes, whisking after 4 minutes and every minute after until thick enough to coat a spoon. Continue cooking if necessary—microwave ovens vary.
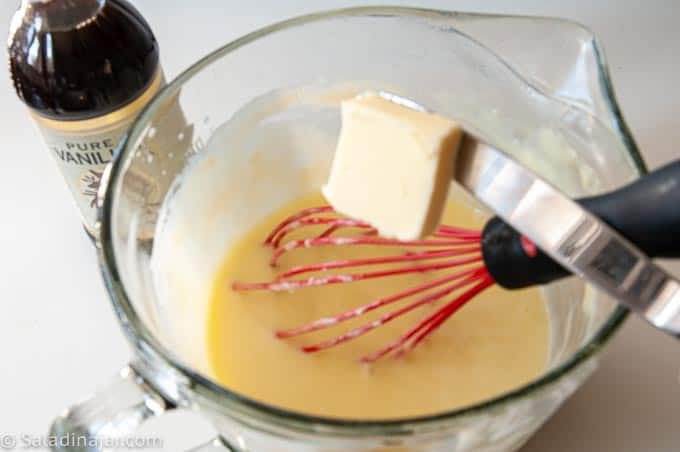
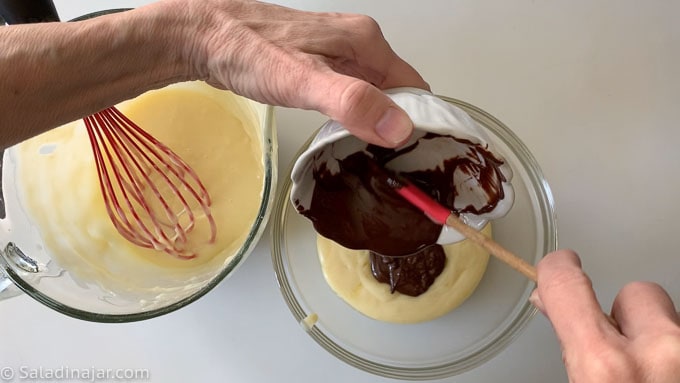
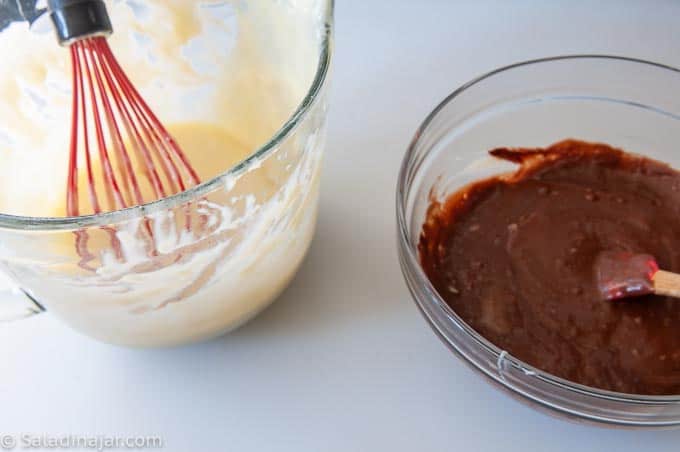
- Finish the filling: Whisk in 1 tablespoon butter and 1 teaspoon vanilla extract. Divide the pudding evenly between two bowls. Stir the melted chocolate into one bowl. Let both puddings cool for 5–10 minutes.
Assemble the Pie
- Layer the fillings: Spoon half of the vanilla pudding into the 1 prepared chocolate crumb crust and spread it evenly.
- Add chocolate: Spoon half of the chocolate pudding over the vanilla, spreading gently while leaving a narrow vanilla border.
- Repeat the layers: Add the remaining vanilla pudding, then finish with the remaining chocolate pudding, creating a slight mound in the center.
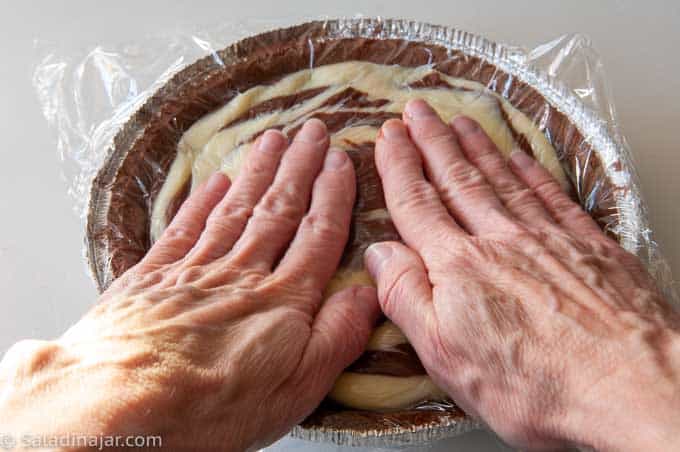
- Level the top: Cover with plastic wrap and gently press with your hands to flatten the surface without mixing the layers.
- Chill: Refrigerate for at least 4 hours before topping and serving.
Whipped Cream Topping:
- Whip the cream: Beat 1 cup (227 g) cold heavy cream and 1 teaspoon vanilla extract until soft peaks form. Add 2 tablespoons powdered sugar and continue beating until stiff peaks form.
- Finish: Spread the whipped cream over the chilled pie and garnish with finely chopped chocolate, if desired.
Notes
- Make ahead: This pie is even better when made the day before serving.
- Freezing: Freeze without the whipped cream topping for up to one month. Thaw overnight in the refrigerator before serving.
Equipment
Nutrition
All images and text ©️ Paula Rhodes for SaladinaJar.com
Final Thoughts
This is the kind of dessert that brings smiles before the first bite. Whether your stripes turn out crisp or swirl into abstract art, the familiar chocolate and vanilla flavors always deliver.
If you enjoy making cream pies, you might also like my Speedy Microwave Chocolate Cream Pie or this Microwave Pastry Cream that’s perfect for Banana or Coconut Cream Pie.
— Paula, Home Economist
Homemade Food Worth Sharing
Need help troubleshooting?
Email me: Paula at saladinajar.com — photos help!

I love this. I always wanted to make the cake but just never have. I think I would like the pie better over the cake anyway and I’ll have to give this a try. 🙂 Love the first picture!
Up to now, what I had seen was a zebra cake, but a zebra cream pie? It looks delicious, and the best of all: how easy to make!
Cheers!
That is really cool looking Paula, what fun! You make it look easy. PS. I still haven’t made the honey wheat bread I’m out of town now for 3 weeks, but I will be making it soon.
Paula, this is brilliant! Your creativity is so inspiring. Gorgeous top shot of that slice of pie! Yum! Who doesn’t love a no-bake pie and lord knows anything we can do to keep the heat down during the summer in Texas, is a good thing! xo
I love this idea! I’ve made zebra cake before, but I’m more than a little obsessed with pastry cream so this is perfect for me. My husband just saw your photo and said, “You’ve got to make that!” Done deal.
Oh, this is a stunner. And what a plus that you can make it w/o turning on the oven.
This pie has such great color contrast. Looks gorgeous. Well done!
I love this. I always wanted to make the cake but just never have. I think I would like the pie better over the cake anyway and I’ll have to give this a try. 🙂 Love the first picture!
Genius! And I love the name 🙂
This looks too cool!!!!!! And it photographs well:+)
Wow, this looks so cool! Not to mention finger licking good. Love how you came up with the “zebra pie”. 🙂
Looks fantastic! I am going to have to try this one out- perfect for bringing to a BBQ!
Up to now, what I had seen was a zebra cake, but a zebra cream pie? It looks delicious, and the best of all: how easy to make!
Cheers!
That is really cool looking Paula, what fun! You make it look easy. PS. I still haven’t made the honey wheat bread I’m out of town now for 3 weeks, but I will be making it soon.
It looks gorgeous from both the top and when cut! Wow! Cold and perfect!
Wow Paula! That first shot is awesome. Not only do you make everything look easy but so beautiful as well.
Awesome. I’ve seen zebra cakes, but never pie. I could lick the picture!
This is beautiful! Every time I get a post from you via email, I am in awe of your beautiful, enticing photographs. And the pie recipe looks divine, too! But let’s face it, we eat with our eyes first.
Fabulous and so fun, Paula, I LOVE it! Wonderful pictures too!
Oh Paula, you continue to amaze me. This looks so so good. Something this lite and creamy is bound to be low calorie right?????? I know this is bound to be worth it no matter what the calorie count. I will have to make this soon when my sister Judy comes to visit. She won’t believe her eyes! Thanks for another enjoyable post.
This is a perfect recipe for my “still without AC” kitchen. A girl needs her treats even when it’s too hot to cook! This pie looks scrumptious- I love the layers! 🙂
Paula, this is brilliant! Your creativity is so inspiring. Gorgeous top shot of that slice of pie! Yum! Who doesn’t love a no-bake pie and lord knows anything we can do to keep the heat down during the summer in Texas, is a good thing! xo
That would be so cool with meringue on top because when you cut into it it would be a big surprise.
Wow! This is looking yummy by the minute to this pregnant mother of ten! I must find the ingredients and make this NOW!
I just found your site and I am looking through it. Mmmm. Good ideas and stuff here!
What a fun pie!
Mimi
Hi – Is there a link to the recipe somewhere? Thanks.
Not sure why the recipe didn’t show up originally but I think it’s fixed now. Let me know if you still don’t see it.