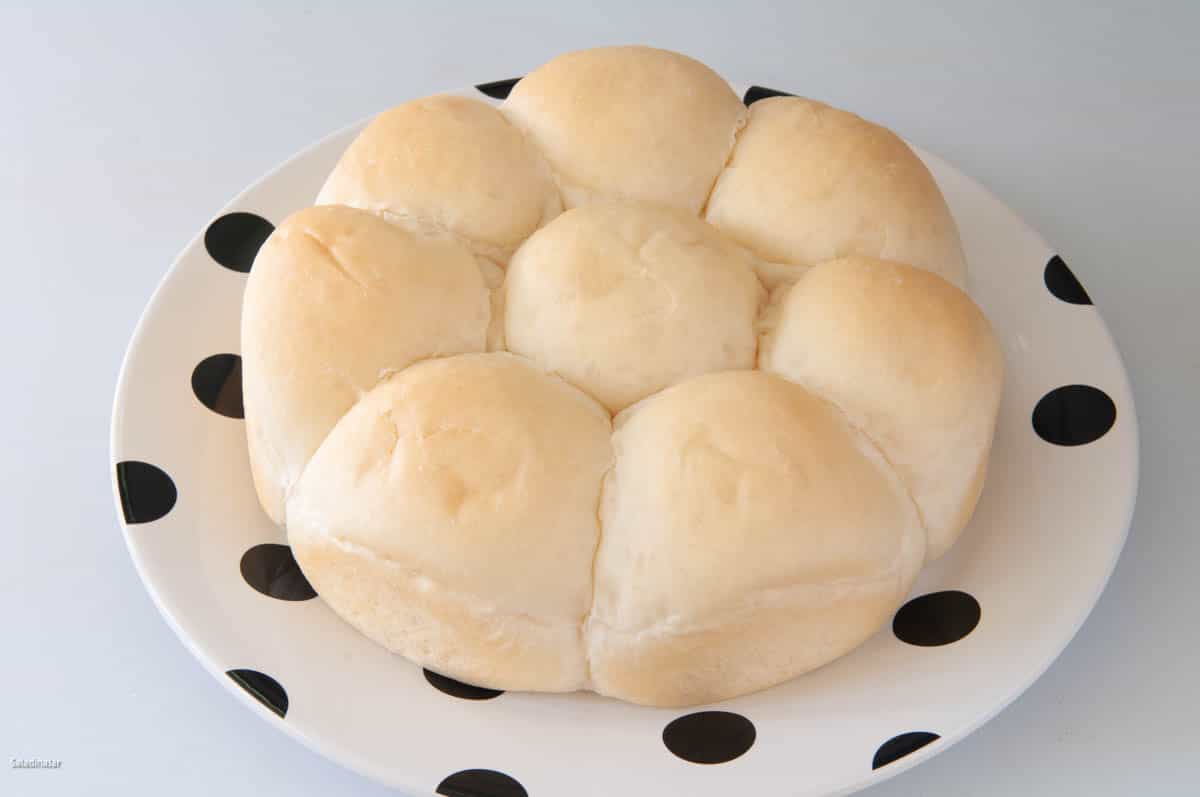
Homemade Brown-and-Serve Rolls
Sneak Preview: These homemade brown-and-serve rolls can be par-baked, refrigerated, or frozen so you can bake fresh dinner rolls whenever needed. Plan about 3 hours total, including rising time.

This post contains affiliate links. As an Amazon Associate, I earn from qualifying purchases at no extra cost to you.
Do you ever find yourself lying in bed the night before a dinner party, thinking about the timing of your meal preparation? You would think after all these years I would have it figured out—especially the bread.
That’s why I love homemade brown-and-serve rolls. They’re partially baked ahead of time, then finished just before serving so they taste freshly baked without the last-minute stress.
I usually mix the dough in my bread machine using the DOUGH cycle, but this method works just as well with dough mixed by hand or in a stand mixer.
This method works best with soft dinner-roll doughs that contain butter, milk, or eggs. My Classic Dinner Rolls, Japanese Milk Bread Rolls, Sweet Potato Rolls, and Cranberry Sauce Dinner Rolls all work well.
How to Make Brown-and-Serve Rolls
⬇️ Jump to the recipe below for exact amounts and detailed instructions.
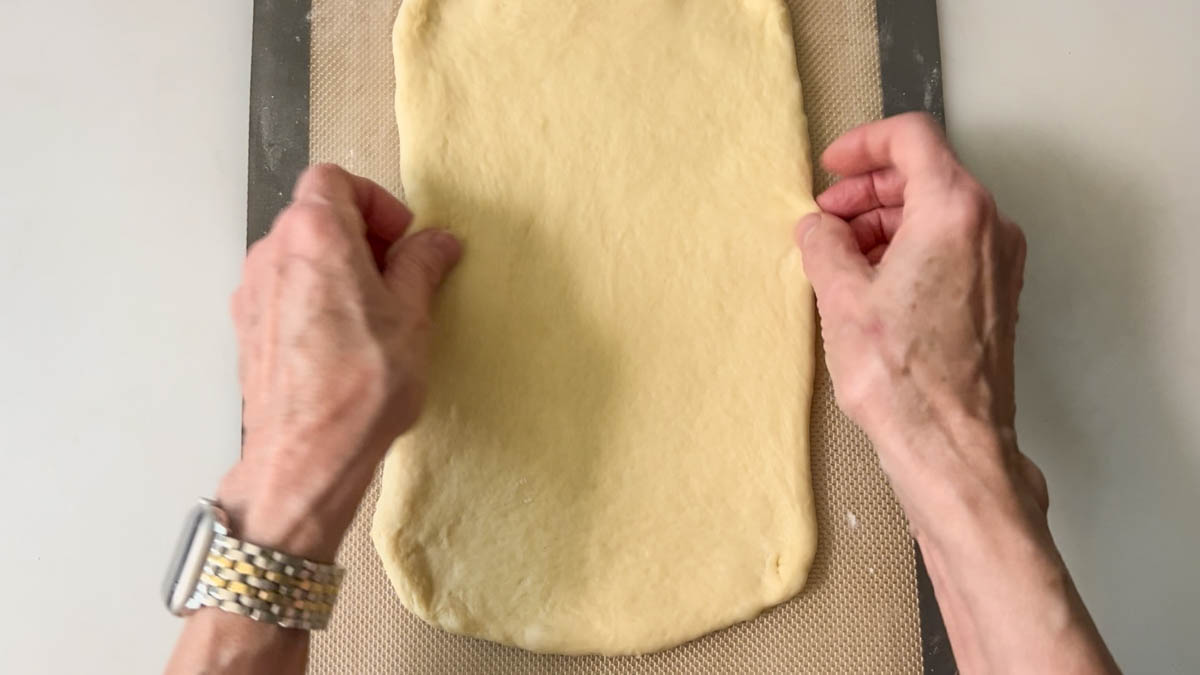
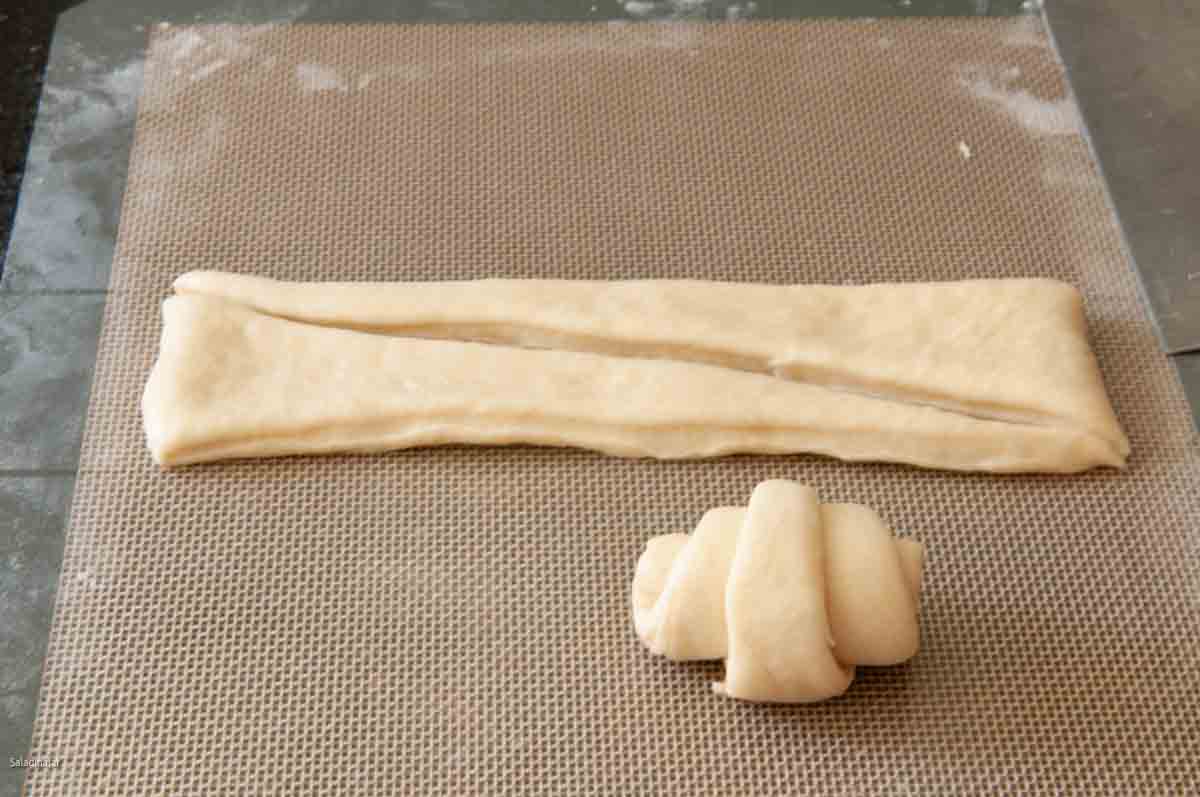
Step 1: Shape the Dough


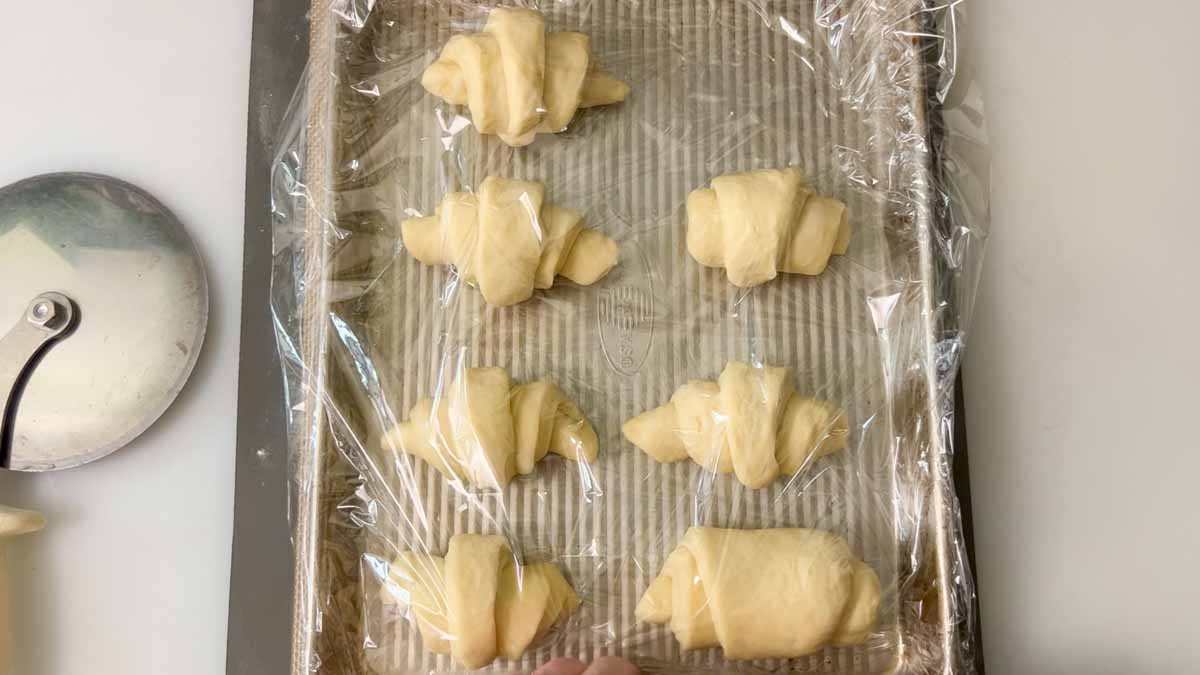
Step 2: Let the Rolls Rise
Step 3: Par-Bake the Rolls

Step 4: Cool and Store
Step 5: Final Bake

Homemade Brown-and-Serve Rolls
Ingredients
- 1 cup (227 9) milk
- 1 large (50 g) egg
- 3 tablespoons (36 g) granulated sugar
- 1 teaspoon table or sea salt
- ¼ cup (57 g) unsalted butter, chopped finely
- 3 cups (360 g) unbleached all-purpose flour
- 2 teaspoons instant or bread machine yeast
Instructions
- Make the Dough: Place 1 cup (227 9) milk, 1 large (50 g) egg, 3 tablespoons (36 g) granulated sugar, ¼ cup (57 g) unsalted butter, chopped finely, 1 teaspoon table or sea salt, 3 cups (360 g) unbleached all-purpose flour, and 2 teaspoons instant or bread machine yeast into your bread machine pan in the order listed. Select the DOUGH cycle and press START.
- First check: After a couple of minutes, check the dough to make sure it is coming together into a raggedy ball. Second check: Check dough again after about 15 minutes. The dough should stick to the sides of the pan, then pull away cleanly. If too wet, add flour 1 tablespoon at a time. If too dry and the dough doesn't stick at all, add more liquid. See more details–Surprising Secret for Making Better Bread with a Bread Machine.The dough should double in size by the time the DOUGH cycle ends.
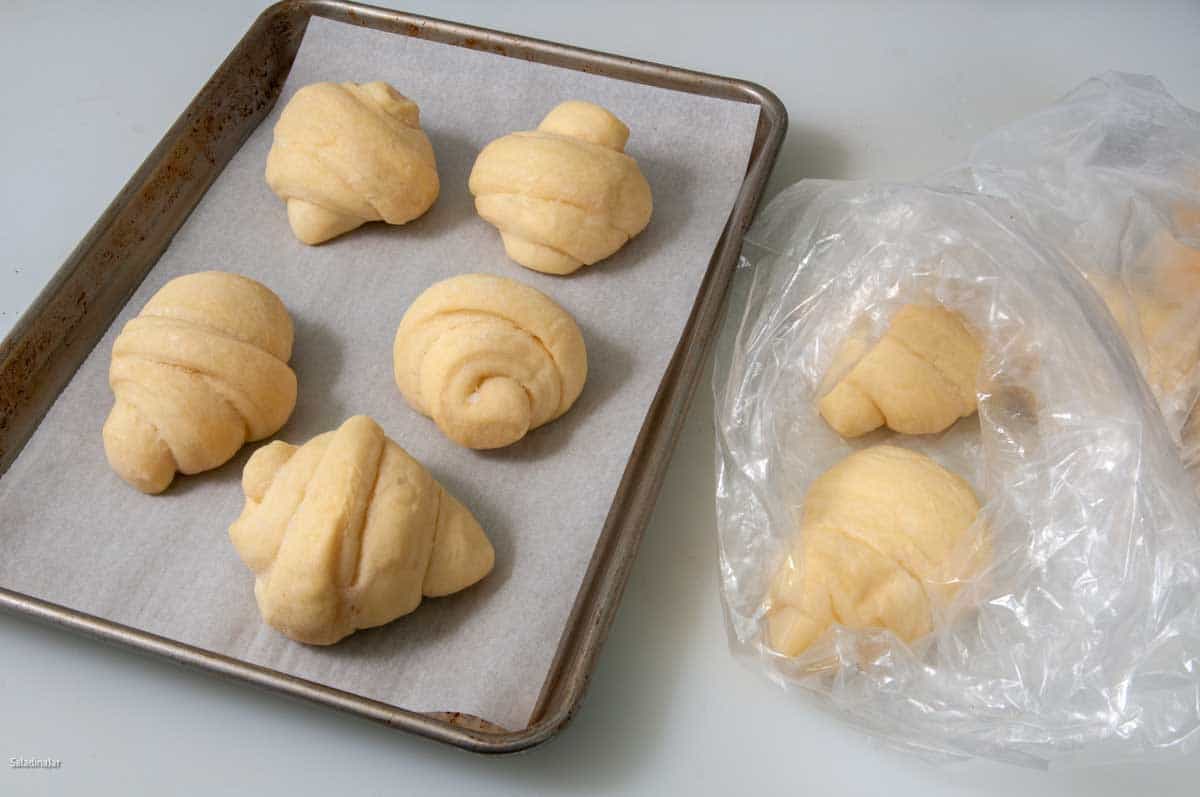
- Shaping the rolls: Transfer dough to a floured surface and knead lightly. Form into one large ball, then divide in half to make two smaller balls.Divide each ball in half, then roll each into an 8×10-inch rectangle. Cut each rectangle into 8 triangles (yields 16 rolls) and roll each into butterhorn shapes. (See pictures in the post.)Place on a greased or parchment-lined baking sheet.
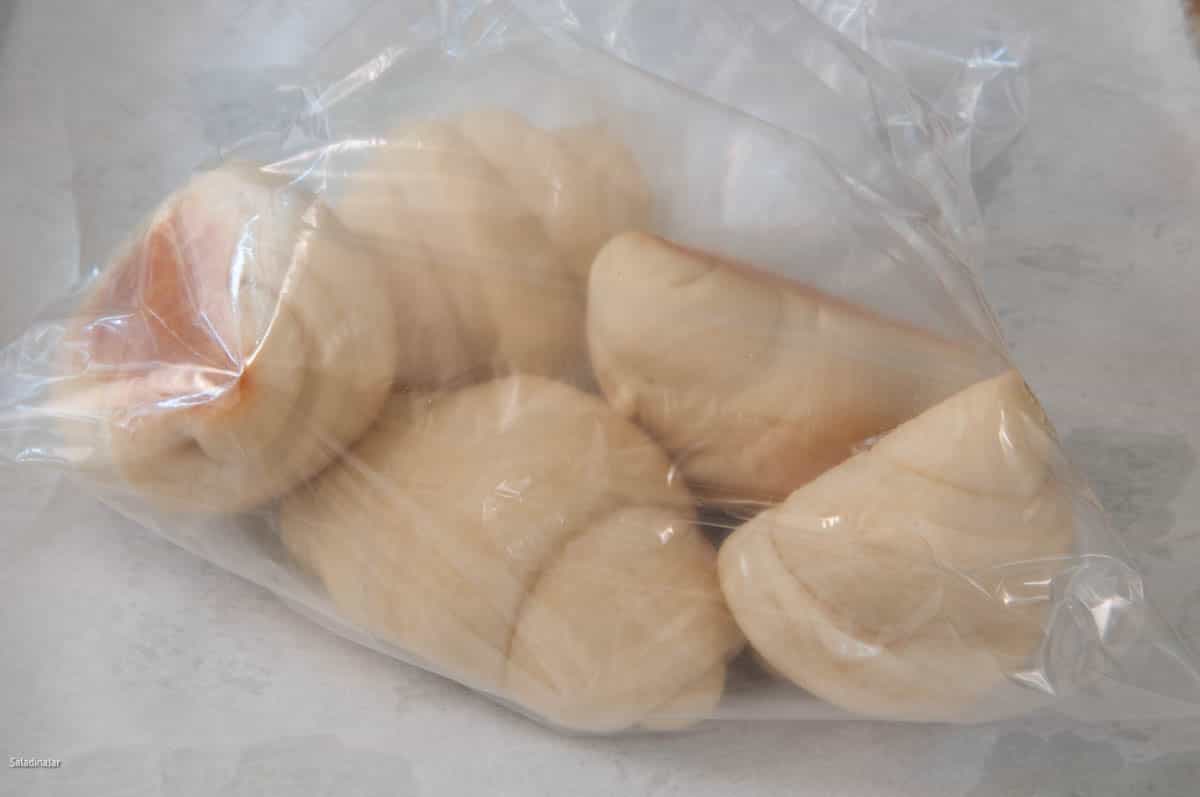
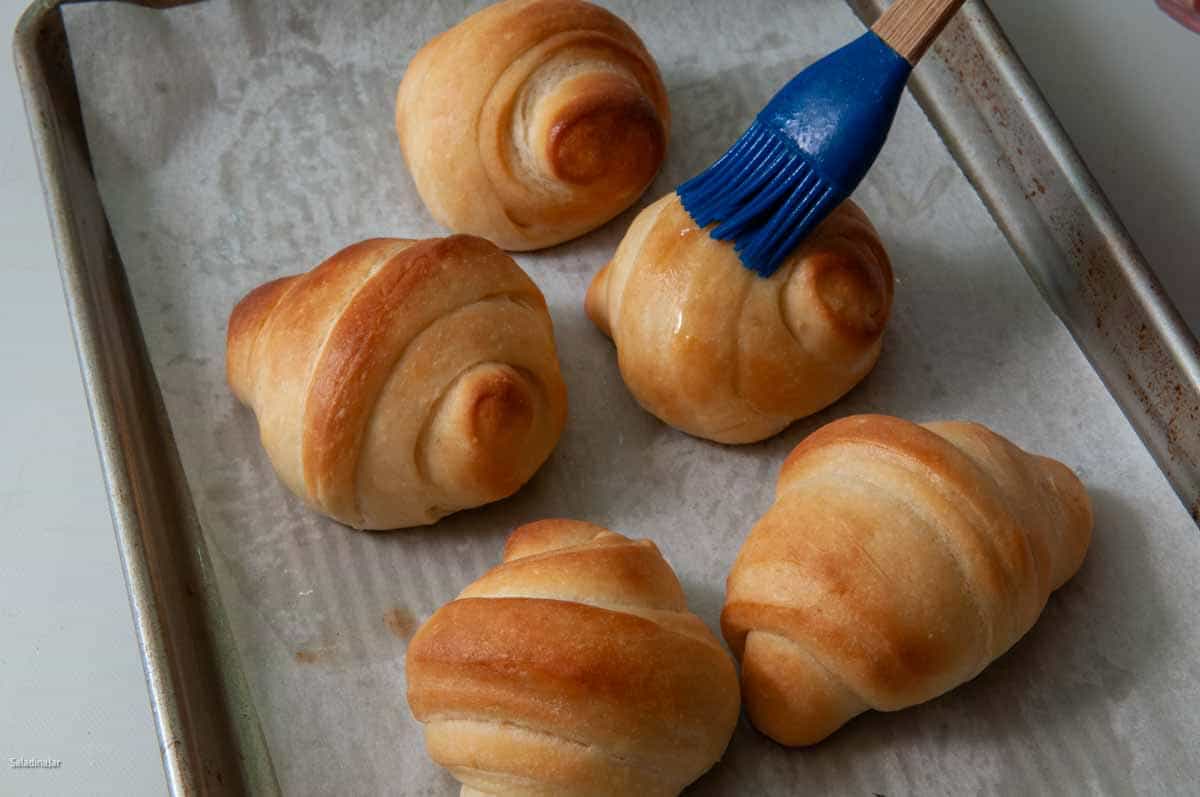
- Par-baking: Let the rolls rise until they are almost doubled. Preheat your oven to 275˚F (140˚C).Brush the rolls with melted butter and bake for 20 minutes. Do not brown, but make sure they cook all the way through. The internal temperature should reach 190˚F (88˚C).Remove the rolls from the oven, brush them with butter, and let them cool for 5 minutes on the tray. Using a spatula, carefully remove them to a cooling rack. Let them cool for an hour before placing them into a plastic bag, preferably double-bag for the best protection. Refrigerate 3-4 days or freeze up to two weeks. (I like to be conservative with the time.)
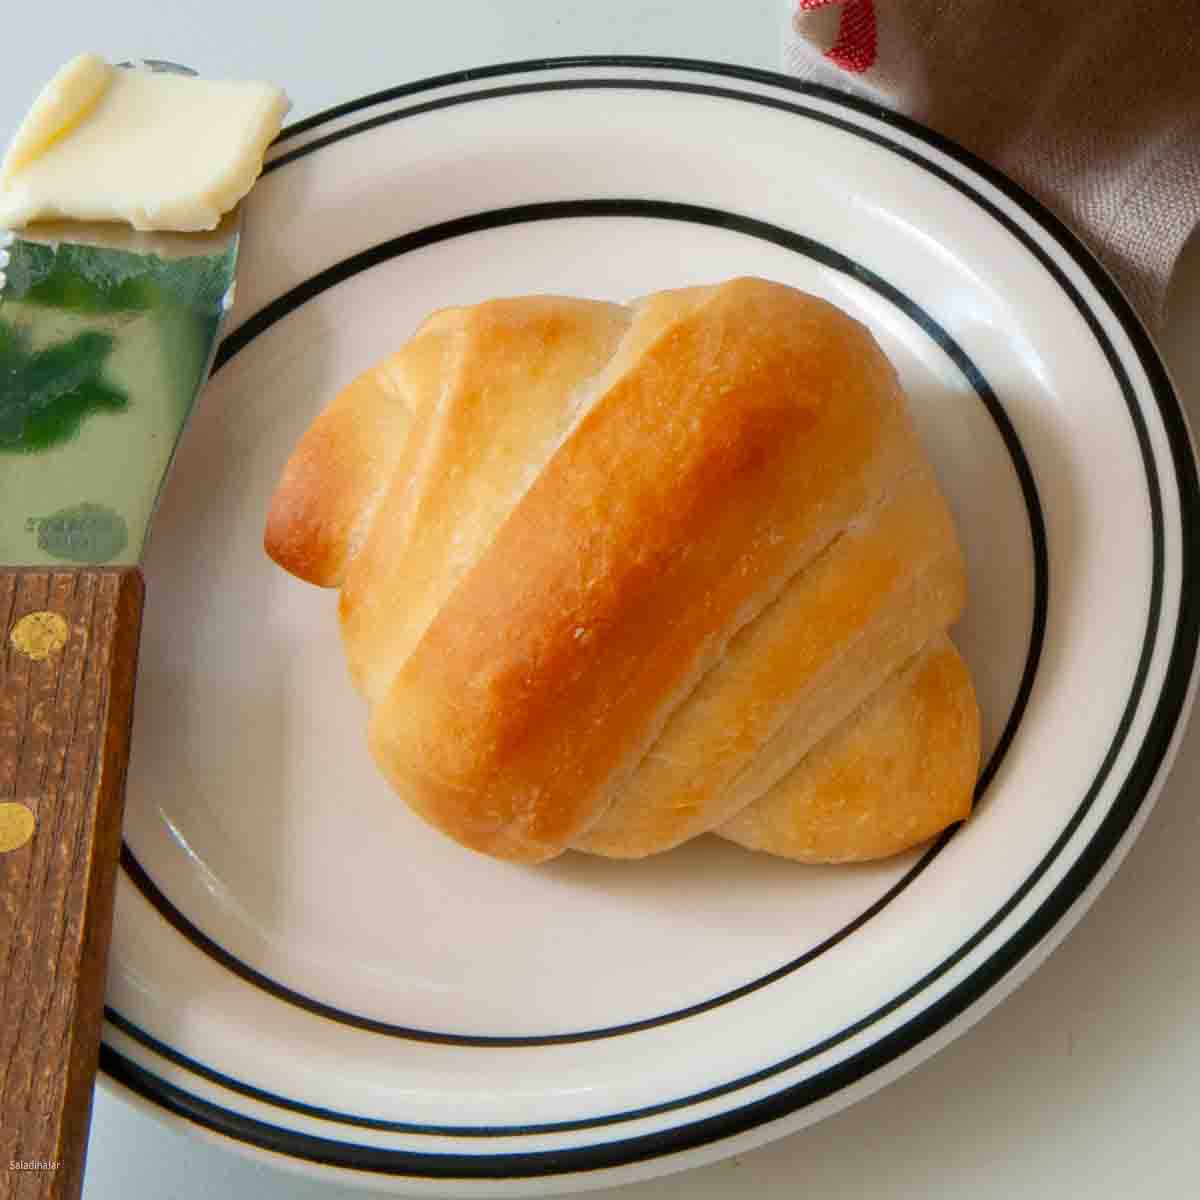
- Final Bake (Browning): If frozen, you can choose whether to allow the rolls to thaw or bake them straight out of the freezer. Position the rolls on a baking sheet and brush with melted butter. Bake in a preheated oven at 425˚F (220˚C) for 8-10 minutes or until golden brown.If refrigerated, position the rolls on a baking sheet, brush the rolls with melted butter, then bake in a preheated oven at 425˚F (220˚C) for 8-10 minutes or until golden brown. Brush the rolls with butter one last time and serve immediately.
Notes
- Add ingredients to the bowl in the listed order.
- Mix on LOW until moistened, then knead on speed 2 or 3 with a dough hook for 5-10 minutes until smooth and elastic.
- Cover and let rise in a warm place until doubled.
- Gently deflate and shape as directed in the recipe.
- Mix all ingredients into a shaggy dough ball in a large bowl.
- Turn onto a floured surface and knead for 10-20 minutes until smooth and elastic.
- Place in a greased bowl, cover, and let rise until doubled.
- Gently deflate and shape as directed.
Equipment
Nutrition
All images and text ©️ Paula Rhodes for Salad in a Jar.com
FAQs About Homemade Brown ‘n’ Serve Dinner Rolls
• Can I refrigerate the dough instead of par-baking?
Yes! Refrigerate unshaped dough for 12–18 hours, then shape, proof, and bake as usual.
• Why do my rolls have wrinkled tops?
They may be underbaked. Ensure they reach 185–190°F internally.
Final Thoughts
Freshly baked bread is hard to beat, but peace of mind is just as important. The brown-and-serve method lets you easily enjoy delicious rolls—or bake them fresh after traveling—making it a perfect choice for busy holidays.
Here’s a sharing idea…
Spread some holiday cheer by gifting par-baked rolls to a friend or neighbor spending the holidays alone or preparing for a trip. Include simple final baking instructions for a warm, thoughtful touch they’ll appreciate.
— Paula, Home Economist
Homemade Food Worth Sharing
Need help troubleshooting?
Email me: Paula at saladinajar.com — photos help!

Another delicious recipe. I love how soft and buttery they are. Also love having a stash of them in my freezer for those meals that beg for a roll.
I had difficulty with the shaping using Paula’s method. My rolls turned out looking more like a seashell than a crescent roll. Now I do it a bit differently. I divide the dough in 2 and roll/shape each one into a circle and then cutting it like an 8 piece pie before rolling them up. I was much happier with this method by achieving a crescent shaped roll.
Hi Elizabeth,
I’m so glad you wrote about your method. I used to do that for years. It’s a good way to do it, especially if it turns out better for you. Making your own bread gives you all kinds of leeway to make it like you want.
I made this recipe for a dinner party. Everyone loved it.
I would love to know how to make this and other recipes dairy free for my granddaughter.
Is there an easy way to email you to ask questions without having it attached to a recipe?
Hi Annette,
You could try using non-dairy milk substitutes like almond or coconut milk. For the butter, try non-dairy butter or look for recipes that use oil instead of butter. You could also use shortening (Crisco) in place of butter.
I invite you to email anytime to paula@saladinajar.com. I love to answer questions and get to know my readers better through email.
Hi Paula
I have just formed my rolls, but need to confirm. You say in step 2 to divide the dough in half, make a ball; then each ball in half, then cut those into 4 rectangles. I’m tracking so far…but then EIGHT triangles from each rectangle? That would make 32 mini crescents correct?
I tried that and decided they were too small, so I Re rolled and went with: I had 4 rectangles, than made 4 crescents from each rectangle. I started over w second ball and this made a total of 16 rolls which is what your recipe states? Obviously I misunderstood the directions?…but I’m hoping they still come out ok! I’m excited to try the par baking method for the first time!!! Thank you again for always being so willing to share your amazing recipes!
You figured it out correctly. You should have 16 rolls when you’re done cutting the dough.
Thanks so much for writing. I probably need to reword those directions to make it clear that you cut each half of the dough into 8 triangles which totals 16 when you’re done.
Paula
Do the rolls taste as good and as fresh when you parbake them? I’ve never done that and I like everything to taste nice and fresh. Thanks so much and I love your site and recipes!
Hi Linda,
Everybody has different opinions about this. I think that bread bakers themselves tend to be more picky because we are used to eating bread fresh out of the oven. If one doesn’t bake bread themself, they rarely get that privilege unless they live with the bread maker.
With that in mind, I don’t think par-baked rolls are quite as good, and you probably wouldn’t either. Maybe 90% as good. On the other hand, they are far superior to almost anything the vast majority of people ever get to eat. And honestly, I was amazed at how good they were when made with a superior recipe.
Like all bread, a lot depends on how carefully it’s made, baked, and stored. Sometimes you find yourself in a situation where having par-baked rolls on hand is extremely convenient. So, it’s a good trick to have in your back pocket.
I haven’t tried to make these yet although it’s a wonderful idea! I think that addins would be nice like butter and herbs, cheeses, maybe some dried or cooked meats, etc.
Maybe even dried fruits or nuts…
Oh yes, Steve. The good thing about a basic recipe is that it makes a good canvas for creative bakers. Thanks for writing.
Hi Paula ~ I may have sent this question in before but can’t find that post. Anyway, have you tried using an air fryer for quick baking of things like dinner buns? There’s a lot of buzz on YouTube lately and I thought you might have an opinion or perhaps have even tried it.
I’m working on adding something about an air fryer to this post.