Using a Digital Quick-Read Thermometer to make Fabulous Bread
Sneak Preview: A quick-read digital cooking thermometer is key to crafting fabulous bread you’re proud to share. Since yeast is picky about its environment, your bread will turn out better when you monitor the temperature and make appropriate adjustments.
As an Amazon Associate, I earn from qualifying purchases.
Are you new to making bread at home? If so, perhaps you’ve never thought about buying or using a digital quick-read thermometer. After all, Grandma never used one.
Grandma probably learned how to make bread while watching her mother or after decades of experience doing it herself. Do you want to wait that long to make fabulous bread?
Keep reading until the end to discover my preferred thermometers and a clever technique ensuring your bread is perfectly baked and ready to be taken out of the oven.
Why Is Knowing the Temperature Critical to the Process of Making Bread?
Most reasons for using a thermometer are about coddling the live, yeasty bodies that make homemade bread so delicious. Let’s talk in general terms first.
Yeasty bodies are fussy about temperatures.
- When too cold, yeast is sluggish.
- Warm temperatures spur yeasty bodies into action. The warmer the temperature, the faster they eat. If they eat too fast, the yeast flavor doesn’t have time to develop to its full potential. Not good! Also, the dough tends to overproof, resulting in a sunken top in the baked loaf.
- When it’s too hot, bread yeast will die. “The thermal death point for yeast cells is 130° F–140° F (55° C–60° C). Most bread is cooked when the internal temperature reaches 200˚ F or 100˚ C. The yeast is dead.”
- If the temperature is below freezing, the yeast will go dormant but not die unless the yeast is allowed to dry out. Of course, like all living creatures, if something else doesn’t get them first, old age eventually will.
FAQs About Keeping Yeast Happy
1. Is it necessary to check the temperature of dough ingredients before adding them to the bread machine pan or mixing bowl?
Temperatures over 110˚F (43˚C) or less than 40˚F (4˚C) are never good. Whether ingredients need to be room temperature or warmed depends on how you plan to mix the dough.
- By hand: Using room-temperature ingredients for easy blending.
- No-knead bread: This method relies on hand mixing and no kneading, so opt for room temperature.
- Stand mixer: The power of a stand mixer will mix cold ingredients. Because of friction, the longer you knead the dough and the stiffer it is, the higher the temperature of your dough.
- Bread machine to mix and bake: Cold ingredients can mess with the computer timings. The purpose of the preheat phase on many bread machines is to make sure the computer has a better chance to bake the bread correctly by warming everything to a preset temperature. For many reasons, I always use the next option.
- Bread machine to mix and knead only (bake in a conventional oven): As long as nothing is frozen hard, it is unnecessary to heat any of the ingredients. The kneading paddles will quickly warm the dough.
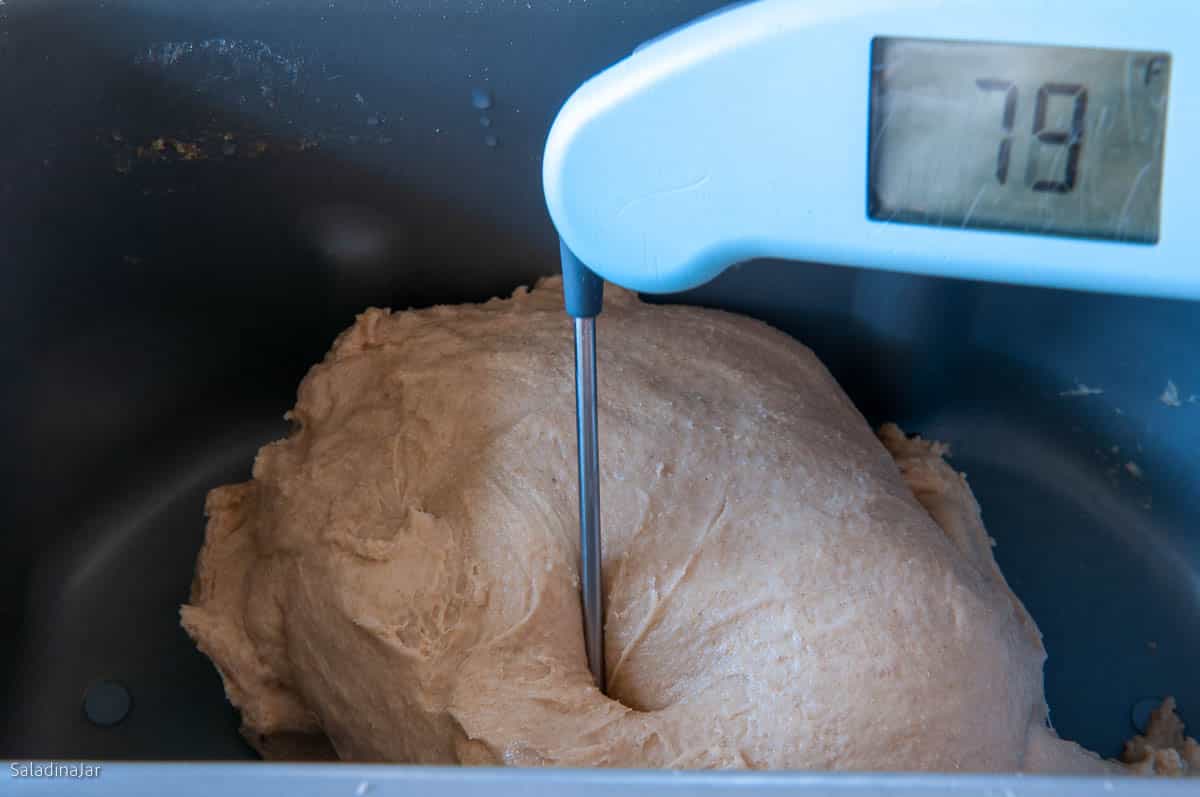
If you are adding an ingredient that is hot, such as a Tangzhong paste, or something you thawed in a microwave, use a quick-read thermometer to check the temperature before you add it to the other dough ingredients.
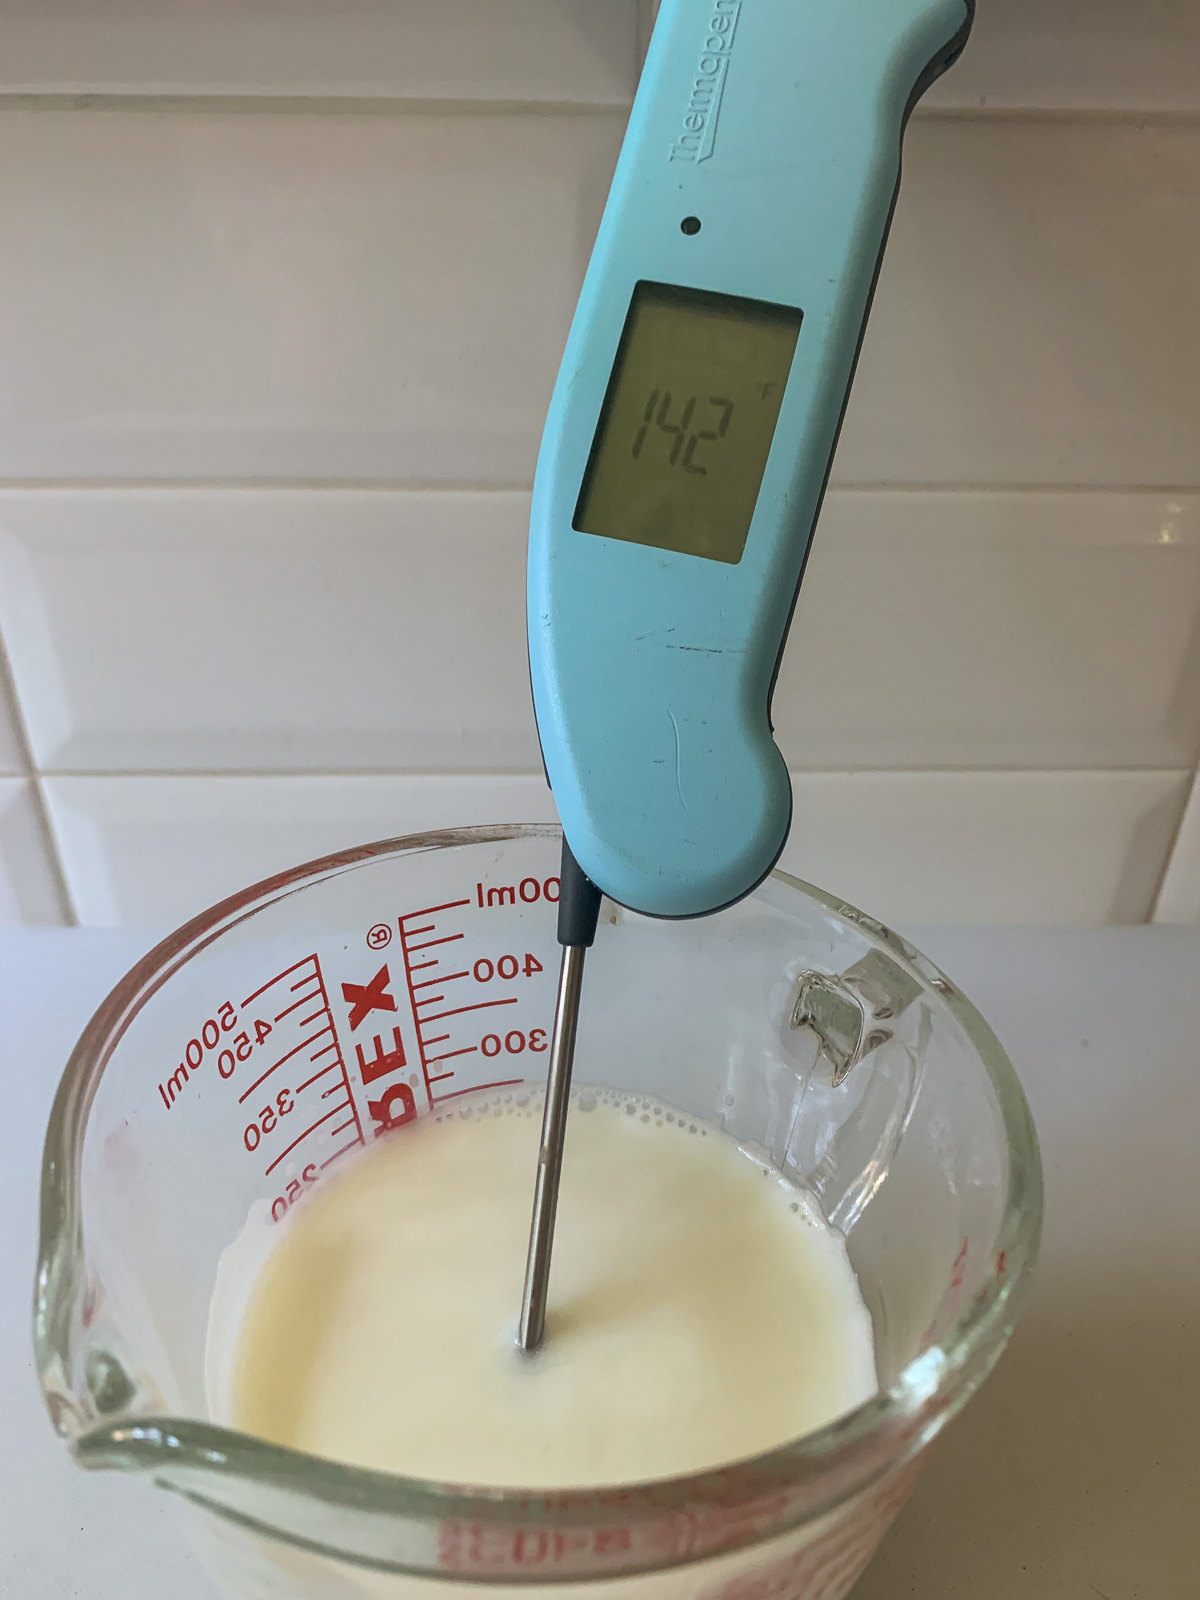
2. What is the optimum temperature for proofing dough to get the best flavor?
According to King Arthur Flour, “Studies have shown that the optimum temperature for yeast to grow and flavor to develop is 75°F to 78°F.” (24-26˚C) Sourdough or natural yeast prefer 74-75˚F.
Note: My oven has a setting for proofing dough that goes from 85˚ to 100˚F. In my experience, 85˚F is too high unless my dinner guests are knocking on the front door.
How to adjust the ambient temperature
- Is your dough just sitting in the mixing bowl or bread machine pan like a lazy lump? It’s probably too chilly. Check the temperature and move it to a warmer location.
- Hopefully, you remembered to add the yeast, or your yeast was not expired.
- Is your dough rising too fast? (Maybe because you live in Texas, and it’s 110˚F outside?) Move the dough to a cooler place. With a good thermometer, you can stick the probe up in the air and know instantly what the temperature is anywhere in your house.
- It’s also possible you added too much yeast because the recipe called for too much or the yeast was mismeasured.
Remember, the slower your bread rises, the more taste it will have. That’s one reason sourdough with natural yeast has SO MUCH FLAVOR. It takes longer to ferment.
3. How do I make homemade bread fit into my schedule?
Try temperature modification by changing the location of your dough. Speed up the rising or slow it down according to your schedule.
- Use the refrigerator. Popping dough into the fridge is an excellent way to retard the proofing or rising stage when you aren’t quite ready to shape and bake the dough. Likewise, if you are making bread and something unexpected comes up, use the refrigerator to put it into a holding pattern.
Let me be clear. The refrigerator does not entirely stop the yeast from eating and reproducing. On the contrary, the cold temperature only slows it down. And of course, the cool-down doesn’t happen instantly. So don’t be surprised when you come back in a few hours and the dough has risen quite a bit.
- Another option is the freezer. 15-30 minutes in the freezer is a good way to slow down the dough just enough to let you run to the grocery store or take care of an unplanned interruption. Of course, freezing certain bread doughs (like pizza, focaccia, or breadsticks) for days or weeks gives maximum flexibility.
- Microwave solution: Boil a cup of water in your microwave for 2-3 minutes, leave it in the oven, then put your bread dough into the oven with the hot water pushed to the corner. Yeasty bodies love humidity.
- Be creative: Consider using your garage, the basement, or a steamy bathroom if you want to adjust the temperature slightly, depending on the weather. Placing your covered bowl or bread machine pan on a tile floor will usually cool the dough.
4. How do I use a digital thermometer to test the internal temperature while baking bread in the oven?
Grandma reportedly would thump the bottom of a loaf to see if it sounded right. That works about as good for me as thumping a watermelon. (This method for watermelon works better.)
Would somebody please tell me exactly what it’s supposed to sound like? How does that work with dinner rolls or cinnamon rolls?
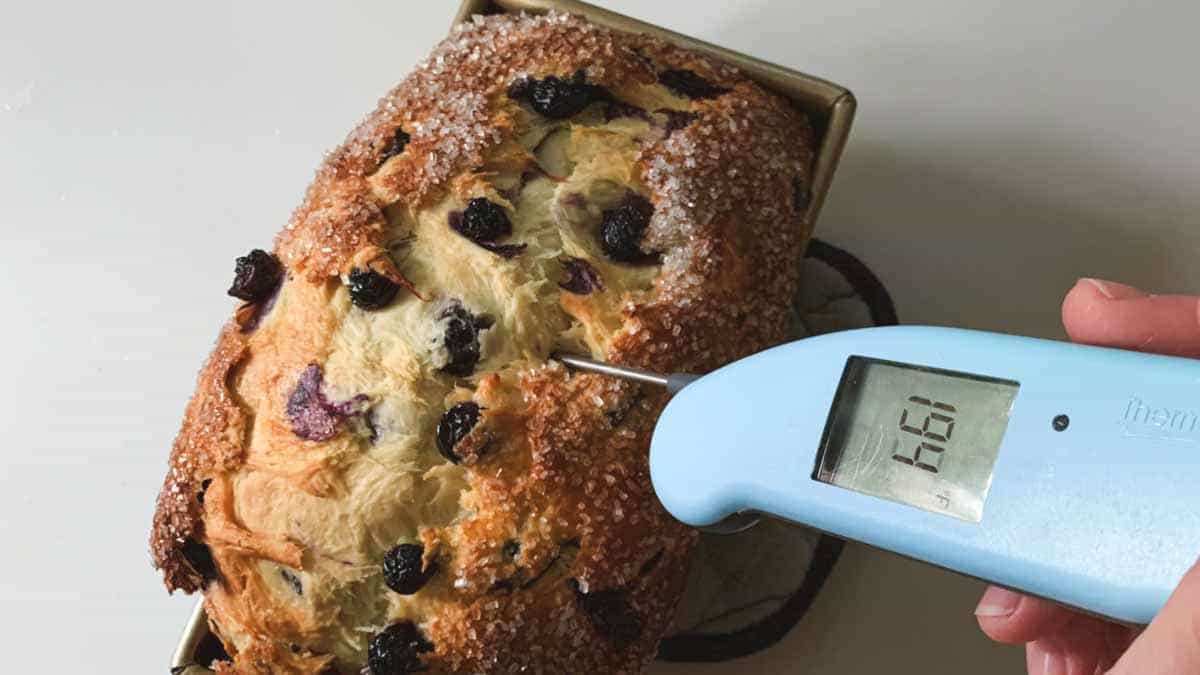
The easiest way to know without a doubt is to check the internal temperature with a quick-read thermometer. Make sure you are inserting the probe into the middle of the loaf. Try to avoid any gooey or sweet filling that will give you a reading higher than the surrounding bread–not always easy.
This trick alone is worth the price of a thermometer. If you’ve ever pulled a beautifully browned loaf out of the oven only to watch it cave in because the middle is still doughy, you will probably agree.
Guide to Internal Temperatures for Baking Yeast Bread
Enriched Breads (Contain milk, egg, fat, and sugar: 190˚F (88˚C) to 195˚F (91˚C)
Lean Breads (Contain water, minimal fat or sugar, no eggs): 200˚F (93˚C) to 210˚F (98˚C)
5. How can I use a thermometer to predict when my sourdough bread dough is ready to shape?
Some recipes specify the perfect temperature for your dough during the bulk rise. If you hold the dough at that temperature, it’s possible to predict when the bulk rise will be done, and the dough will be ready to shape. Poke a quick-read thermometer(paid link) into the dough to monitor the situation.
Guide To Choosing the Best Thermometer for You
- Prices range from $15 to $100+ for a quick-read digital thermometer.
- Premium options are faster, more durable, and more accurate.
- Speed matters when testing bread for doneness in a hot oven.
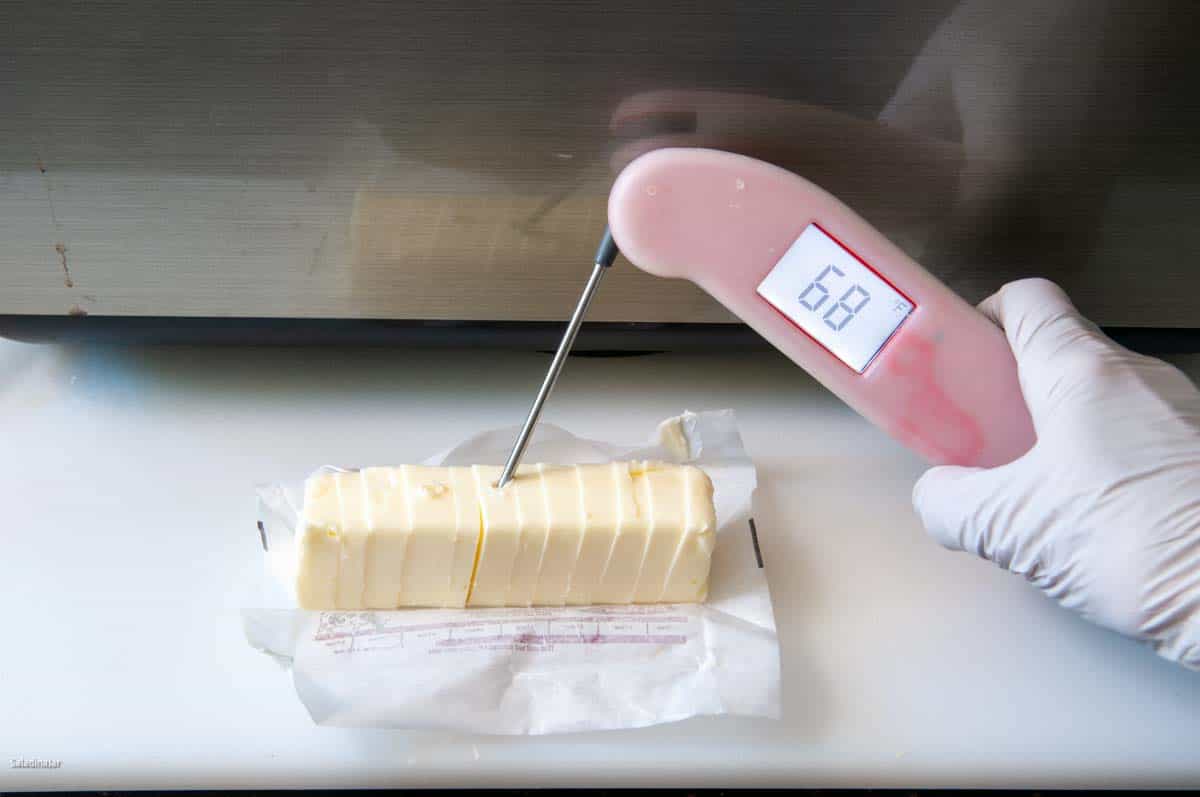
My favorite thermometer:
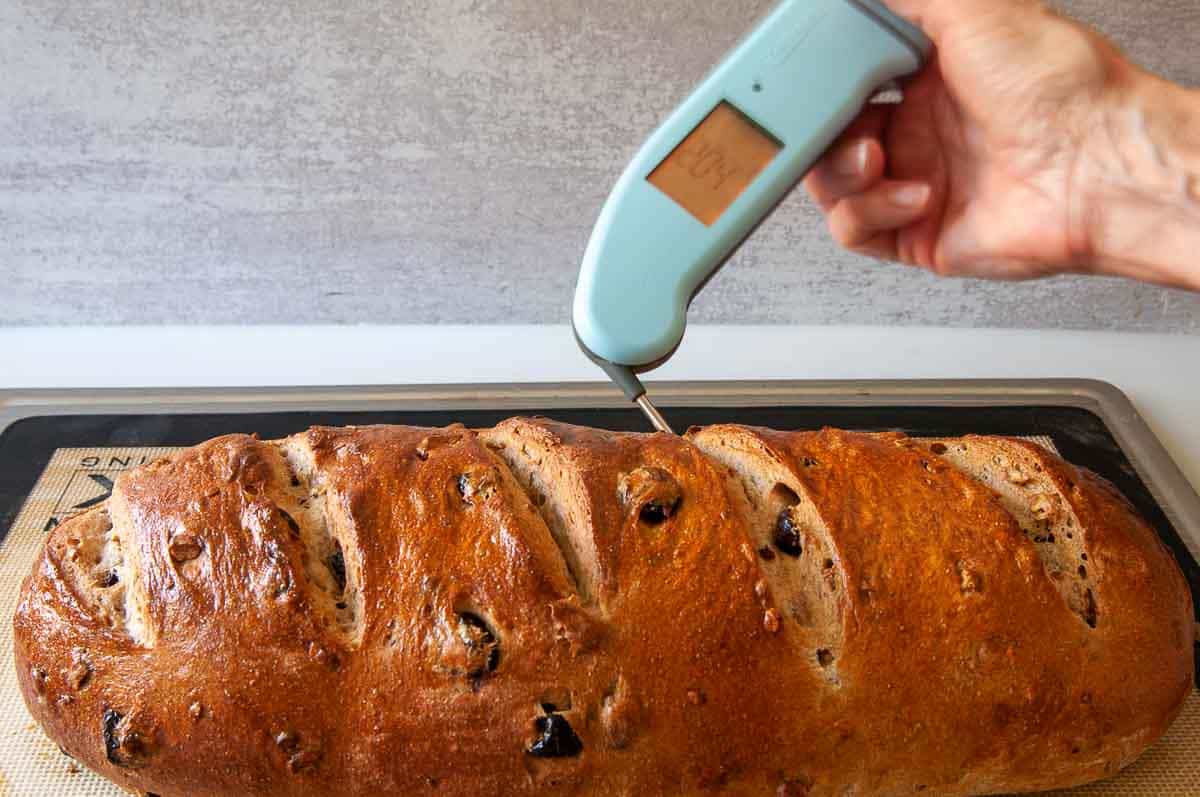
My favorite thermometer is a ThermapenOne(paid link)–seen above. It’s an investment, but if you are a serious bread baker (especially sourdough), it’s worth it. (Good for yogurt makers, too.)
I bought the vinyl cover that has a magnet attached to the back (sold separately by the same manufacturer). I LOVE it so much since I don’t have to open a drawer to use it. It hangs on the microwave close to my oven.
Next on my “favorites” list is a Thermoworks Dot(paid link), as seen in the picture below.
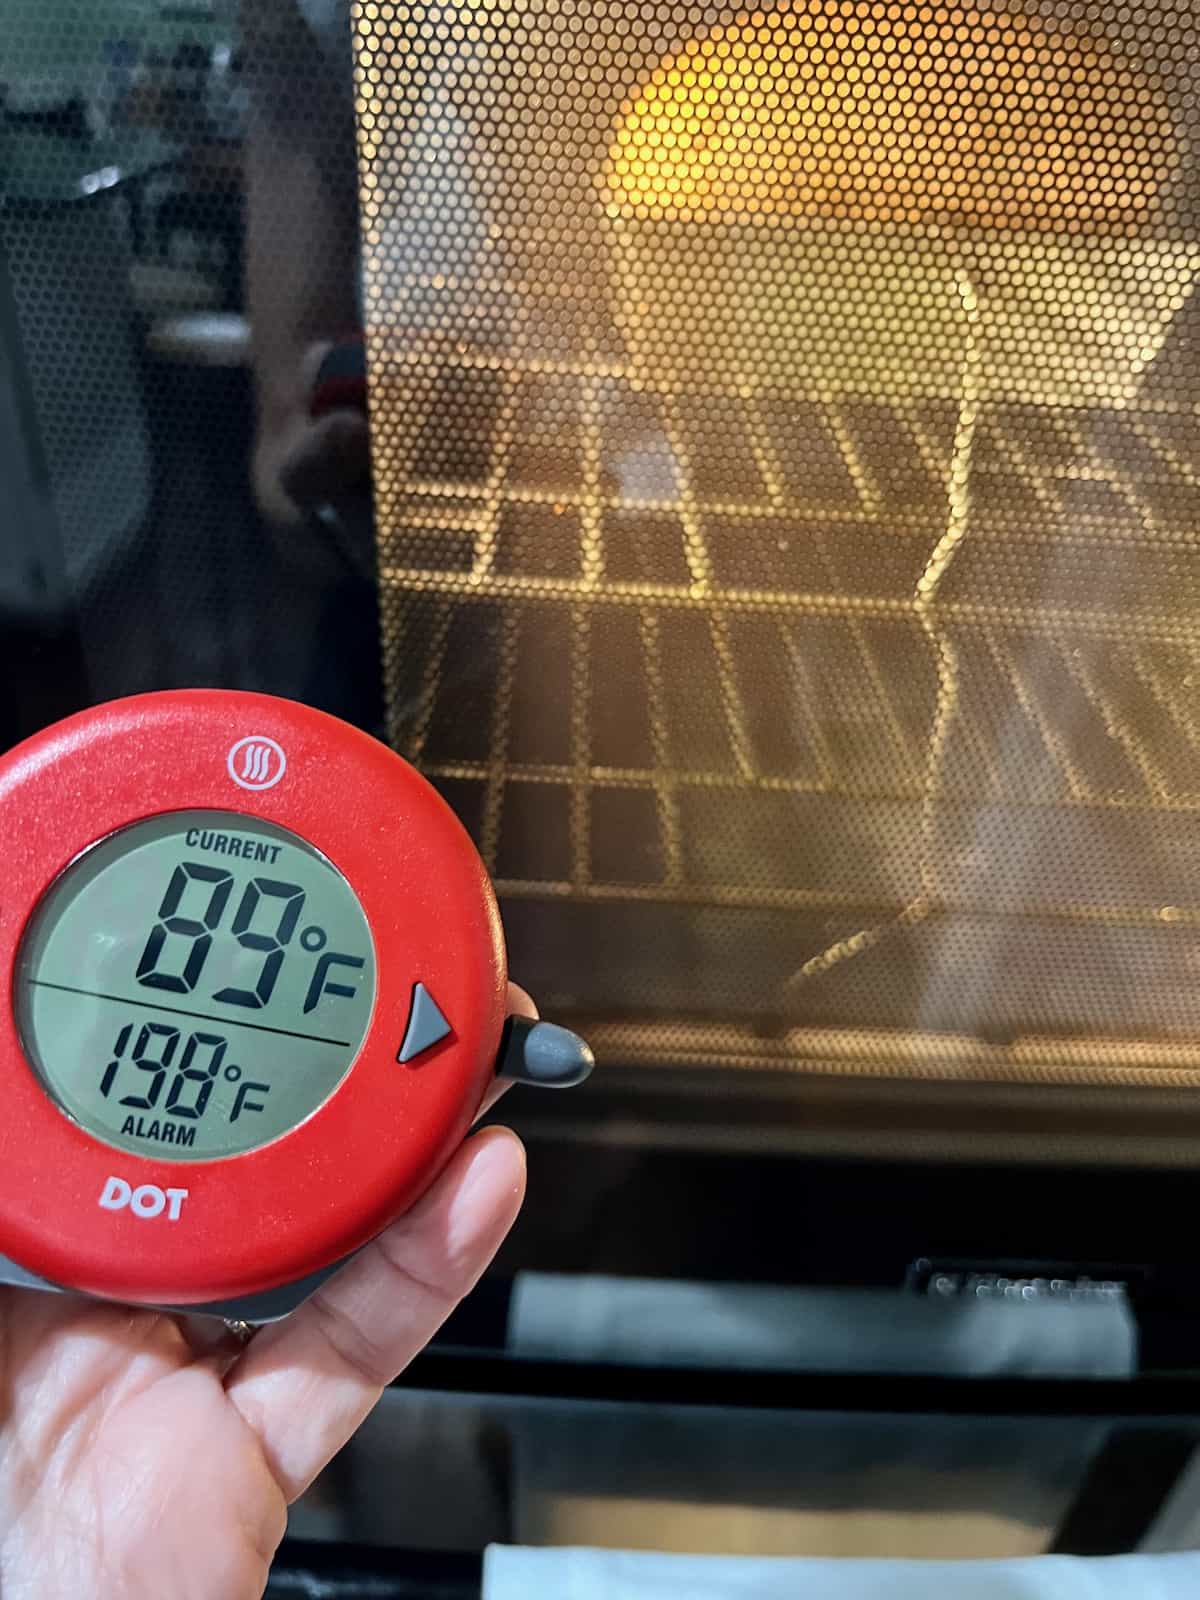
How to use a thermometer like the ThermoWorks DOT:
- Set the temperature that indicates the loaf or rolls are baked through (usually listed in my recipes).
- Place the probe perpendicular (so as not to mess up more than one slice) into a loaf that is half-baked.
- Close the door with the probe in the bread and the alarm outside the oven. The alarm will go off when the bread is perfectly baked.
This tip is incredibly handy, especially for a new recipe that you haven’t baked before.
Other Options:
- The Thermapop 2 is a smaller, more affordable option by Thermoworks. Check it out here.
- Amazon offers several affordable quick-read thermometers. I have this one, and it works fine. However, it’s a little slow when I’m trying to hurry to retain the heat in my oven.
Budget thermometers work for beginners. Otherwise, get the best you can afford. It’s a worthy investment in your bread-making career.
Parting thoughts: Now that I have a fast and accurate digital thermometer, I find myself using it for really important things 😉, such as ensuring my leftovers are sufficiently warm, verifying the temperature of my air vents to confirm that all the freon has not leaked out of our A/C, and checking the pool water for my curious grandkids.
p.s. See this post for questions about different types of bread yeast. A digital thermometer is handy if you need to dissolve active dry yeast.
If you have questions or suggestions, email me privately for a quick answer: Paula at saladinajar.com. Hope to see you again soon!
Disclosure: “My posts are never sponsored or paid for. I don’t accept gifts or review unpurchased items. Links may earn me a small commission at no added cost to you.”


Paula Rhodes, owner
As a retired home economist, I created Saladinajar.com to share my belief that you don’t have to be a chef to find joy in creating homemade food worth sharing. Bread machines (used in an unconventional way), homemade yogurt, and quick microwave recipes are my specialty.