Bread Glazes for People Who Want Extraordinary-Looking Bread
Sneak Peek: Bread glazes, or washes can take your homemade bread from “loving hands at home” to more appetizing and professional-looking. Here’s what you need to know. (This post will not discuss sweet glazes such as thin icing or frosting applied to bread after baking.)
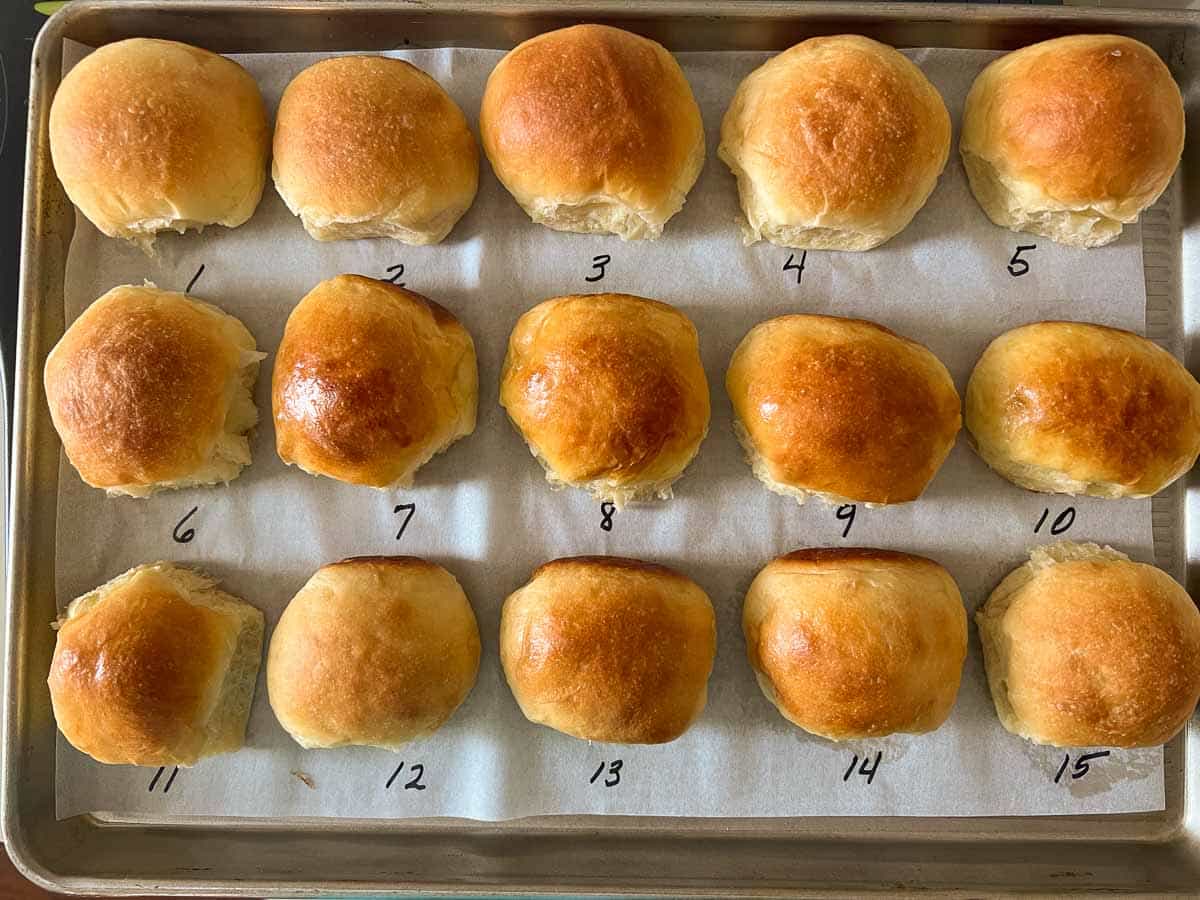
Do you ever wonder how people get their rolls to shine in pictures, in a bakery, or when served at a restaurant? And how do they get those seeds or coarse sugar to stick?
How do I make bread with a crunchy or chewy crust? And how can I get those blisters I see on sourdough bread?
The answers to these questions involve applying a glaze or wash to the shaped dough typically before baking but after the dough has risen the final time.
So, which dinner roll catches your eye? I invited my husband (a non-baker but a professional bread taster) to pick his favorite roll for dinner from the large tray of rolls seen above. At the end of this post, I’ll tell you which one he saw. Does it match your choice?
If you use a bread machine, you can still use these glaze ideas by making your bread on the DOUGH cycle and shaping it by hand before baking it in your conventional oven.
What Is the Purpose of a Wash for Bread?
- Add shine
- Change the texture or taste of the crust (chewy, crunchy, soft, etc.)
- Preserve moisture inside the bread
- Enhance the color or browning
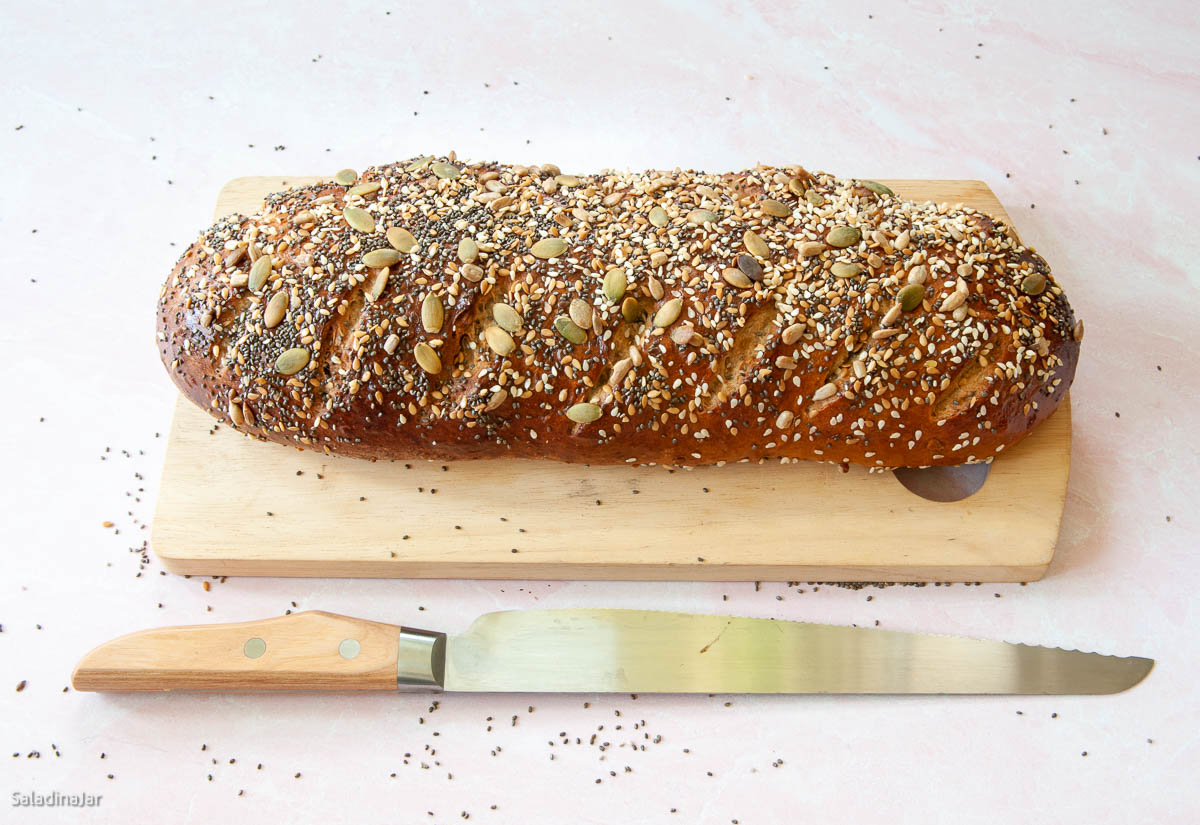
- Serve as “glue” for sugar, seeds, herbs, or salt
How To Apply a Glaze to Bread
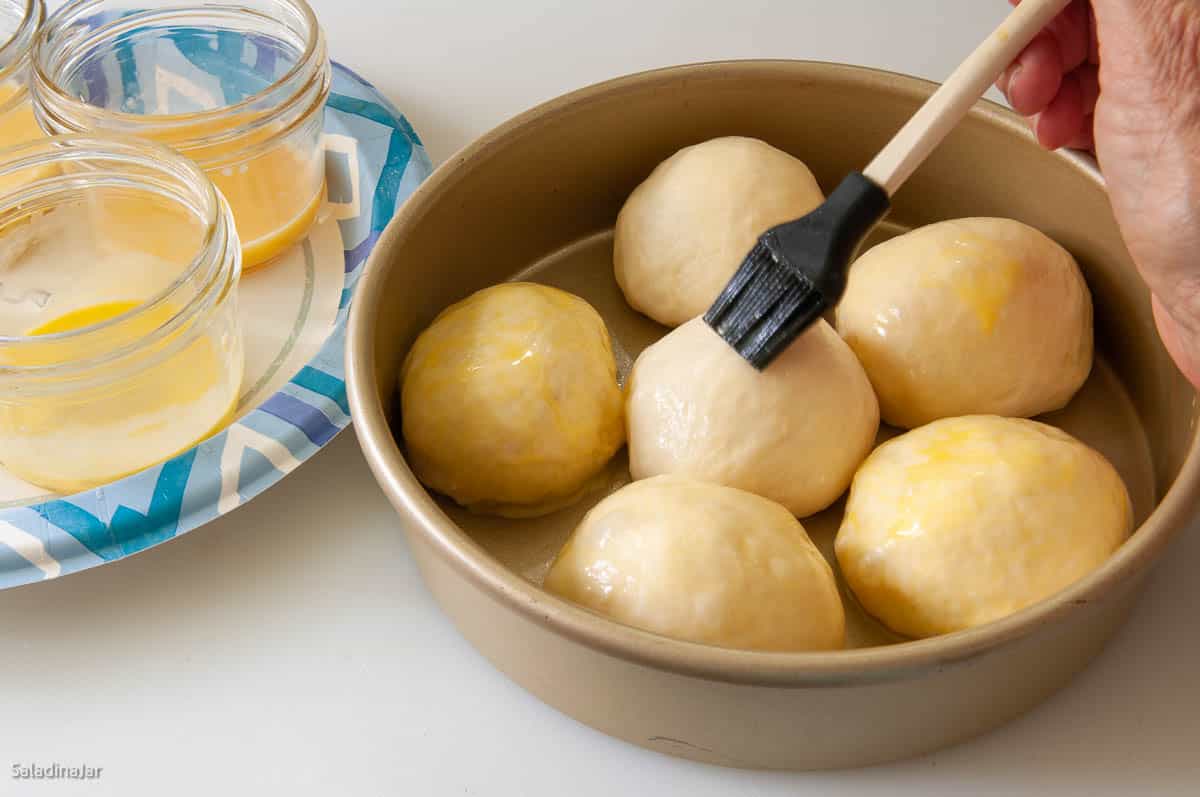
- Small silicone brush: Small silicone brushes (paid link) are easy to wash (by hand or in the dishwasher) and small enough to negotiate the curves and crevices of bread dough. A small handle and short bristles are a big help. A large barbecue brush can be awkward and messy, especially with rolls.
- Soft pastry brush: A soft-bristle pastry brush(paid link) is not as easy to clean or as durable as silicone. Occasionally, the bristles will fall out and into your food.
- Spray bottle: This works best with water for specific types of bread. I also like to use a sprayer designed to use with oil(paid link) for pizza dough, breadsticks, or focaccia.
- Glaze-soaked cloth: This sounds messy but might be good if you are baking in volume.
- Fingers or spatula: Do this only if you’re desperate.
📌Kitchen Secret: Use a light hand when applying any wash so you won’t deflate the dough. Also, tap your glaze brush against the side of the bowl to knock off any access wash. This will help avoid drips that “glue” the bread to your pan.📌
When To Apply a Wash
- Most of the time, apply after the final proof and immediately before baking
- After baking
- Both before and after baking (butter or oil)
An Illustrated Guide to Bread Glazes and the Finish They Produce
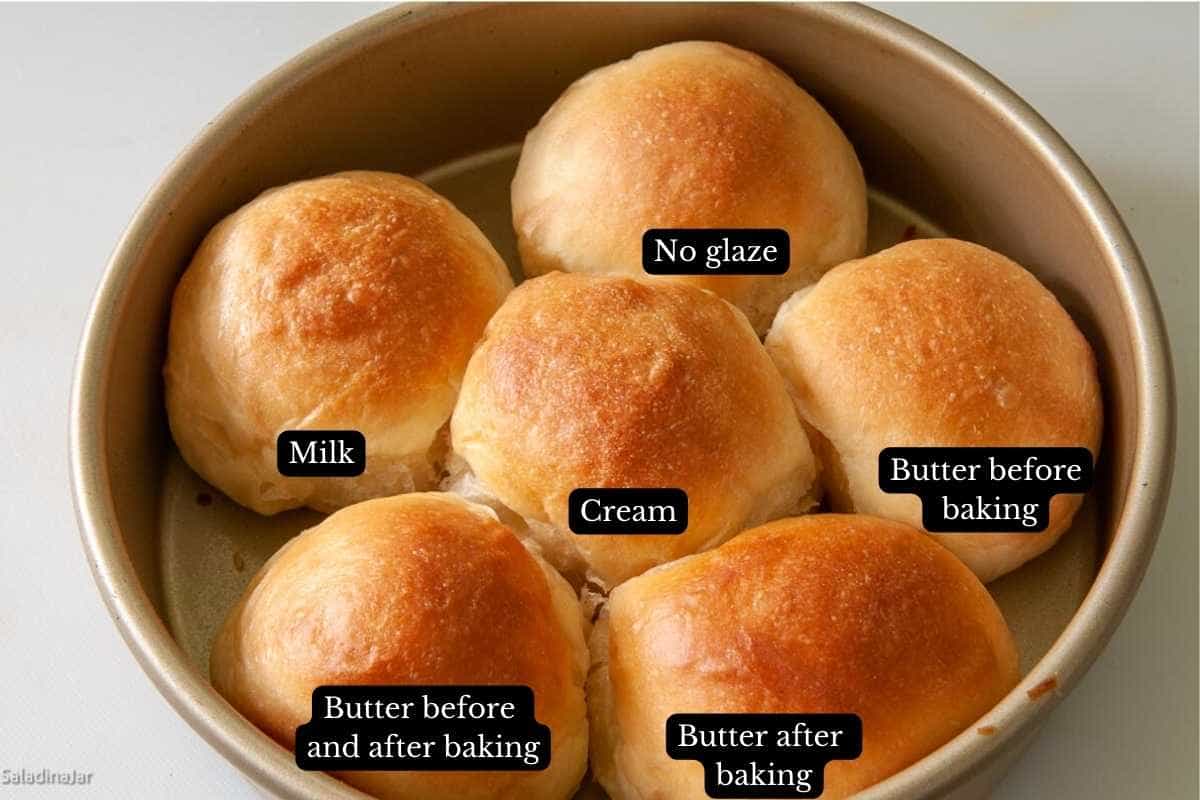
Dairy products
When should you use milk, cream, or butter? When you want a browner color and more flavor in the crust. None of these will impart a lasting shine. Using butter results in a temporary gloss until it dries.
“Dairy products contain both amino acids and certain types of sugars that react with one another in the high heat of the oven and undergo what is called the Maillard, or browning, reaction. This process creates the appetizing golden color we see, but it develops the savory flavor of browned foods.”
–Nicole Rees
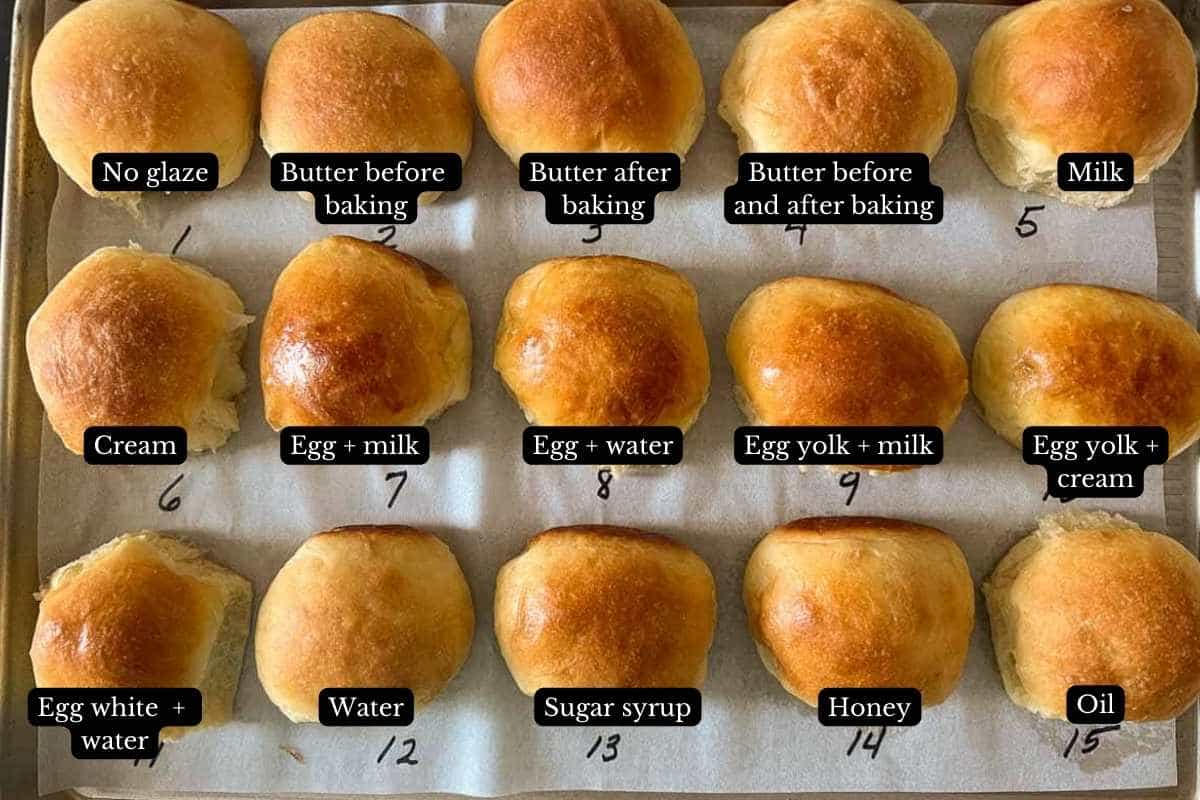
#1 Unglazed
#2 Melted butter before baking: This may result in a mottled or etched surface. I don’t recommend it.
#3 Melted butter after baking: Gives a shiny finish until it dries (doesn’t last long). It feels greasy in your hands until the butter absorbs.
#4 Butter before and after baking: It makes a soft crust but may look wrinkly.
#5 Dairy milk: Milk adds color, but not shine, especially after the bread cools.
#6 Heavy cream: It gives an appearance similar to butter but may cause the surface to bubble a bit. Applying heavy cream evenly can be challenging.
Egg wash for bread
A wash that contains egg (yolk, white, or both) imparts shininess to a crust.
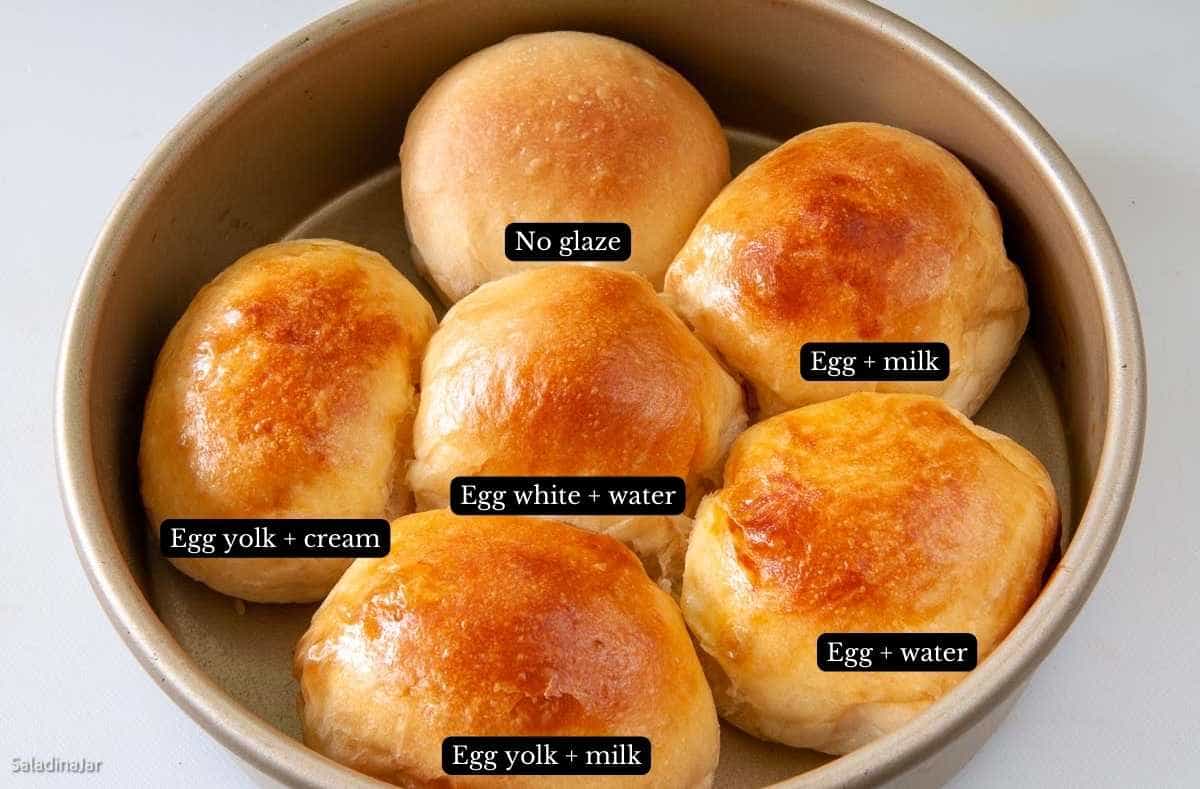
#7 Whole egg plus milk: This basic egg wash produces a shiny, tender brown crust. I use one tablespoon of milk per egg.
📌Kitchen tip: Want to take your egg glaze up a notch? Do these three things:📌
- Strain the egg wash to make it smooth—no little white knots.
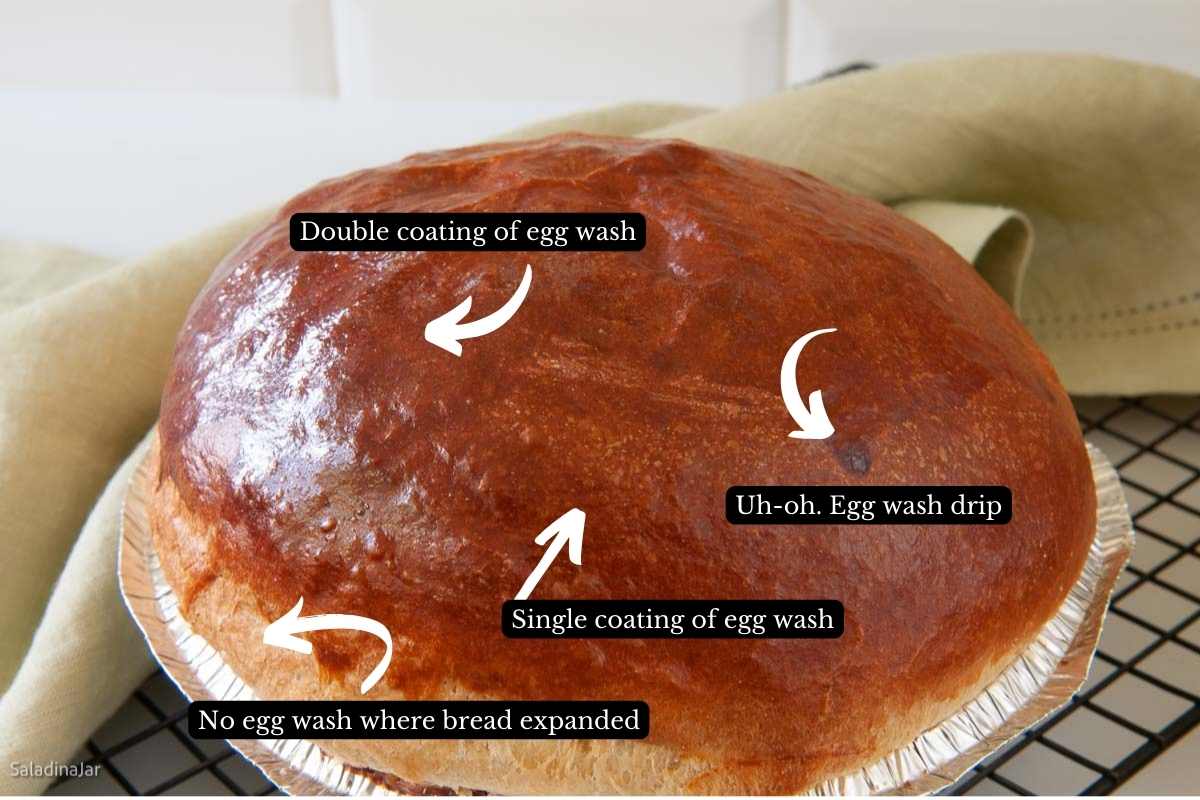
- Glaze once. Wait until it dries, then add a second coat of glaze. Look at this Hawaiian bread with a double coat, a single coat, no glaze, and a drip.😩 This will make the crust chewier.
- Mix the glaze with a milk frother(paid link) . With only a few seconds of mixing, your glaze will be silky smooth. No need to strain.
#8 Whole egg with or without added water: This mixture produces shine and works well if you want to glue seeds (such as poppy seeds, sesame seeds, or sunflower seeds), grains, a sugar-cinnamon mixture, or dried herbs to the top of your loaf or on top of your hamburger buns.
#9 Egg yolk + milk: This is it if you want the darkest and shiniest glaze possible. I use one teaspoon of milk for one egg yolk, but you might play with this to find your favorite ratio.
📌Kitchen tip: If you crave extra shine, let the first coat of egg glaze dry, then add a second coat immediately before shoving your bread into the oven.📌
#10 Egg yolk + cream: This glaze produces a dark and shiny glaze. It can cause bread with a delicate crumb to bubble on top. Otherwise, the finish is like egg yolk + milk.
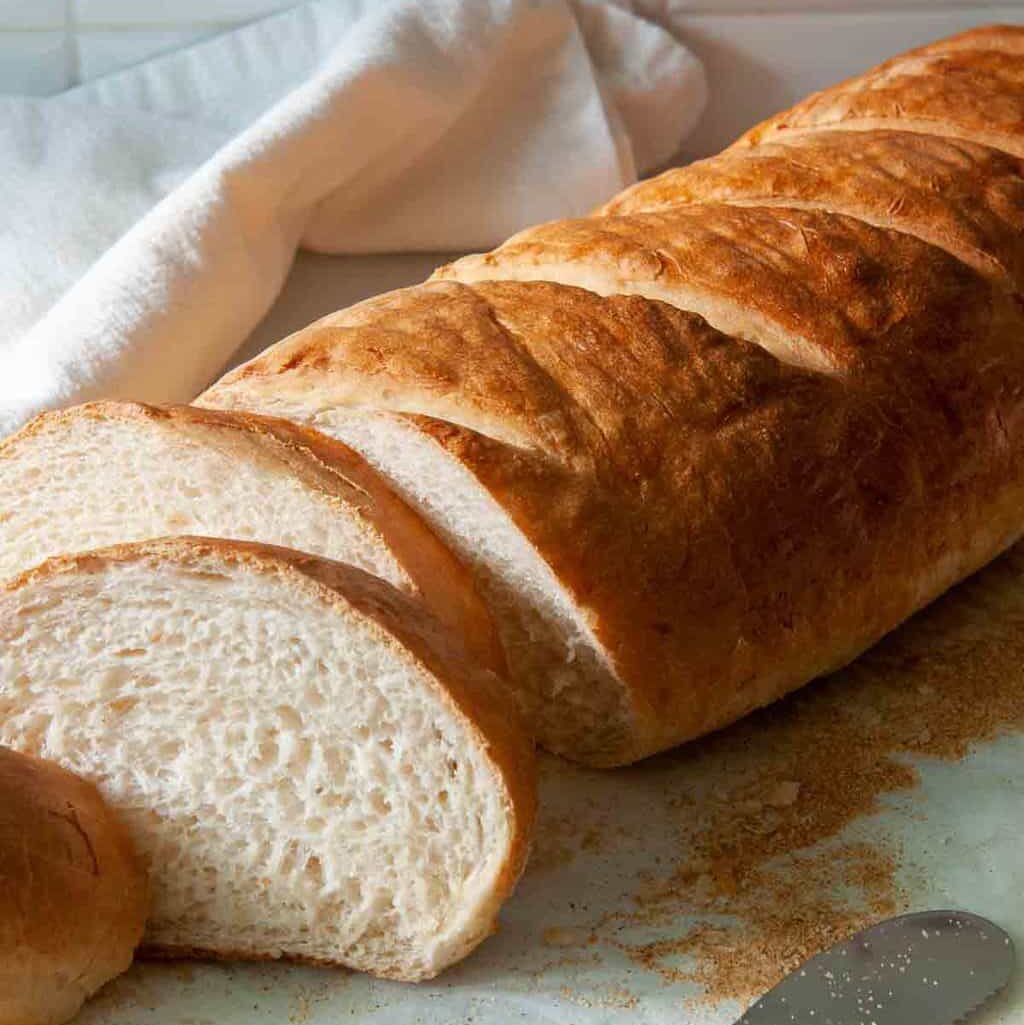
#11 Egg white + water (strained): Since this glaze has no fat, it’s best used on lean bread like this bread machine French bread or this Cuban bread for a crusty finish, as seen below. It also has adhesive properties for gluing on seeds and herbs. Unless the recipe specifies something different, I use one teaspoon of water per egg white.
📌Kitchen tip: If you want any egg glaze containing the whites to look perfect on bread, straining it will remove the little white pieces. Add a pinch of salt to thin the egg white so it will go through a sieve.📌
Simple Glazes
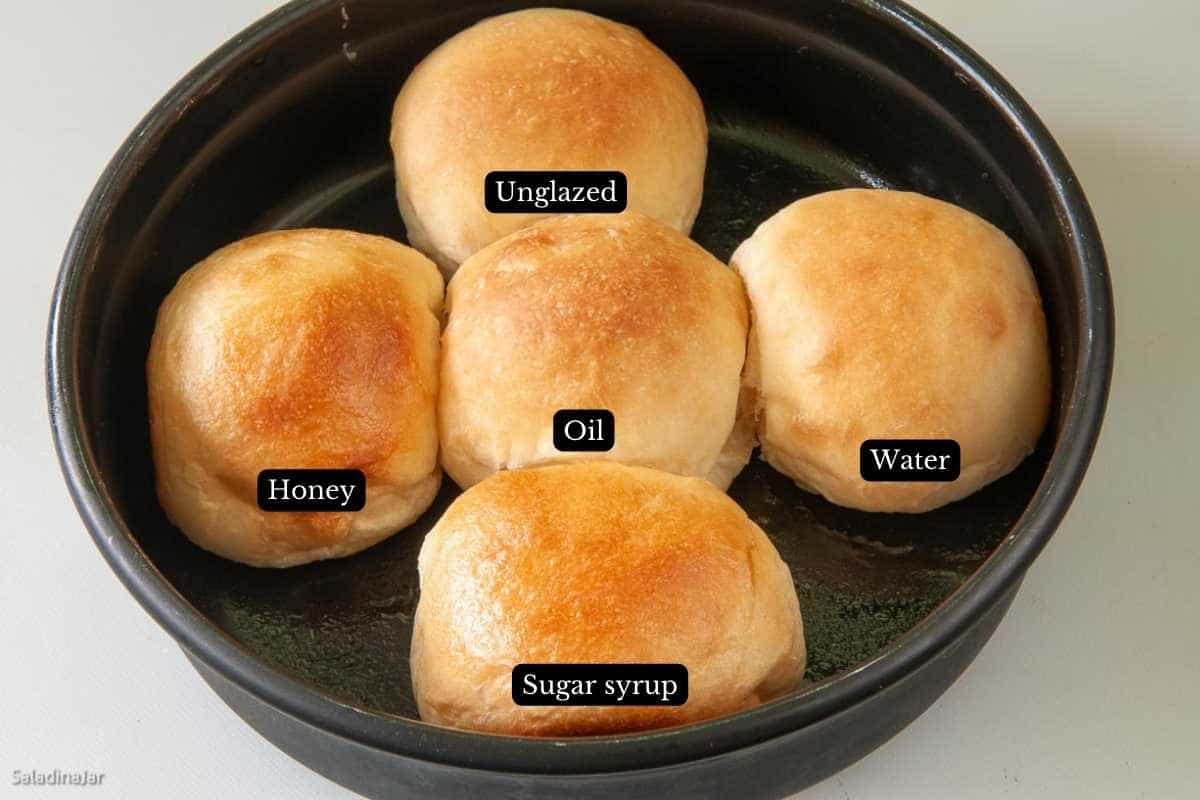
#12 Water: Water glazes are interesting. Brushing plain water on a roll will do nothing (see the picture above).
However, if you glaze a lean loaf or rolls (without extra fat, eggs, or a lot of sugar) and add enough steam to the oven or place the bread inside a scorching hot Dutch oven, it will create a crispy and crunchy crust.
If the bread dough has come out of the fridge, water will help produce appetizing blisters.
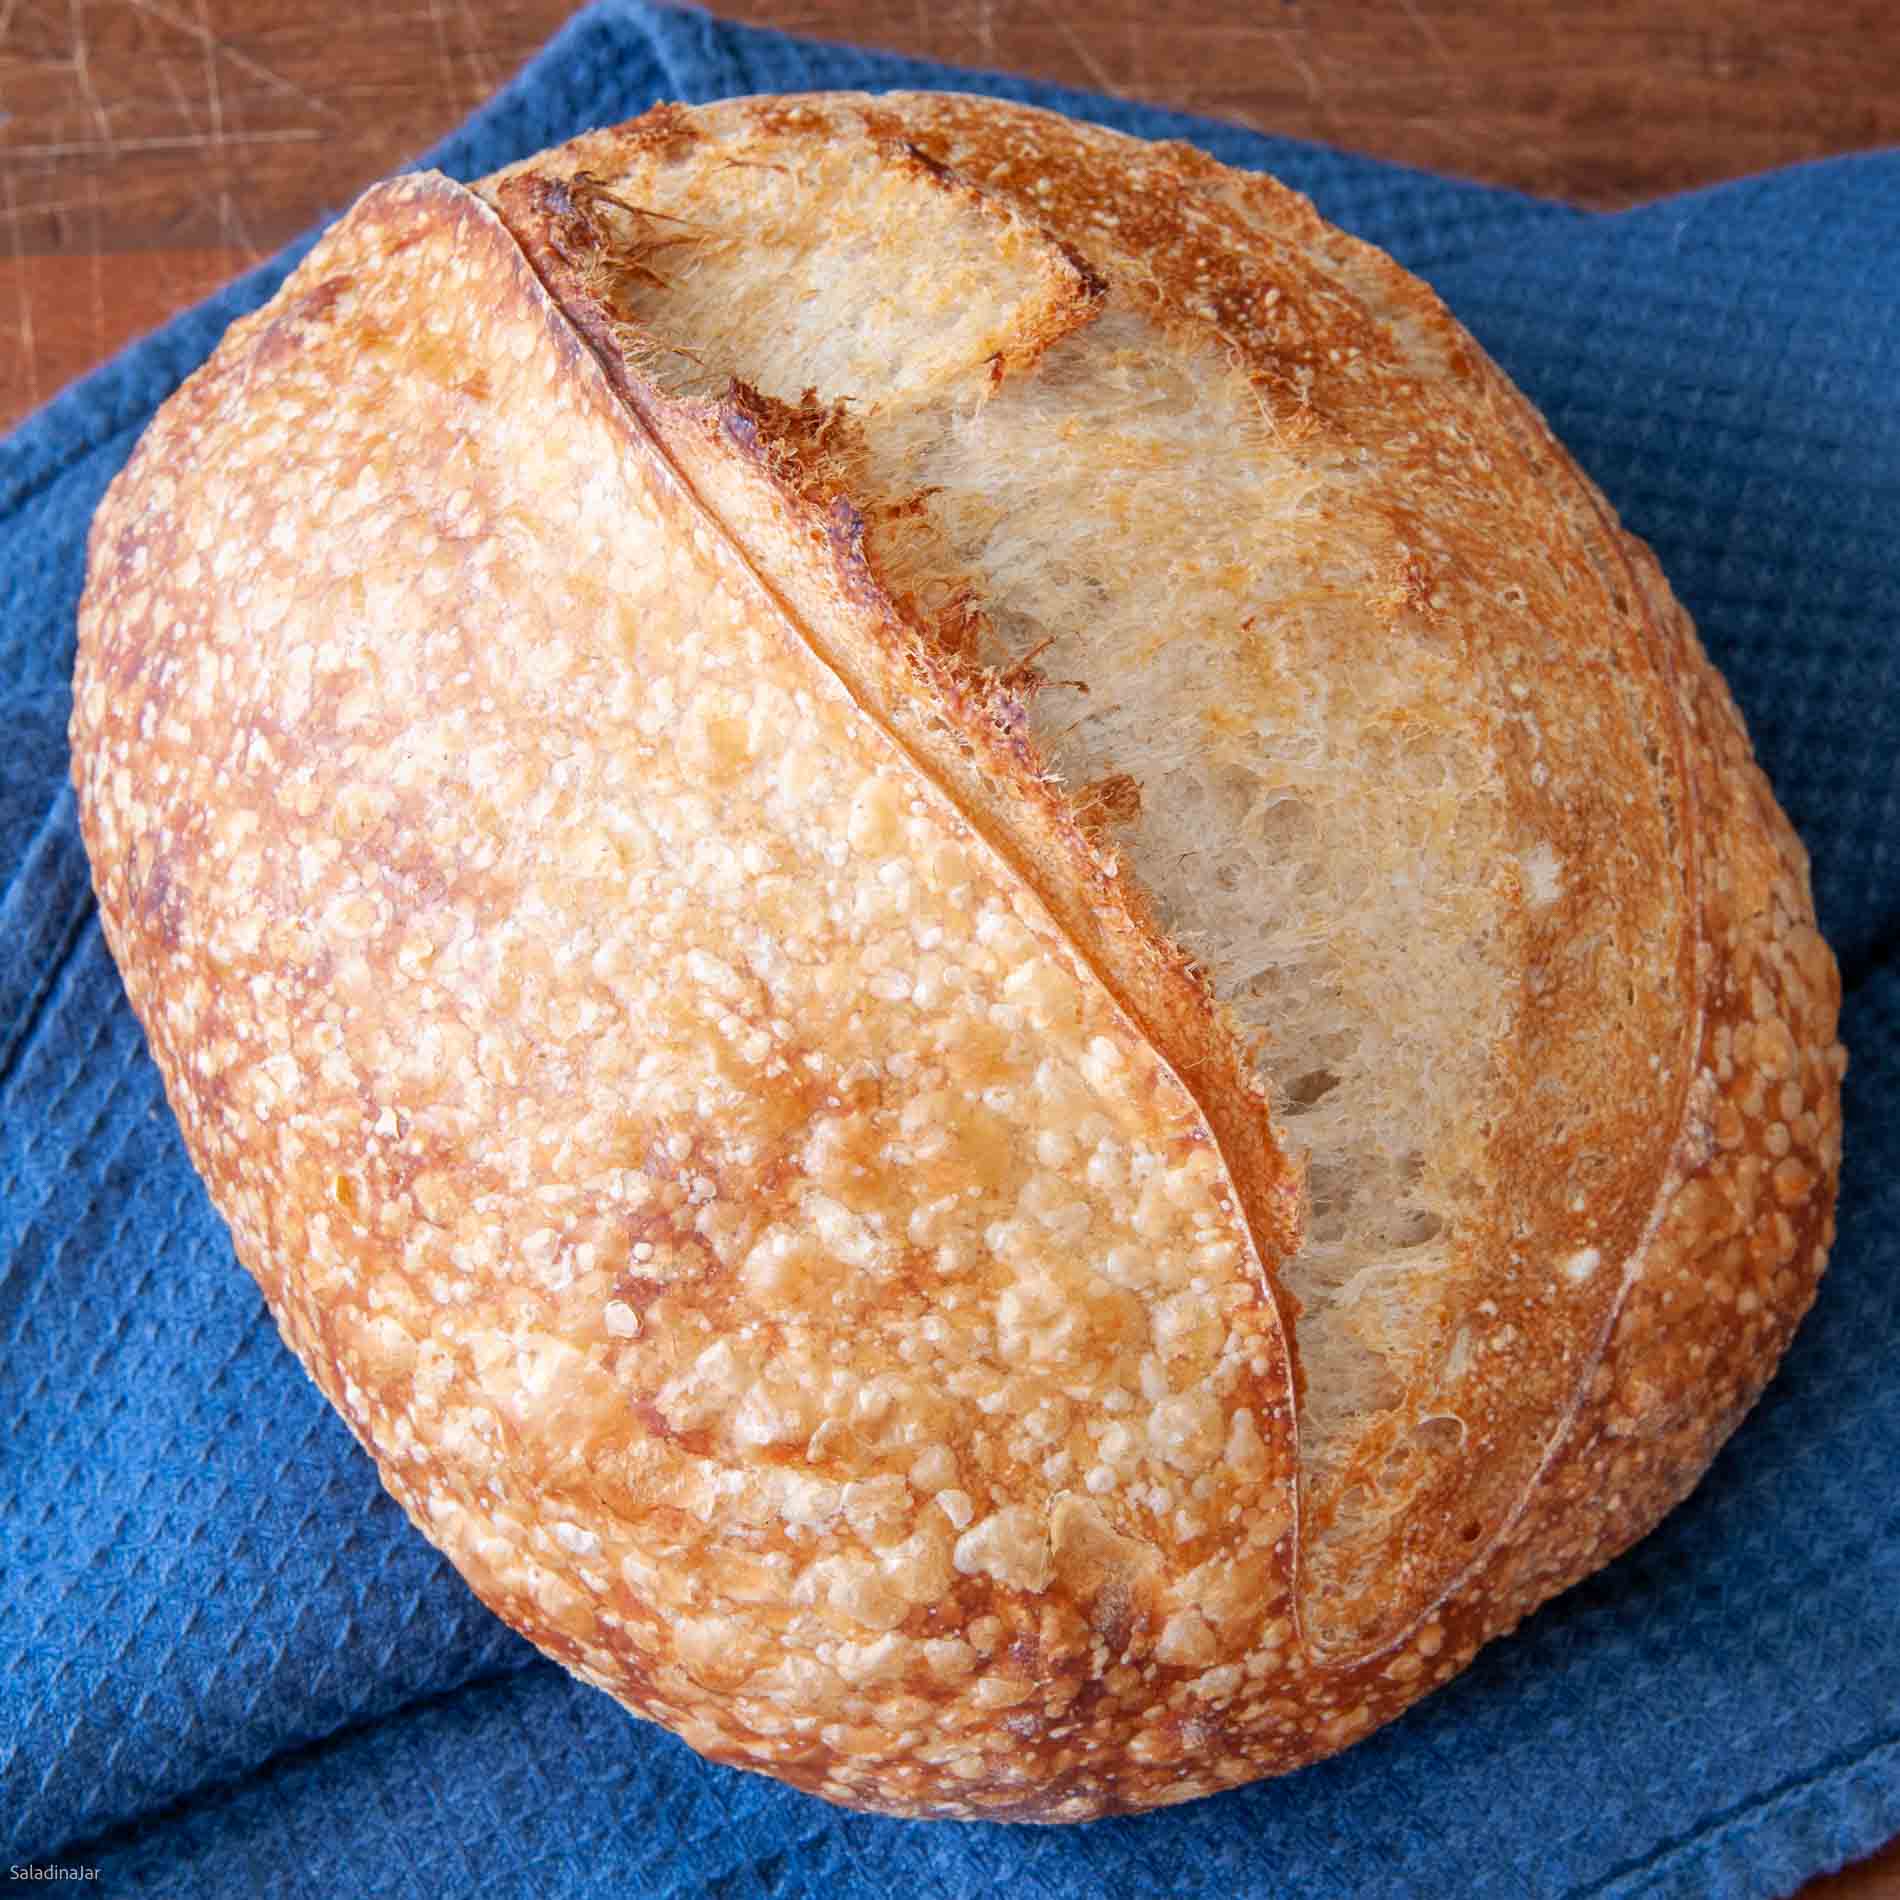
#13 Sugar syrup or sugar-water glaze: This glaze results in a satin finish and can act as a glue for seeds, nuts (like sliced almonds or chopped pecans), or sugar. It remains sticky even after baking – similar to honey.
The recipe is one tablespoon of water + one tablespoon of granulated sugar. Microwave on HIGH for 1 minute until the sugar dissolves and the mixture boils.
#14 Honey: Runny honey also produces a sticky surface. Seeds or coarse sugar will adhere to the surface. On the downside, the bread will attract unwelcome moisture to the surface when you try to store it.
#15 Oil: I often use olive oil for pizza crust and lean bread like focaccia to impart more flavor. The bread will bake with a flat finish and no shine.
Other Special Treatments
Honey-butter glaze: This glaze adds shine, sweetness, and softness to a dinner roll or biscuits.
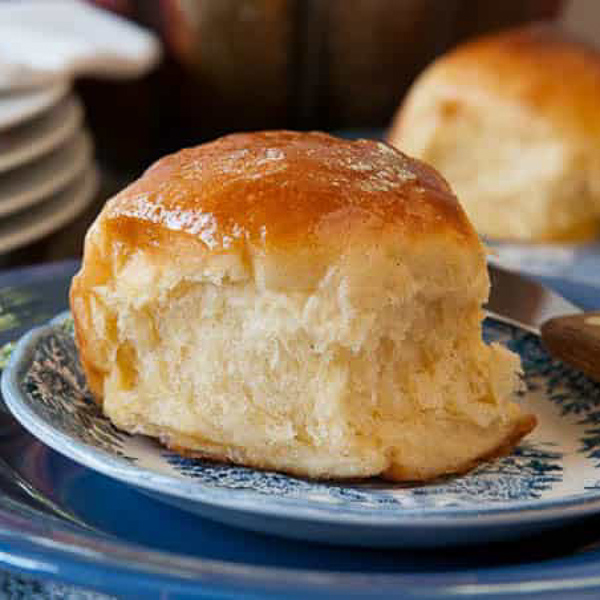
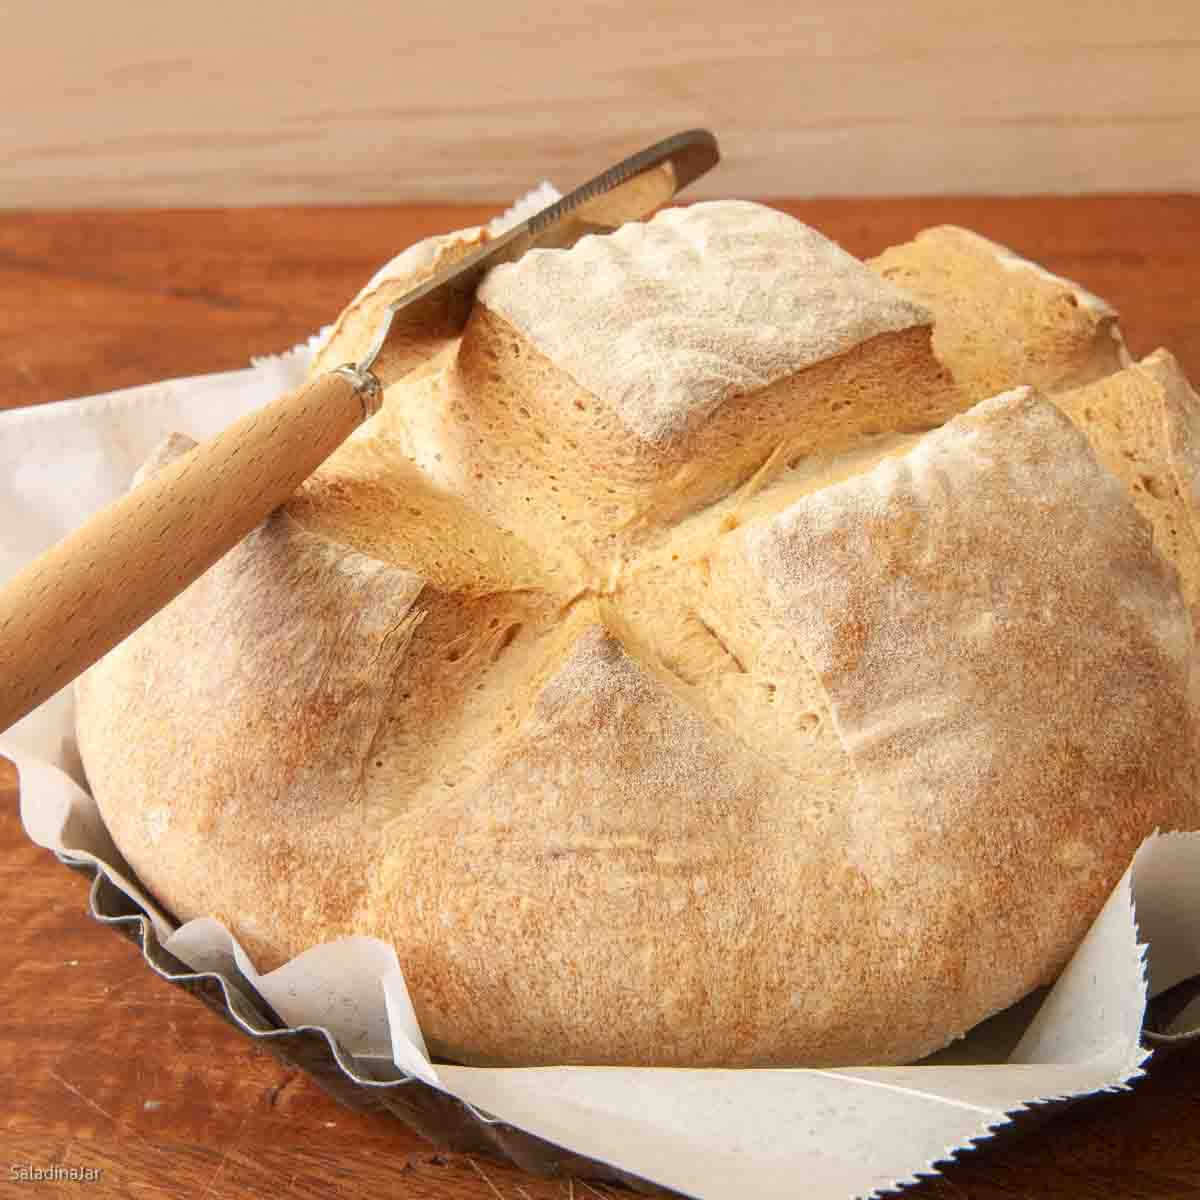
Flour: When you sprinkle flour over a loaf, it imparts a rustic feel and a chewy texture. It’s commonly used on sourdough bread to show off the designs some people like to cut into the crust. It’s also a traditional finish for potato rolls.
Cornstarch Glaze: A cornstarch mixture creates a hard crust that makes a great dipping bread for soup or flavored oils.
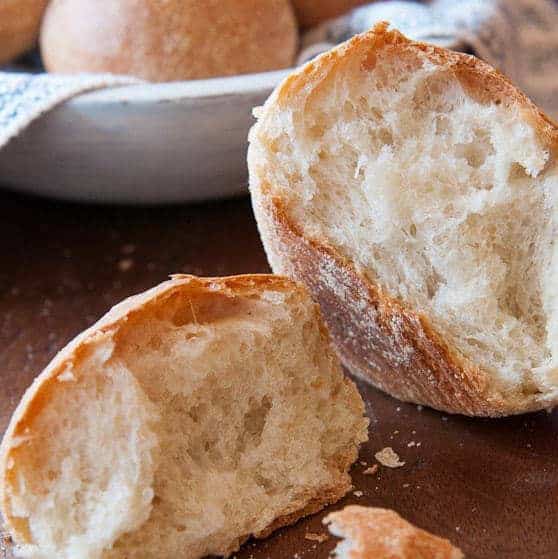
Pretzel Dip or Glaze: A baking soda and water dip will give pretzels their characteristic deep brown color and flavor. King Arthur advertises a recipe for pretzel focaccia that combines four treatments:
- baking soda wash,
- egg glaze
- butter after the focaccia bakes
- finish with a sprinkling of salt
In this case, the glazes make the bread.
FAQ About Bread Glazes
Try to avoid it. If the bread is in a loaf pan, it may glue the sides of your loaf to the pan, causing your bread to split open on the side or making removing the loaf from the pan problematic. With rolls, excess glaze often drips onto the baking pans, causing the bottoms to get too dark or even burning.
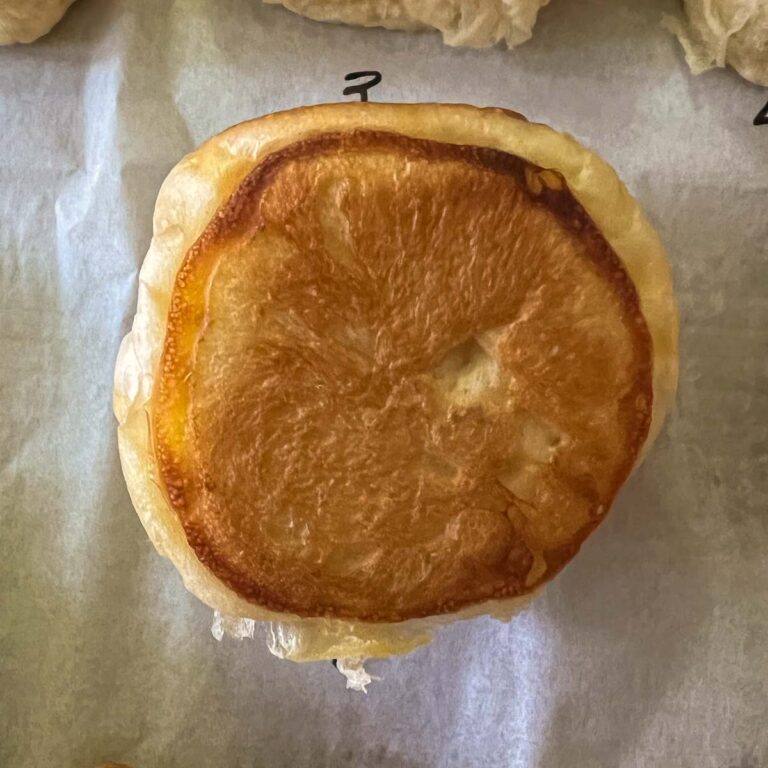
📌Kitchen tip📌: Prepare baking sheets by covering the bottom with a silicone baking mat or parchment paper or by greasing them well (my last choice). If any glaze drips onto the baking sheet, this will make removing the bread from the baking tray and clean-up easier.📌
Yes. Store covered in the fridge for up to three days. Also good to use in scrambled eggs or an omelet.
Grab a mini whisk (paid link). It works better than a fork. Combine the ingredients in a small bowl or a pint-sized Bell jar (nice for storing leftover glaze). Pour the glaze through a small strainer if you want it perfect. Even better is a battery-operated milk frother.
📌Kitchen tip📌: Mix up your glaze after shaping your bread so it will be room temperature by the end of the second proof.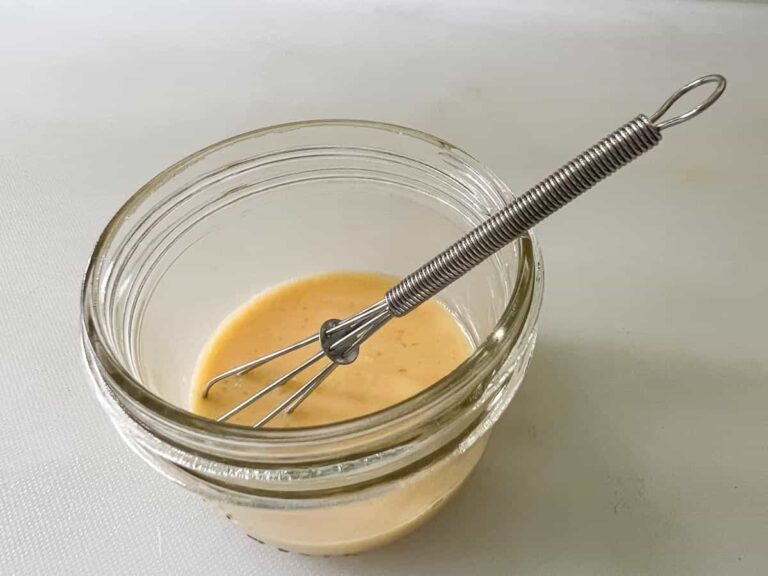
Glaze or add crust treatments before slashing to make the openings more prominent and beautiful.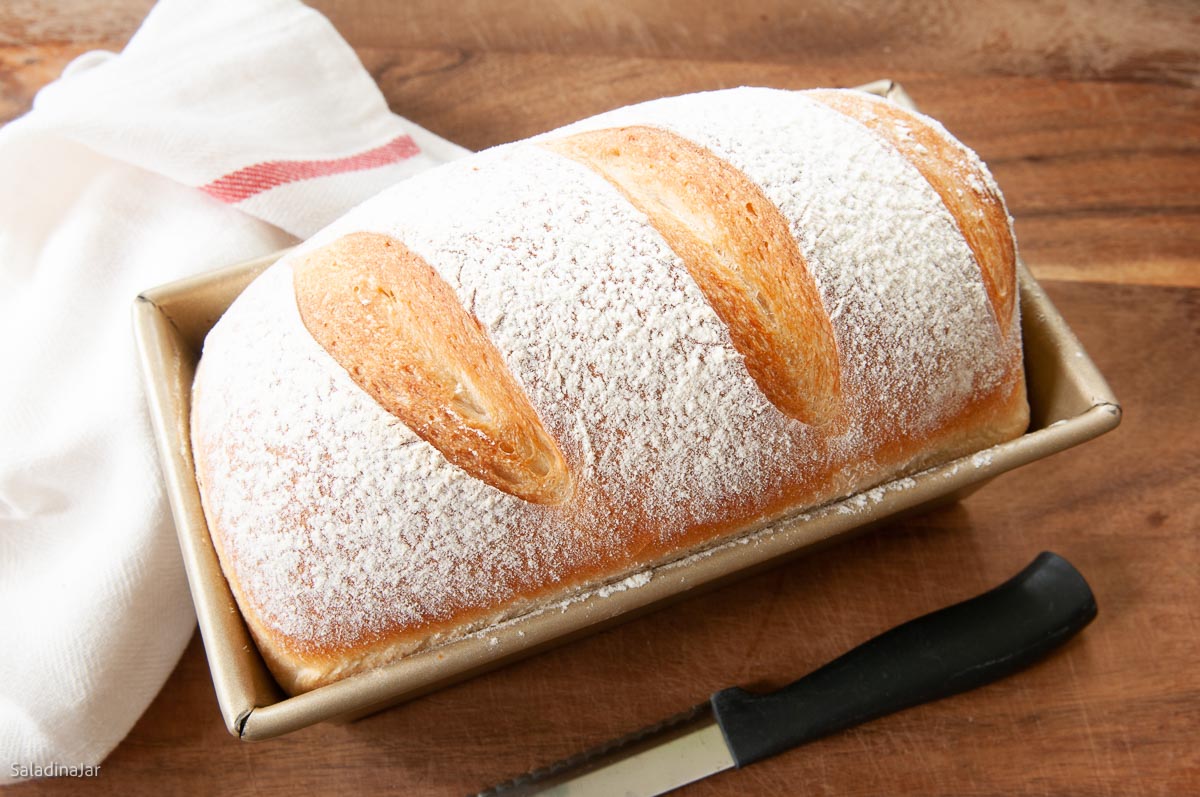
Possibly. However, every machine brand uses different timing, so the subject is too complex for this post.
Here’s a better solution: Mix and knead your dough using the DOUGH cycle. Then, remove the dough, shape it by hand, let it rise again, add the glaze, and bake in a conventional oven. If you want details, every recipe on my website uses the DOUGH cycle and bakes in a conventional oven. Please browse through my collection of 67+ best bread machine recipes.
Parting thoughts: My husband picked roll #7 with the shiny golden crust (an egg wash glaze with milk). Which one did you choose? It seems like we are all suckers for shiny objects.
If you have questions or suggestions, email me privately for a quick answer: Paula at saladinajar.com. Hope to see you again soon!



Paula Rhodes, owner
As a retired home economist, I created Saladinajar.com to share my belief that you don’t have to be a chef to find joy in creating homemade food worth sharing. Bread machines (used in an unconventional way), homemade yogurt, and quick microwave recipes are my specialty.