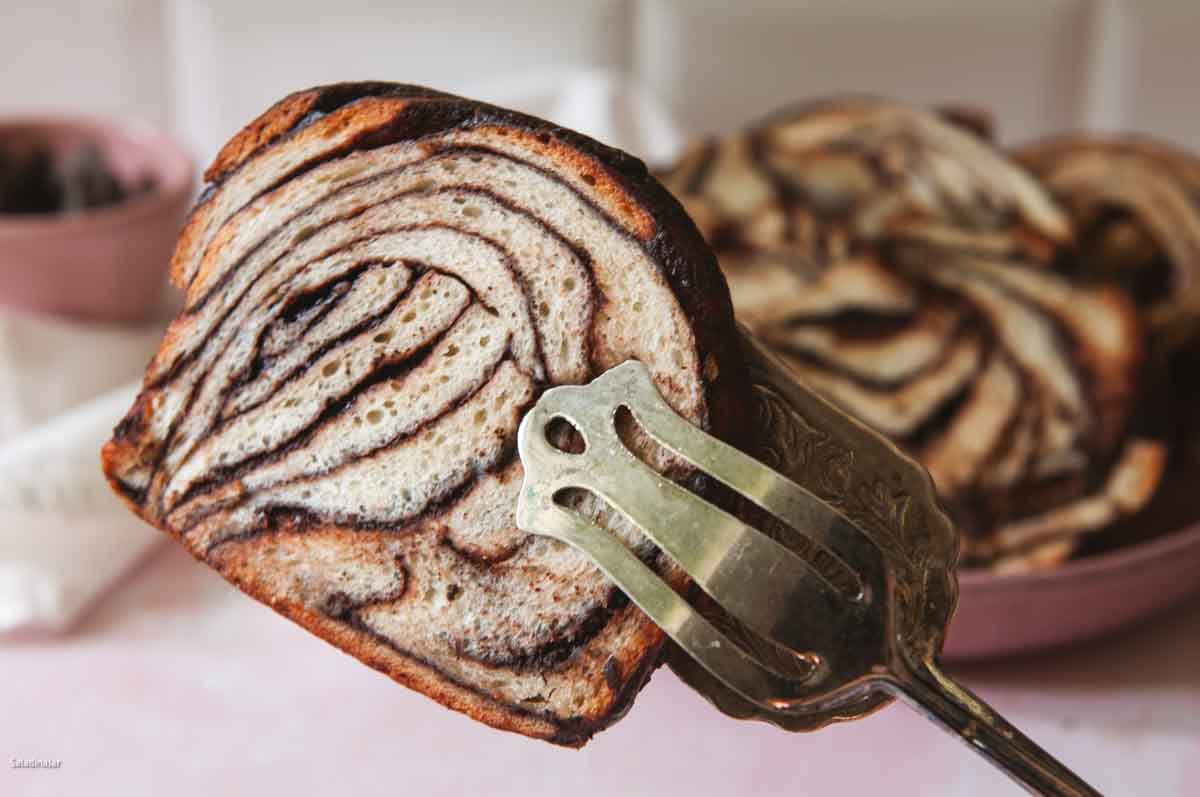
Chocolate Babka – Bread Machine Dough + Oven-Baked Finish
Sneak Peek: This Chocolate Babka starts with rich, buttery bread machine dough, then gets shaped by hand and baked in the oven for a glossy, chocolate-swirled loaf that’s as beautiful as it is delicious. Make in about 4 hours.

This post contains affiliate links. As an Amazon Associate, I earn from qualifying purchases at no extra cost to you.
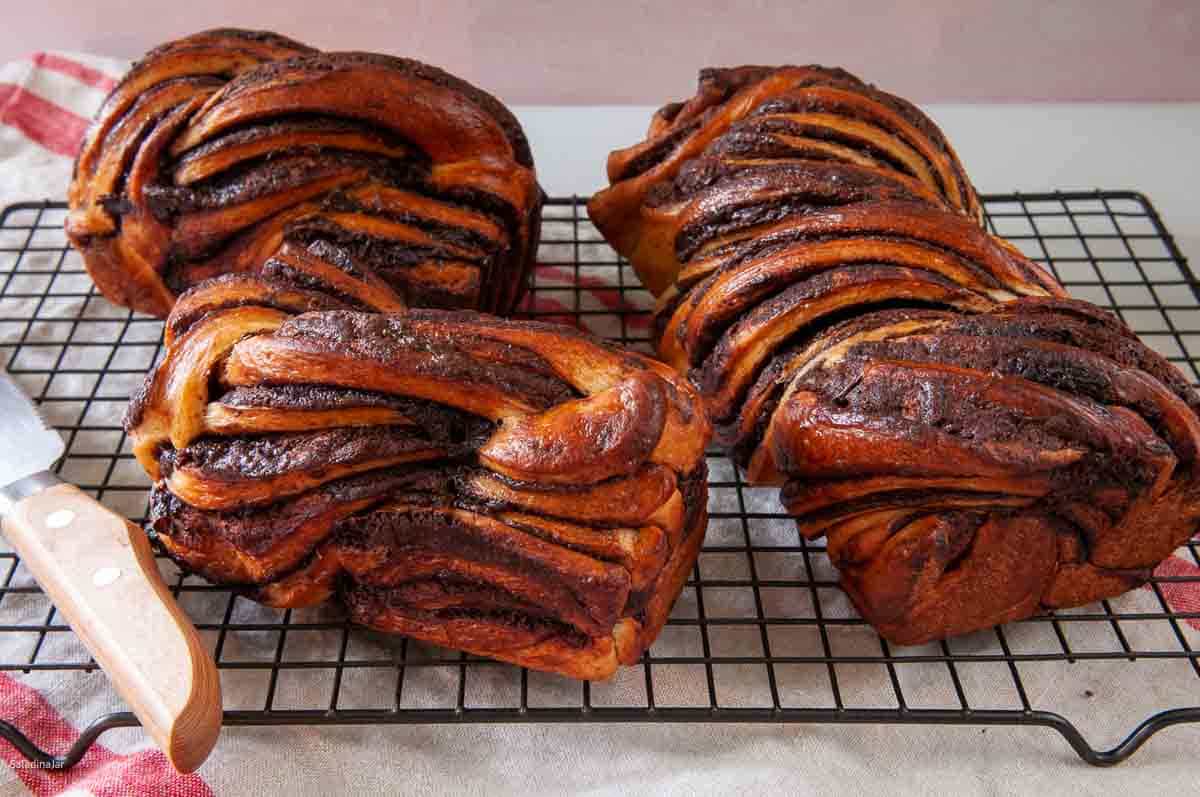
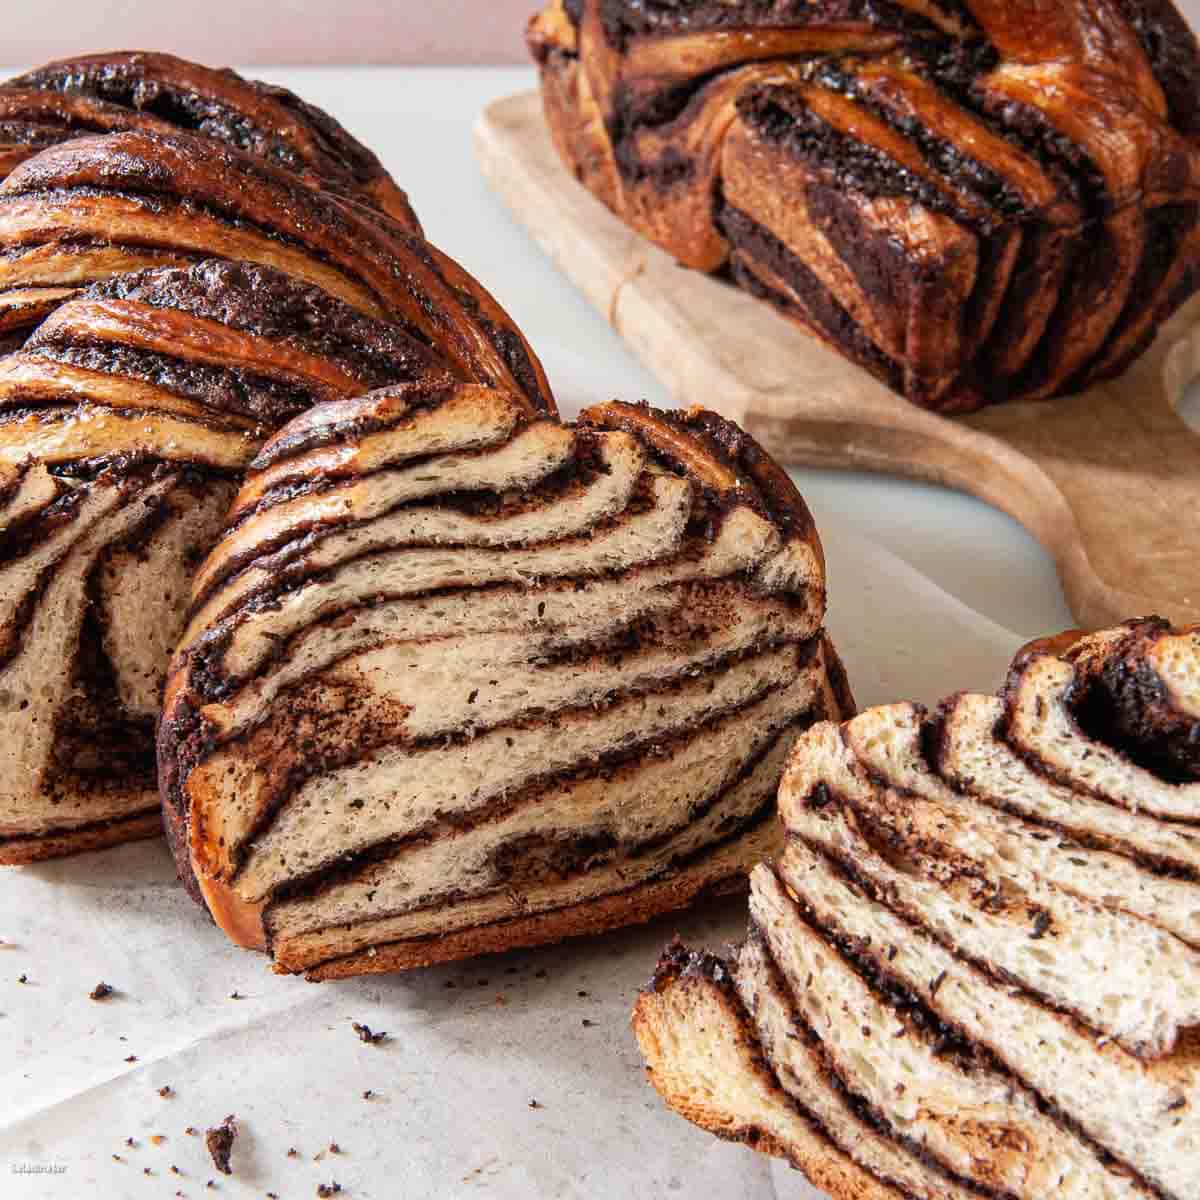
If you’ve been craving homemade chocolate babka without spending all day in the kitchen, this method is for you. The shaping is hands-on but manageable, and the results are glossy, chocolate-swirled loaves that look straight from a bakery case.
Babka is a sweet, braided bread with Eastern European roots—traditionally filled with chocolate, cinnamon, or nuts. This version is swirled with rich chocolate, baked to a tender crumb, and finished with a sugar glaze for shine. It’s a showstopper you can make at home without the fuss of kneading by hand.
Ingredients & Substitutions
• HALF AND HALF: Essential for flavor and texture. Substitute half whole milk + half whipping or heavy cream. No need to warm milk in a bread machine.
• SUGAR: In the dough–granulated sugar only. In the filling: powdered sugar preferred; granulated may create a grainy texture.
• SALT: Use table or sea salt. Add ¼ teaspoon more if using kosher salt.
• EGGS: Use large eggs (about 50 g each). Adjust flour if using a different size.
• BUTTER: Unsalted preferred (use what you have). No substitutes tested. Use cold butter, chopped into small pieces. (Don’t melt it.)
• FLOUR: Use unbleached all-purpose flour. Avoid bread flour for a softer texture. Weigh flour for accuracy.
• YEAST: Instant or rapid-rise yeast
• CHOCOLATE: Use good-quality bittersweet chocolate. Substitute semi-sweet if preferred.
• COCOA: Use Dutch-process cocoa (e.g., Ghirardelli). Not tested with regular cocoa.
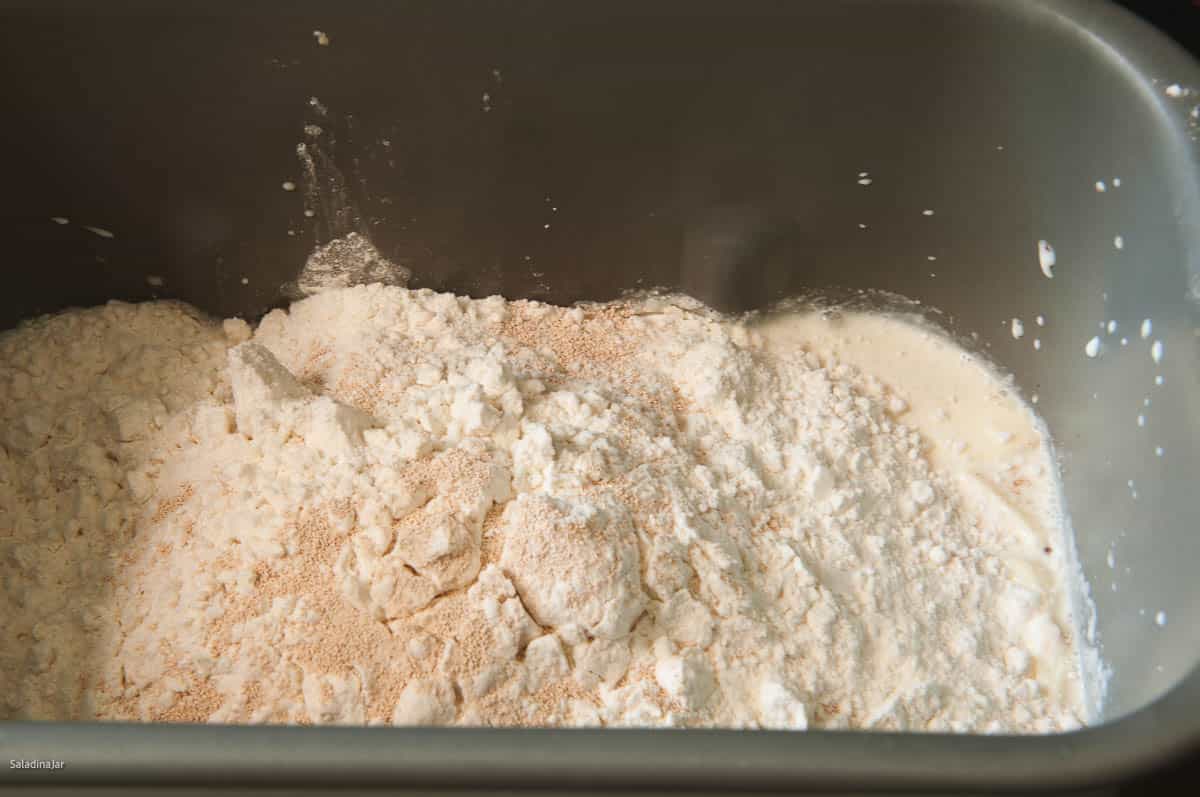
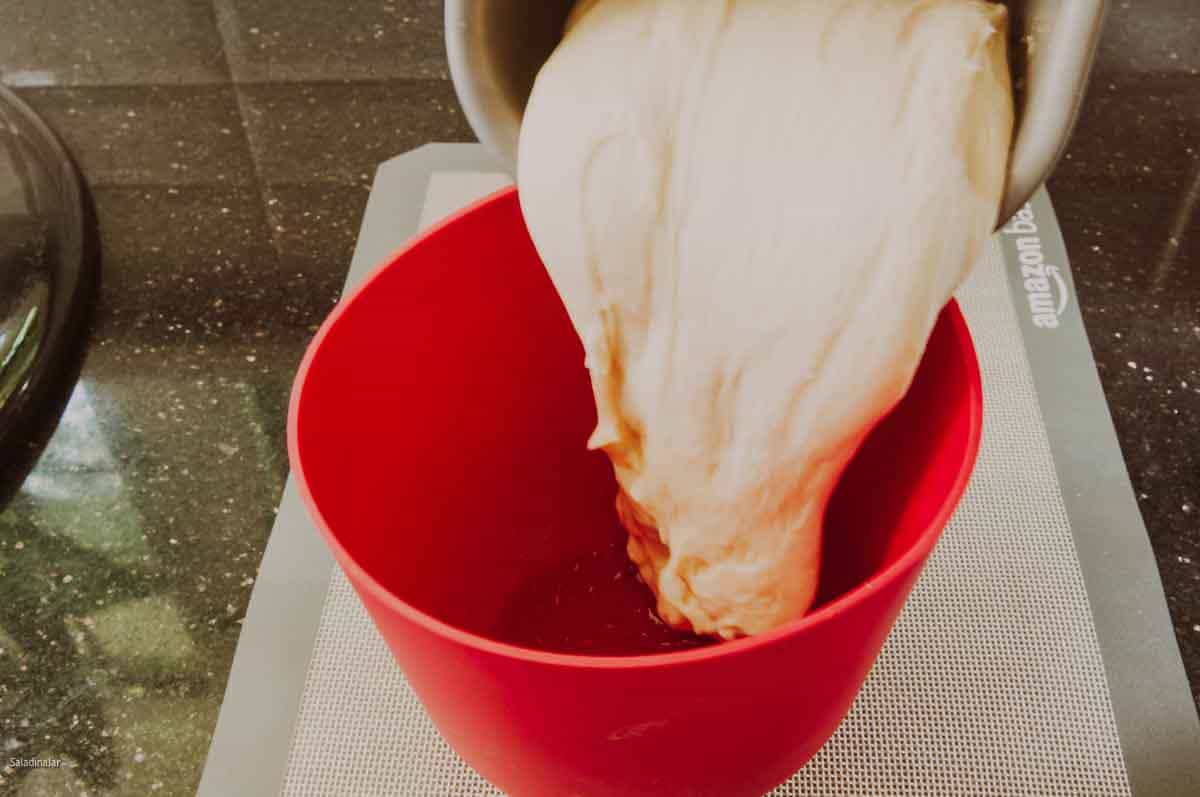
Step-by-Step Photos: How To Make Chocolate Babka Dough in a Bread Machine
⬇️ Jump to the recipe below for exact amounts and detailed instructions.
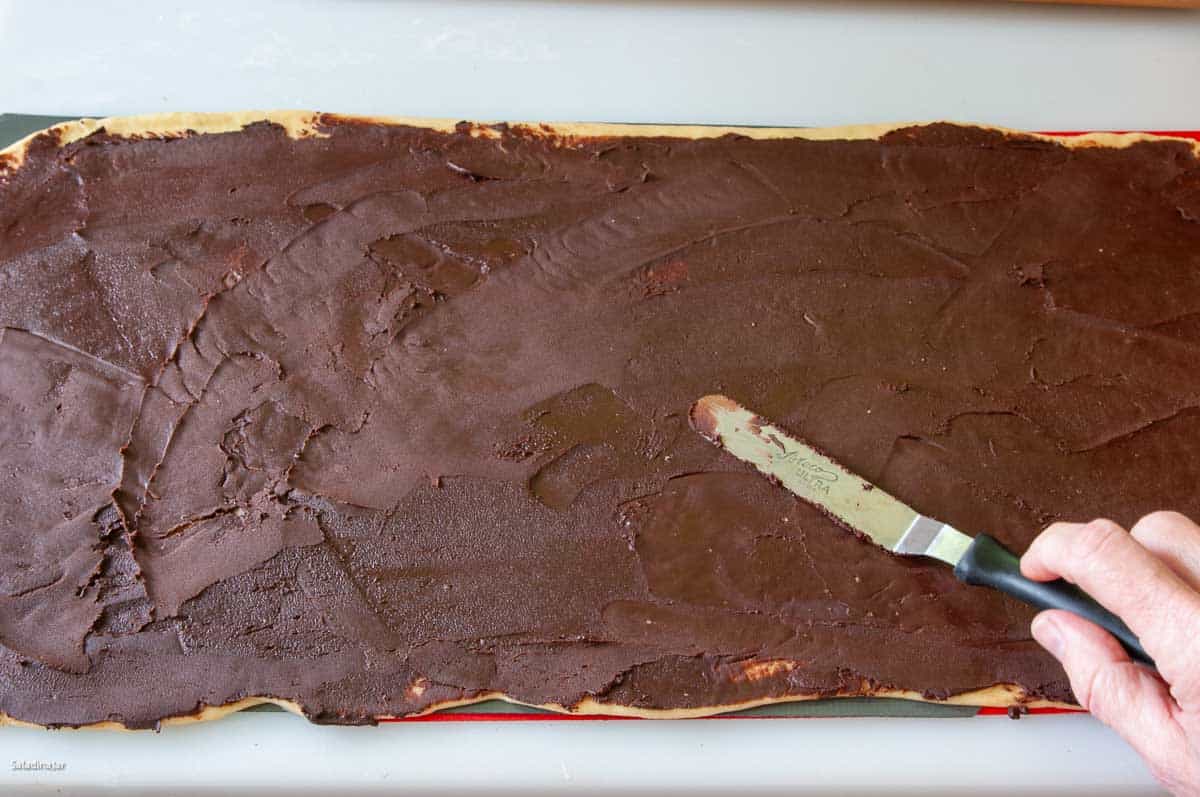
How To Shape and Bake Chocolate Babka


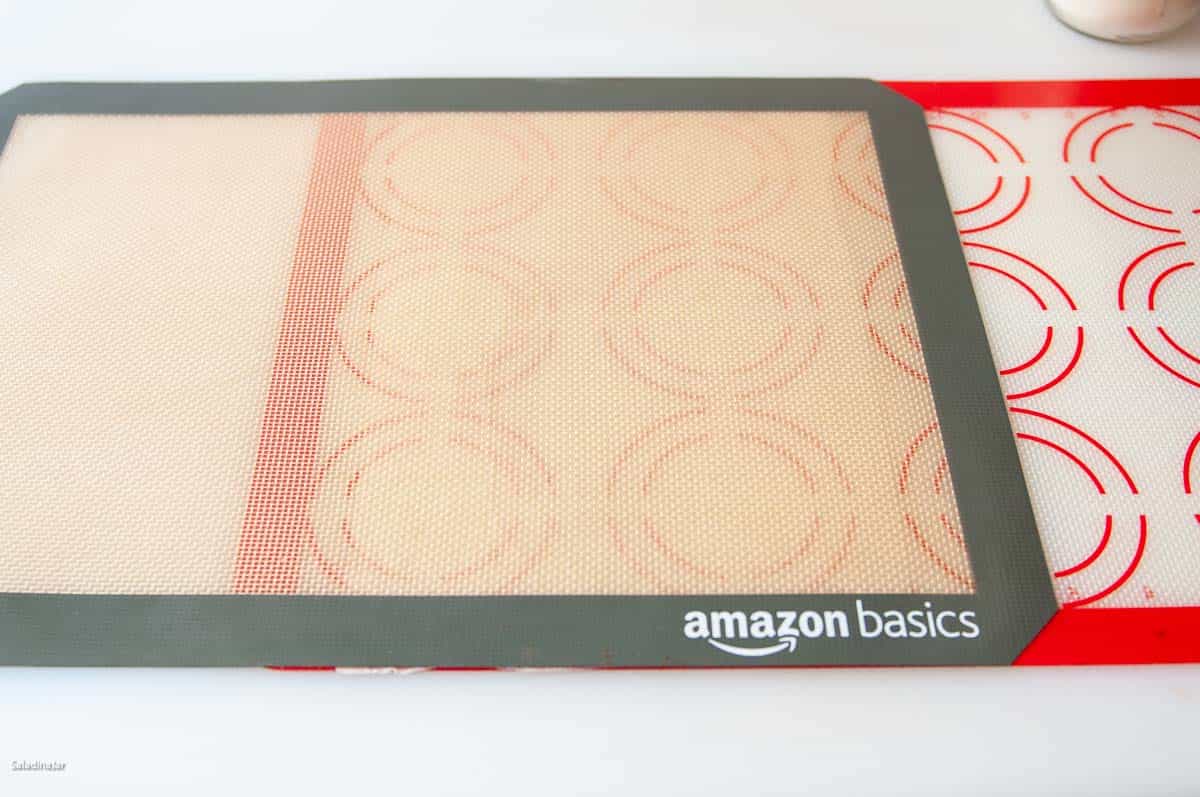
A Kitchen Tip That Makes a Difference
- Use Silicone Mats: An extra-large Silicone Mat (paid link) works best for shaping, or overlap two half-sheet mats and dampen the seam to hold them together.

Chocolate Babka (Bread Machine Dough + Oven-Baked Finish)
Video
Ingredients
- ½ cup (114 g) half & half (or ¼ cup milk + ¼ cup heavy cream)
- 2 tablespoons granulated sugar
- ¾ teaspoon salt
- 2 large (100 g) eggs
- 3 tablespoons (42 g) unsalted butter (chopped)
- 2½ cups + 1 tablespoon (308 g) all-purpose flour
- ¾ teaspoon instant yeast
Filling:
- ⅓ cup (76 g) unsalted butter
- 2.5 ounces (70 g) bittersweet or semi-sweet chocolate
- ⅓ cup + 1 tablespoon (44 g) powdered sugar
- 3 tablespoons (15 g) Dutch-process unsweetened cocoa
- ⅛ teaspoon cinnamon optional
Egg Glaze:
- 1 large (50 g) egg
- 1 tablespoon water
- pinch table salt
Sugar Syrup:
- ¼ cup (50 g) granulated sugar
- ¼ cup (57 g) water
Instructions
- MAKE DOUGH: Add all dough ingredients (in the order listed) ½ cup (114 g) half & half (or ¼ cup milk + ¼ cup heavy cream), 2 tablespoons granulated sugar, ¾ teaspoon salt, 2 large (100 g) eggs, 3 tablespoons (42 g) unsalted butter (chopped), 2½ cups + 1 tablespoon (308 g) all-purpose flour, and ¾ teaspoon instant yeast into the bread machine pan. Select DOUGH cycle and start.
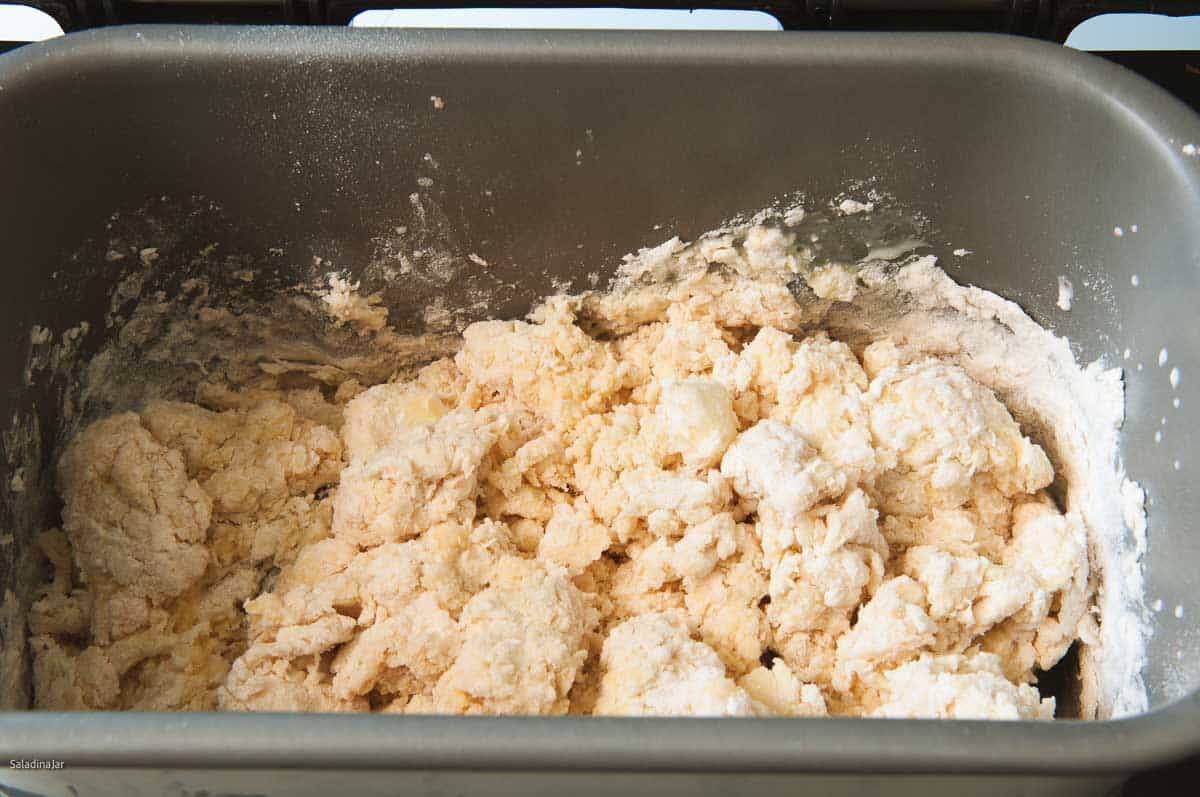
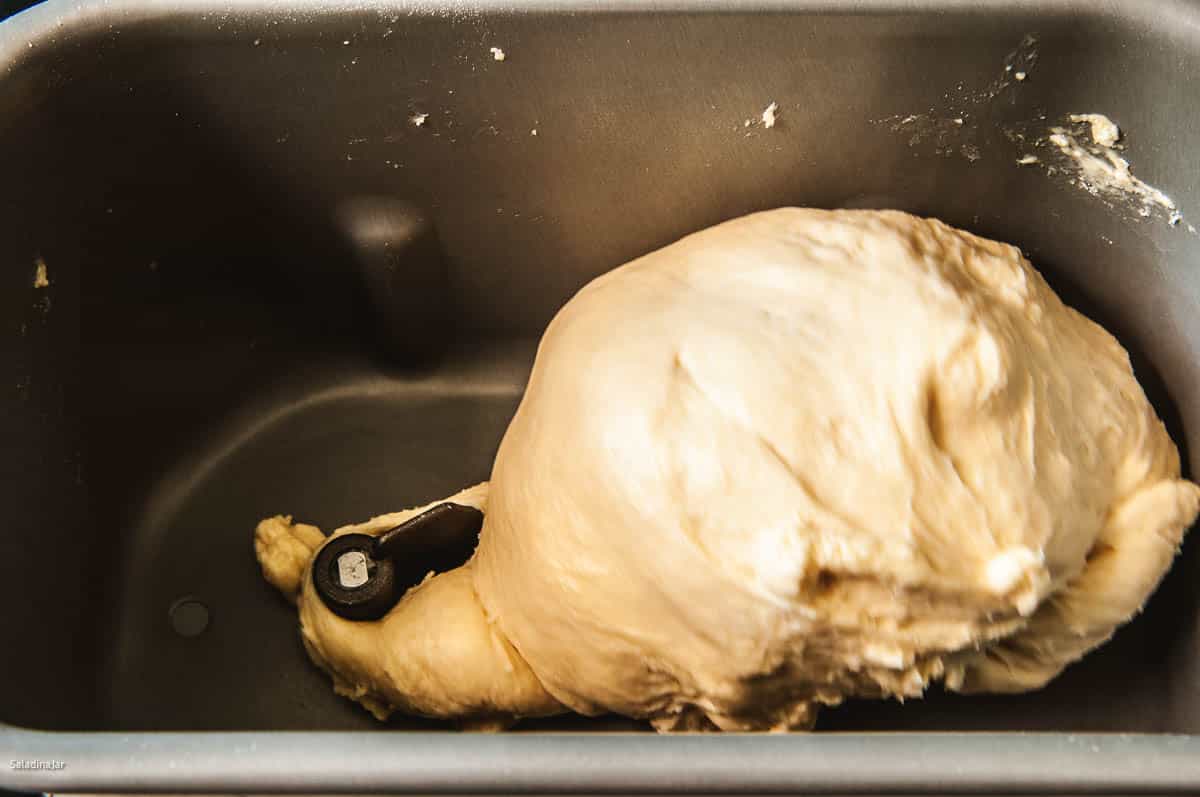
- CHECK DOUGH: After 1 minute, make sure paddles are engaged. At 15 minutes, adjust with flour or liquid so dough sticks to sides, then pulls away cleanly. See this post for more details about this surprising secret to better bread in a bread machine.
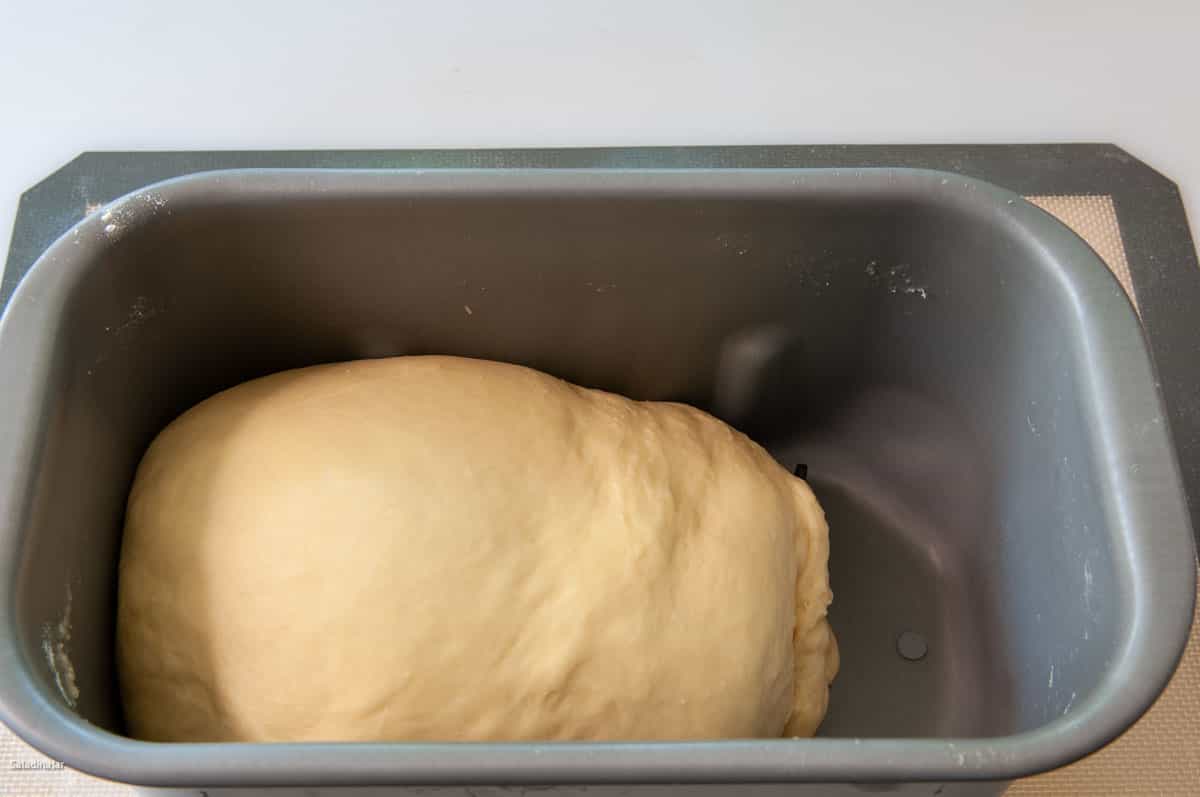
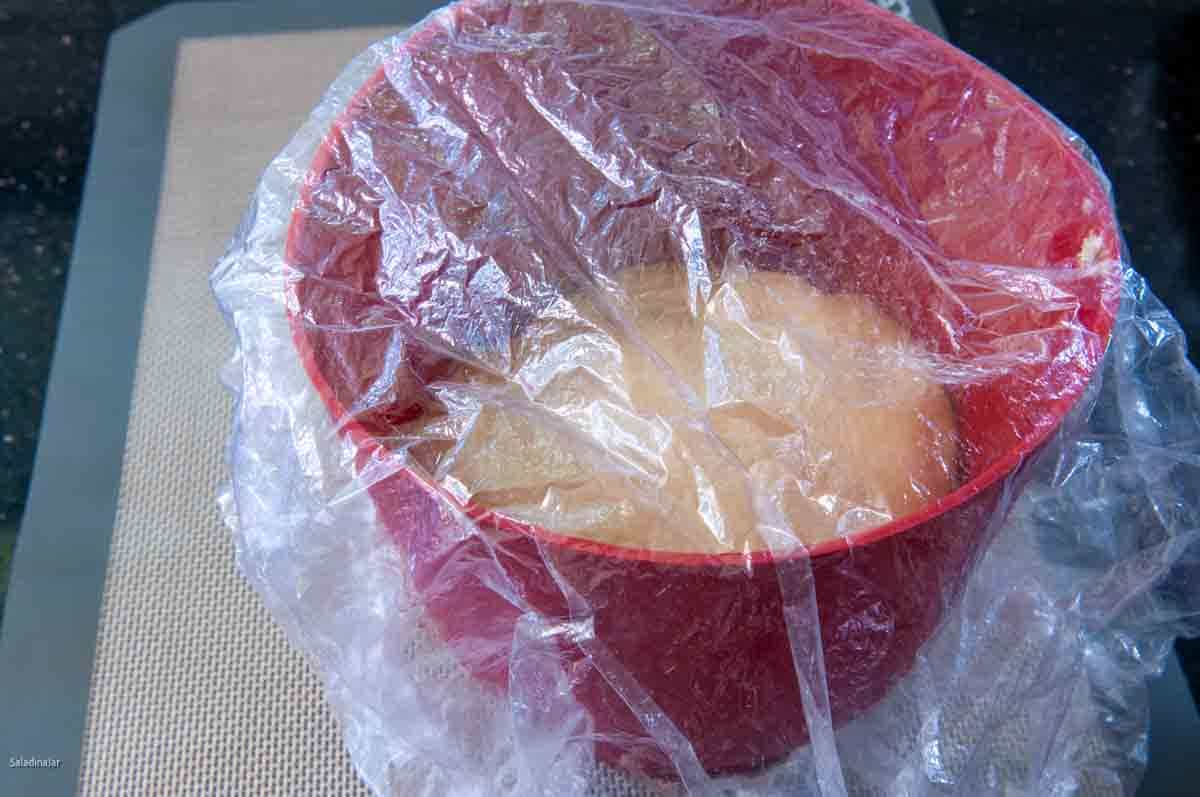
- CHILL DOUGH: When cycle ends and dough has doubled, remove, compress by hand (or restart DOUGH cycle for 5-10 seconds), and chill in a greased bowl for 30 minutes or overnight.While dough chills, make the filling, glaze, and sugar syrup.
- MAKE FILLING: Place ⅓ cup (76 g) unsalted butter and 2.5 ounces (70 g) bittersweet or semi-sweet chocolate in a microwave-safe bowl. Microwave on 50% power for 2 minutes until completely melted. Stir together in circles until smooth. Add ⅓ cup + 1 tablespoon (44 g) powdered sugar, 3 tablespoons (15 g) Dutch-process unsweetened cocoa, and ⅛ teaspoon cinnamon to the melted butter and chocolate mixture. Stir until smooth. Set aside to cool. If the mixture seems too thick to spread, whip it by hand to soften it. If you add liquid, it may become too soft and hard to manage.
- GLAZE: Combine 1 large (50 g) egg, 1 tablespoon water, and a pinch table salt in a small bowl. Whisk until smooth. Set aside.
- SUGAR SYRUP: Combine ¼ cup (50 g) granulated sugar and ¼ cup (57 g) water in a small microwave-safe bowl. Don't stir. Microwave on HIGH for 2 minutes or until the sugar is dissolved. (Stovetop method: Boil this sugar-water mixture on your stove-top for 2 minutes or until the sugar dissolves. Don't stir while it cooks.) Set aside.
- ROLL DOUGH: Roll chilled dough to about 26×16 inches. Spread filling to edges, leaving ¼" at the short end farthest from you.
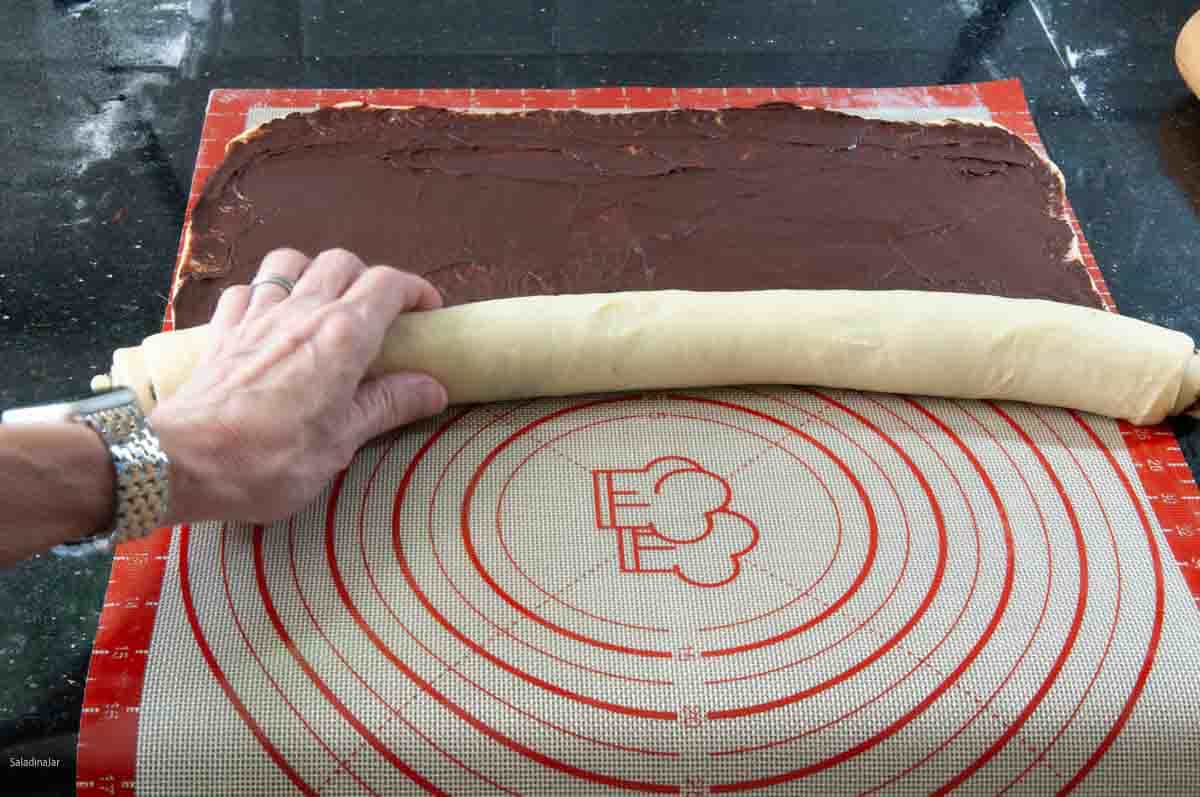
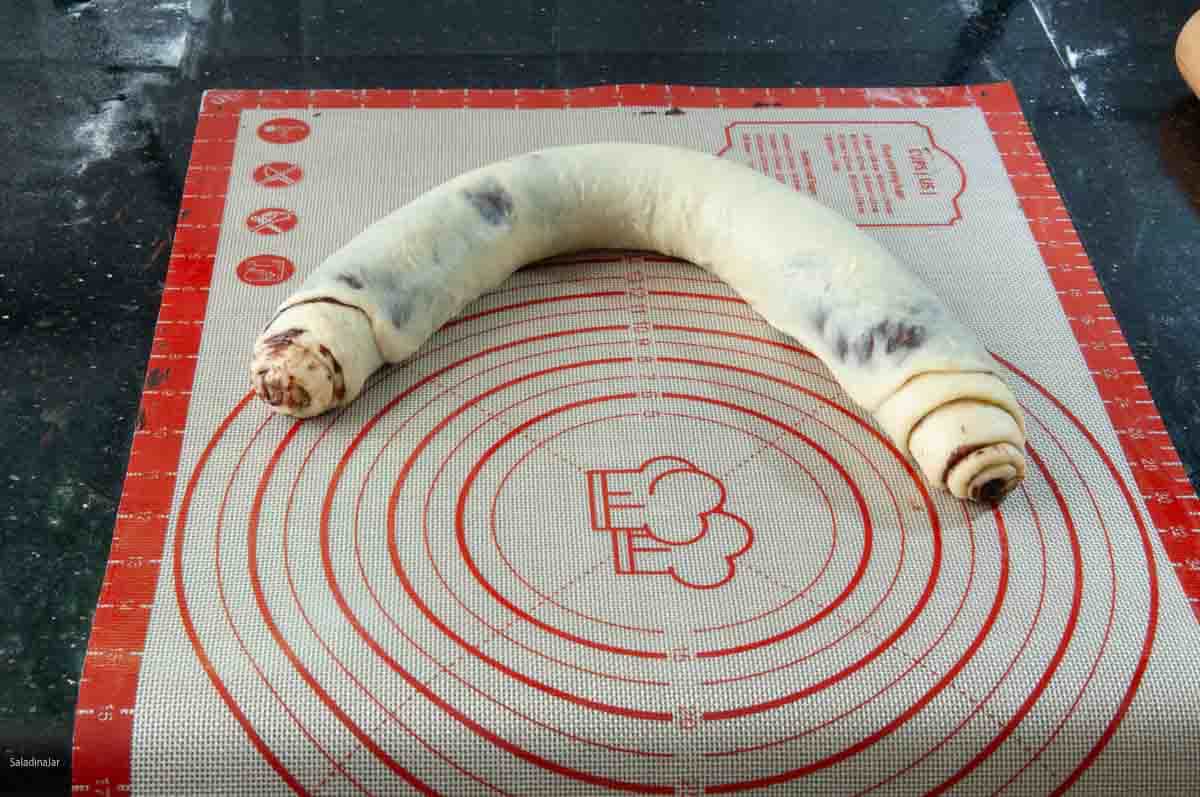
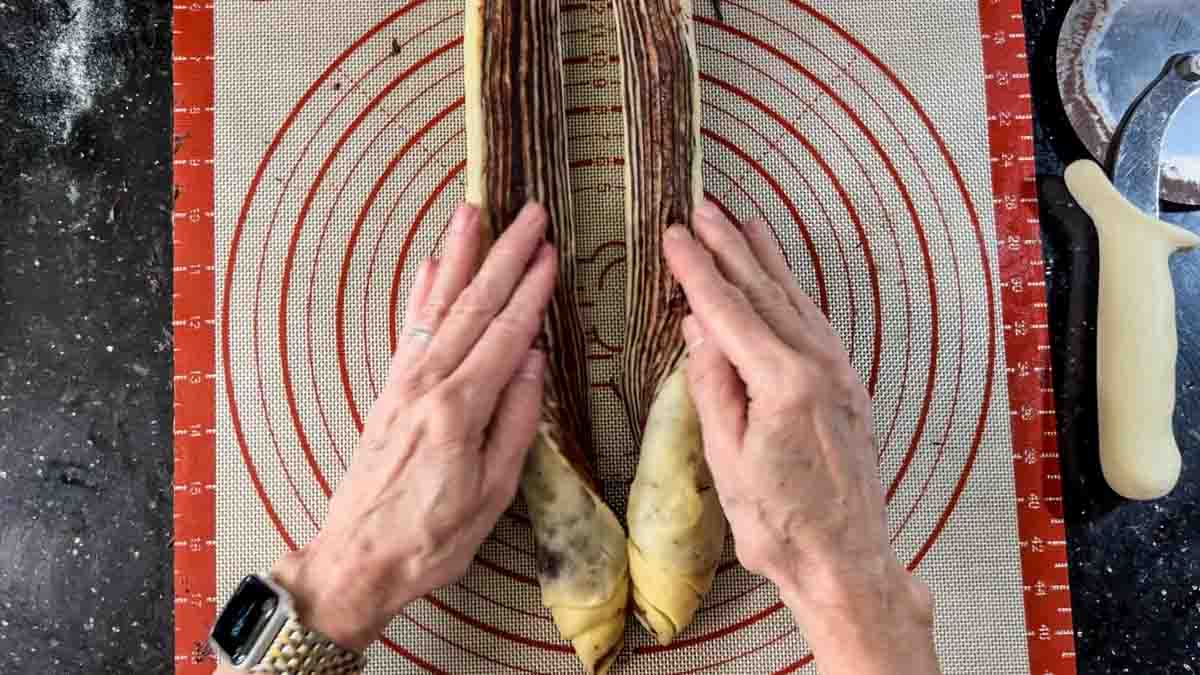
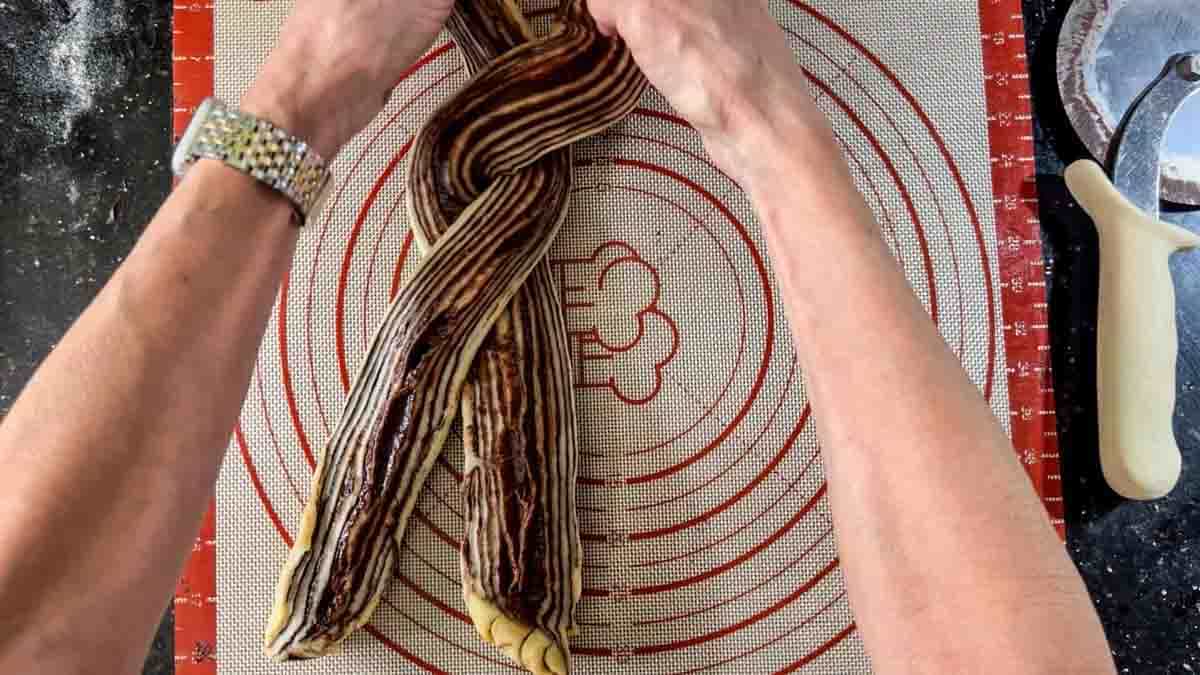
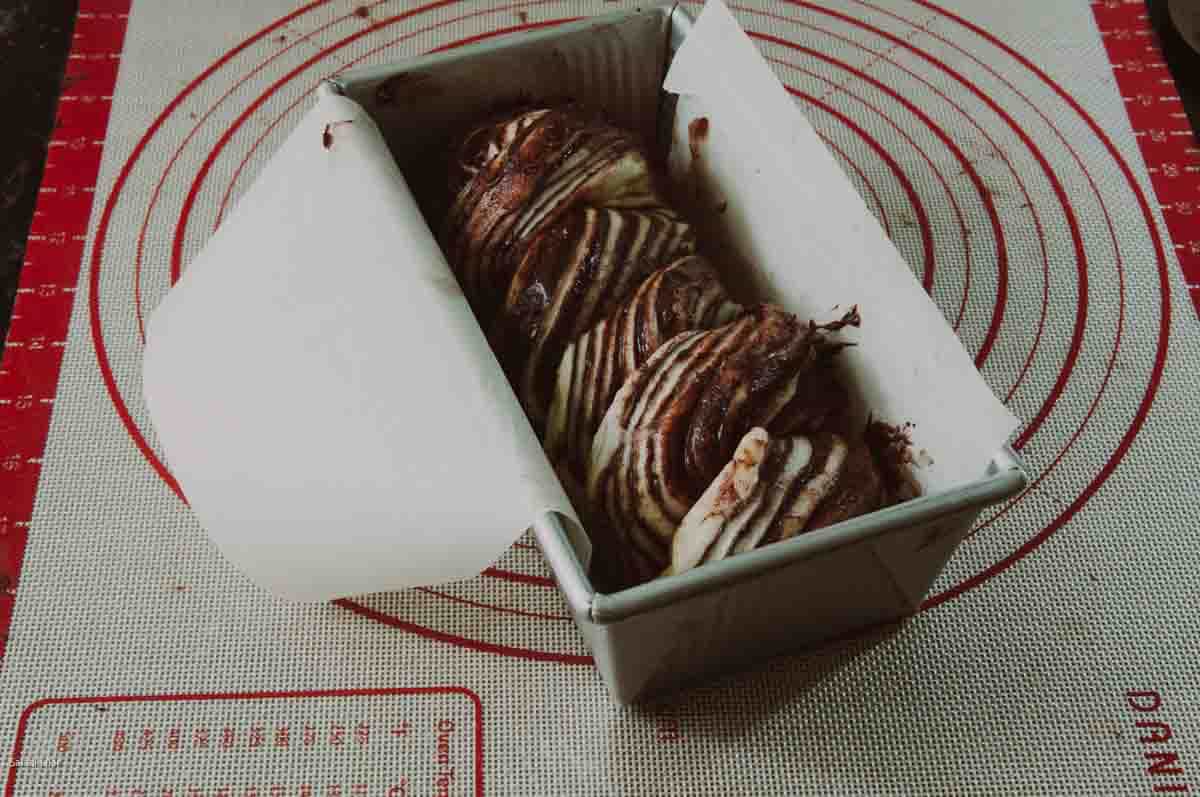
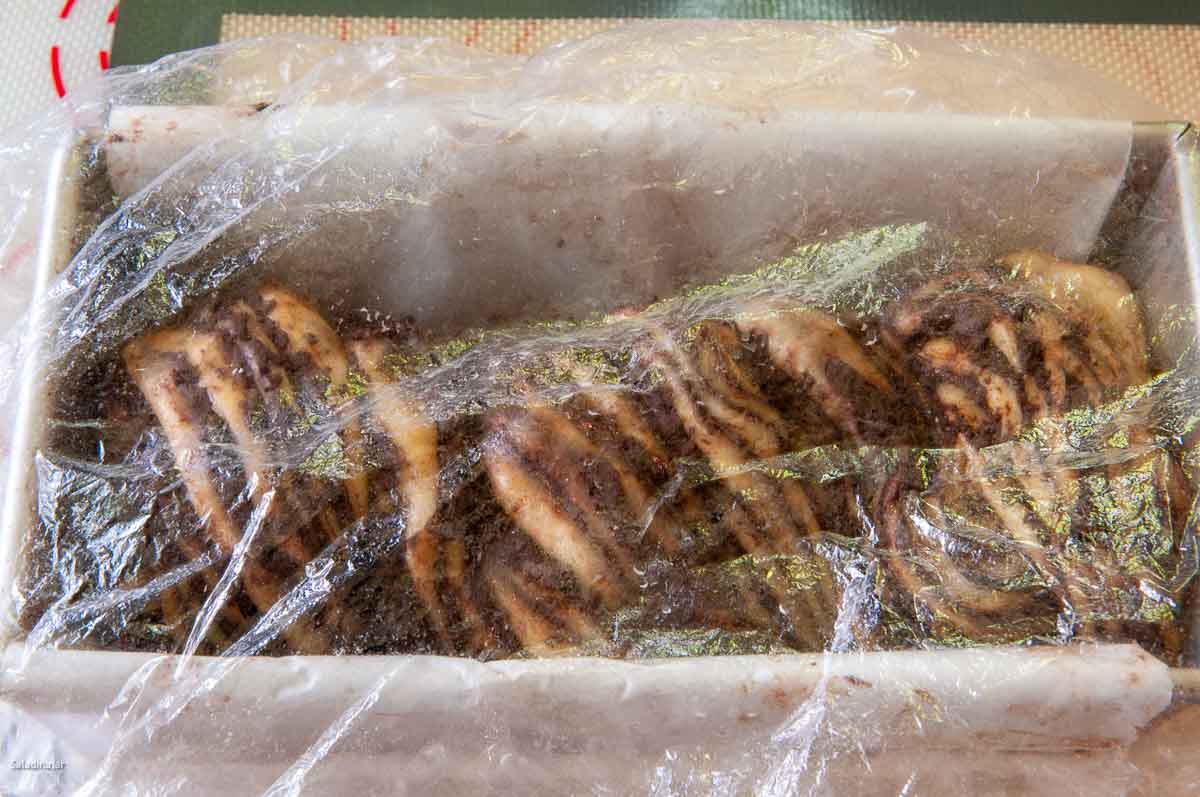
- SHAPE LOAF: Roll tightly starting from the short end closest to you, pinch seam, and freeze log for 10 minutes. (If you are using a silicone mat, use it to hold and transfer the roll to the freezer.) Slice lengthwise, twist halves cut-side up, and tuck ends. (See video.) Place in a greased 8½ x 4½ loaf pan. If it is too long, compress the twisted dough from each end to make it fit.
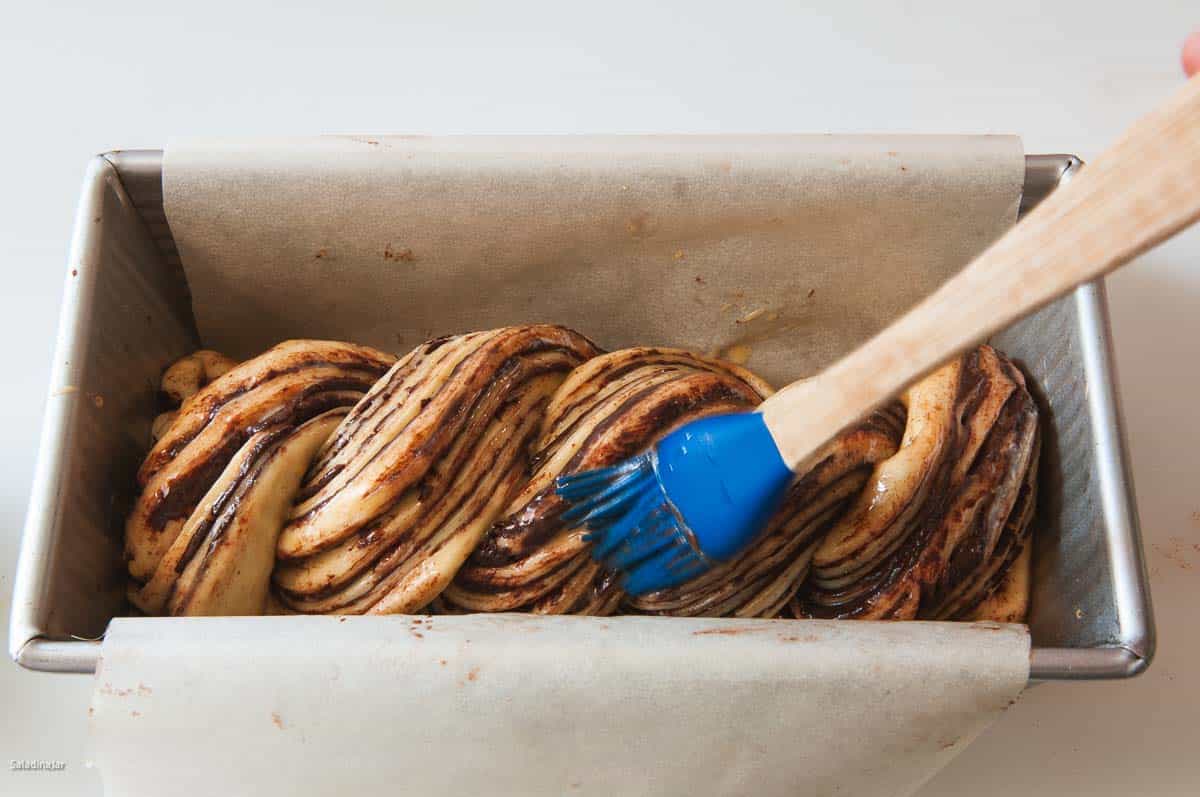
- BAKING: As soon as you finish shaping your loaf, preheat your conventional oven to 350 °F (180˚C). Do not let the loaf rise until it doubles like a traditional bread recipe. Brush the loaf with egg glaze.As soon as your oven reaches temperature, bake for 40-45 minutes, or until the internal temperature of the bread reaches 190-195. (90-93˚C). Check the babka as it bakes–if the crust starts to get too dark, cover the loaf with foil.
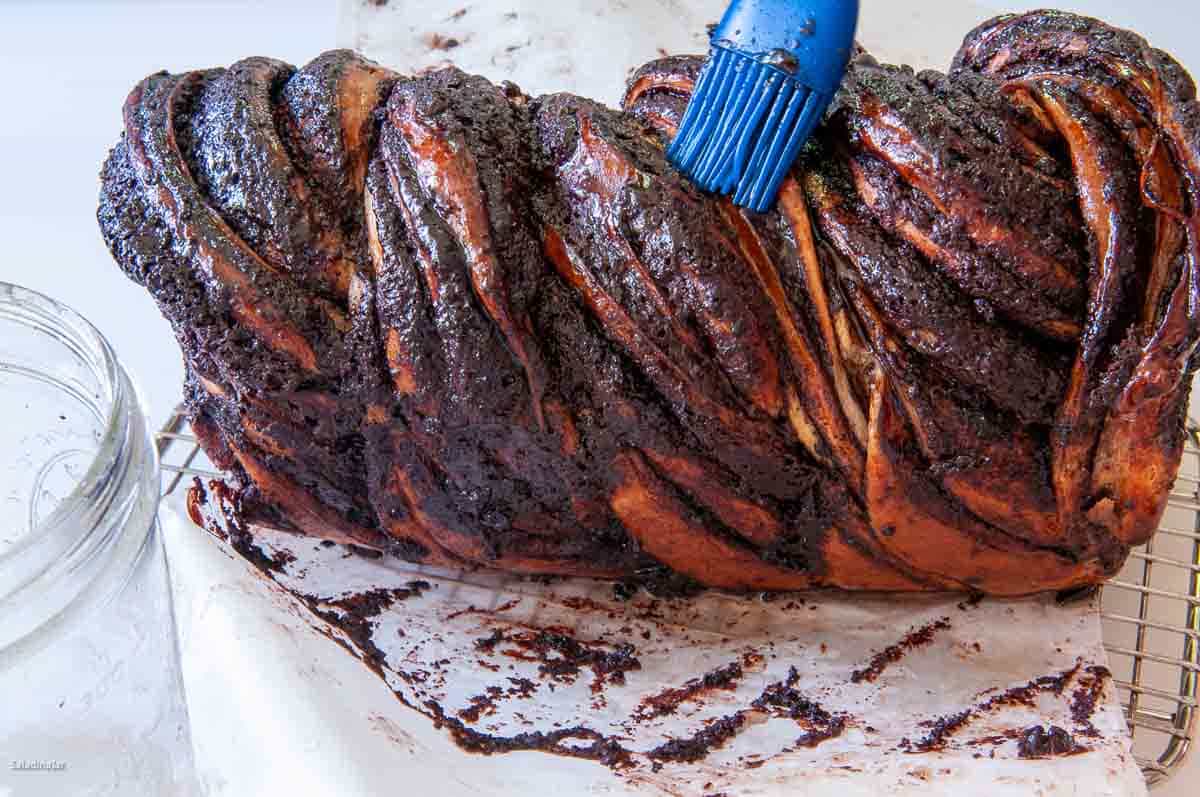
- FINISH: Brush with sugar syrup immediately after removing the bread from the oven. Let it stand in the pan for 30 minutes and transfer to a cooling rack for another hour before slicing.
Notes
- For Clean Slices: Freeze the cooled loaf, thaw slightly, slice, and let bread finish thawing before serving.
- How to store Babka: Best eaten fresh. Warm leftovers for up to 3 days, or freeze for up to 3 months. Double-wrap to avoid freezer burn.
Equipment
Nutrition
All images and text ©️ Paula Rhodes for Salad in a Jar.com
FAQs About Chocolate Babka Mixed in a Bread Machine
- Is the yeast amount correct?
- Yes, less than a teaspoon of instant yeast is all you need. This keeps layers thin, mimicking bakery-style Babka.
- Why is my babka doughy in the middle?
- It’s undercooked. Use a digital thermometer and bake to 190-195˚F internally for perfect results. (Try to take the temperature in the bread, not the filling.) Another cause is cutting it before it’s completely cooled.
- Why did my babka fall apart?
- Slice only after cooling for 2+ hours. If sliced warm, expect softer, messier layers.
Final Thoughts
Babka looks impressive, but the process is more approachable than it seems—especially when the bread machine handles the dough. Don’t worry if your first loaf isn’t picture-perfect; the flavor will still win people over. With a little practice, shaping becomes second nature, and this is the kind of bake that’s worth repeating.
BTW, Chocolate isn’t just for baking—here’s how I use it in a savory chocolate chili that surprises everyone.
— Paula, Home Economist
Homemade Food Worth Sharing
Need help troubleshooting?
Email me: Paula at saladinajar.com — photos help!
If you love baking for special occasions, try these bread machine recipes:

Turned out perfectly!
Yay!!!!!
Is the recipe as written for one or two loaves? The “sneak peak” section references making two; but the recipe seems to be fore one.
Thank you.
Hi Janet,
Good catch! That recipe only makes one loaf–my mistake. I have corrected it. If you try it, I hope you enjoy.
Delightful and easy. It was a few hours of preparation and baking and totally worth it. I added raspberry jam to the filling and also basted the dough with it before baking. If you allow images I will be glad to post mine. Really the best babka ever.
Yeah! I’m so glad you liked it, Jeff. You’ve made my day. The raspberry jam in the filling is genius, and I’m guessing it was beautiful basted with the jam, too. I would love to see a picture if it’s not too much trouble. I will add it to your comment if I can figure out how to do it.
Another success, thank again
I’m so excited that you tried this. Wish I could have sampled it. Thank you for writing.
Hi Paula. I have not made this recipe yet. Looks absolutely delicious. My bread maker requires I select the loaf size. Could you please tell me which size loaf I should select for the recipe you have listed above?
Thank you do much.
Can’t wait to make it.
Laura
Hi Laura,
This bread recipe is designed be shaped by hand and baked in a conventional oven. This means you will need to select the DOUGH cycle. There is no need to select a dough size because it doesn’t matter when you aren’t baking bread in the machine. For future reference, if you are baking bread in your machine, find a recipe in your bread machine manual that contains close to the same amount of flour and use that as a guide. There are many configurations of bread machines out there, so keep your manual handy. On the other hand, if you only use your bread machine for the DOUGH cycle as I do, you don’t have to worry about that. See this post for all the details. Please write back if you still have questions.
Another hit for us! I’d never made a babka before – followed the directions exactly and boom – I made a babka! The filling is rich and decadent (I used semi-sweet chocolate) and just enough to be enticing, but not overwhelming. We froze it for easy slicing and it didn’t even really have to thaw, it was soft and delicious right out of the freezer. It didn’t last long. Thank you!
Hi Marie,
I’m so excited to hear that you loved the babka. Thank you for the 5-star review.
I made this for the first time last week.
I’m glad the you had a video because I had quite the time folding it into the pan.
Tastes wonderful.
Thankfully for another great recipe.
Hi Lois,
I’m so glad you enjoyed the recipe! It can definitely be a bit tricky folding it into the pan the first time, so kudos to you for giving it a go. Practice makes it easier, and I’m thrilled the video helped! Thank you for the kind words—hearing that it turned out wonderfully makes my day. Let me know if you have any questions. ?
Made this for the first time. The video and directions were very detailed and easy to follow. It looks great. I’m so glad I can bake it and freeze it before serving. I follow all your bread machine recipes. Any possibility of including nutritional information, especially the carbohydrates. Thank you .
Hi Valerie,
The nutritional information is always found at the bottom of the recipe. The carb count is high as you can imagine.
My family and friends were completely wowed by this recipe. As usual, Paula’s instructions were simple and easy to follow. Don’t be afraid to try this bread-it tastes as good as it looks!
No wonder Chocolate Babka was featured in a Seinfeld episode:)
Thank you, Wendy!
My family and friends were really wowed by this recipe. As usual, Paula’s instructions were simple and easy to follow. Don’t be afraid to try this -it’s a showstopper and tastes as good as it looks. No wonder it was featured in a Seinfeld episode:)
When do we put the glaze on? The sugar syrup goes on right after you pull it out of the oven but I didn’t see where/when to put the egg glaze mixture on…?
Hi Maria,
The egg glaze goes on just before you put the shaped babka into the oven. I have fixed the recipe. Thank you so much for taking the time to ask about it. If that ever happens again, always check the video (if there is one) or look at the pictures in the post. It is pictured there, also.
Hope the bread turns out good for you.
Super easy to follow! I used milk and butter in replacement of half and half. Worked great!
Hi Rochelle,
I’ve never tried the milk and butter replacement, so that’s good to know. Thank you for taking the time to write in case other readers need a substitute for half and half.
Possible to split dough to make mini babka loaves?
Hi Paige,
Glad you asked. Do you mean to make a smaller batch of dough? or make several mini babkas from one batch?
If the latter, absolutely yes. The mini-babkas are easier to shape, in my opinion. I plan to do the same thing next week to give to my neighbors.
If you want to cut the recipe in half, it depends. I would only do that if you have a compact bread machine that’s designed for small batches. Otherwise, I’m not sure the paddle(s) would do a very good job of kneading the smaller amount of dough.
Hope they turn out well for you.