Keep Bread from Sticking to the Pan (Including Bread Machines)
Sneak Preview: Struggling to get fresh-baked bread out of the pan? Learn how to prepare a pan to help release your bread effortlessly, whether you’re using a traditional pan or a bread machine.
This post contains affiliate links. As an Amazon Associate, I earn from qualifying purchases at no extra cost to you.
Have you ever struggled to remove a fresh loaf of bread from the pan without tearing it? It’s disheartening, especially after the effort put into baking, and even more so if you planned to share it.
10 Tips to Prevent Sticking
- Grease the Pan: Use butter, oil, or non-stick spray to coat the entire pan, including corners and sides (unless otherwise recommended by the manufacturer).
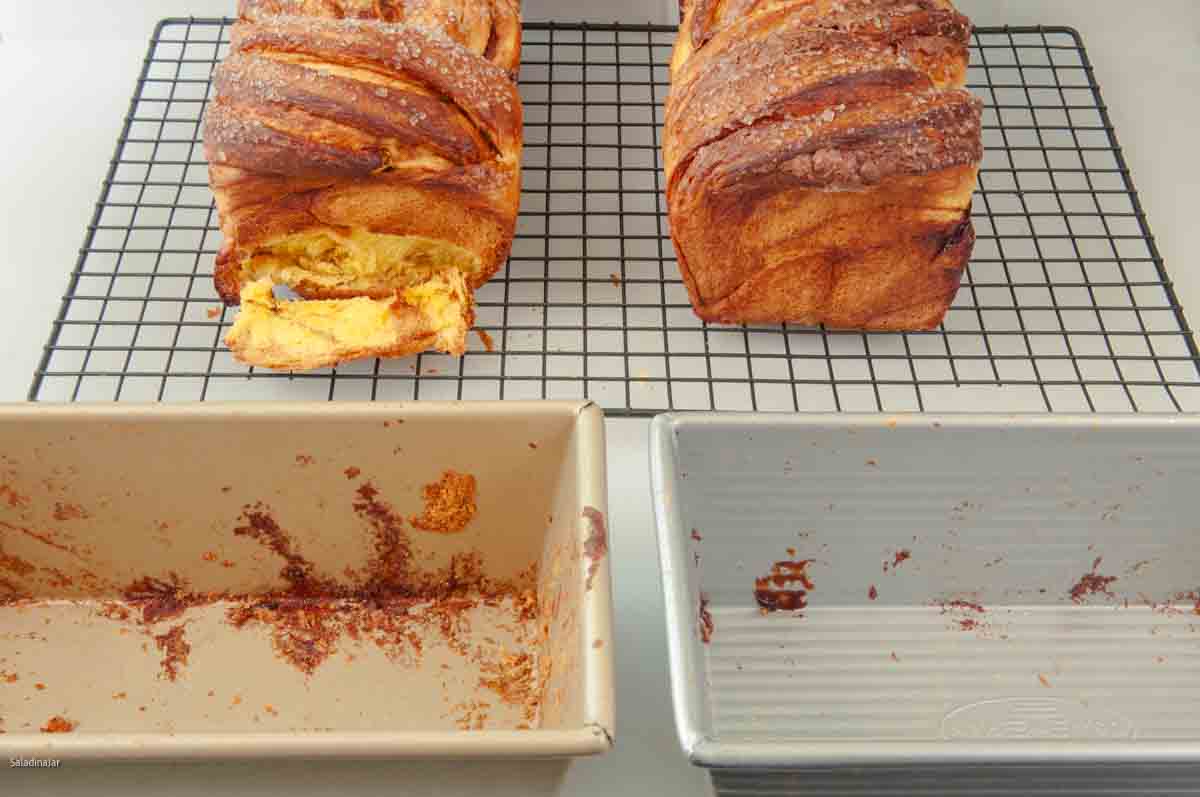
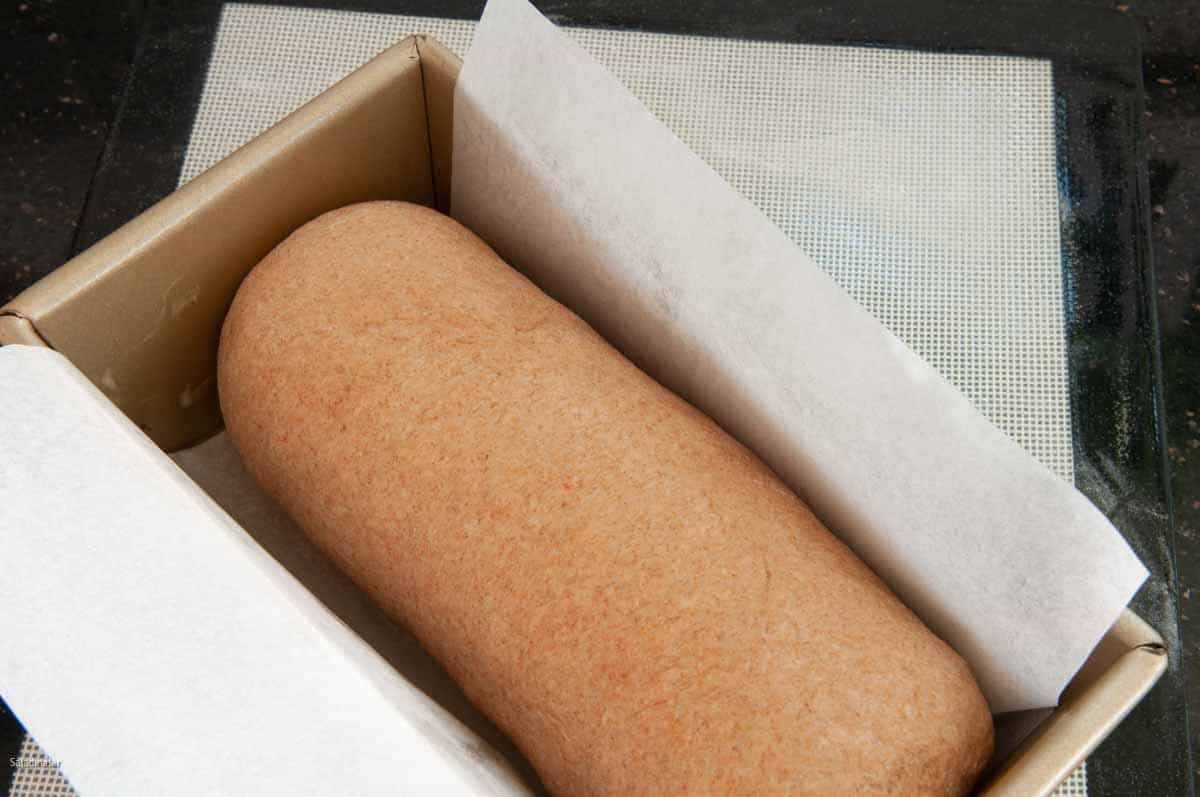
- Use Parchment Paper: Line the pan with parchment paper (paid link) as seen above, leaving an overhang to easily lift the bread out. Use a parchment sling or silicone liner if using a butter-and-sugar filling that leaks and seals the bread to the pan.
- Check for Scratches: Scratched non-stick pans increase sticking. Replace if necessary.
- Avoid Sharp Utensils: Use a plastic spreader (paid link) or a butter knife to loosen bread from the pan to avoid scratching the surface.
- Don’t Overproof: Overproofing can cause sticky bread to cling to the pan.
- Shape Dough Properly: Create surface tension by shaping the dough to reduce sticking, especially in bread machines.
- Watch the Glazes: Glazes that drip down the sides can cause bread to stick. See #2 above for the best solution.
- Let Bread Cool: Cool 10-15 minutes after baking to help the bread naturally pull away from the sides and stabilize the structure.
- Invest in good-quality, heavy-duty pans. Heavy-duty pans distribute heat evenly and have better non-stick properties.
- Use Seamless Pans: Seamless pans prevent crumbs from hiding in seams, which can cause sticking.
Based on personal experience, these are recommendations for what to buy and what to avoid.
Choosing the Best Bread Pan
I’m sharing the experience I’ve learned from baking bread for most of my life. Different materials affect how bread bakes and sticks. Here’s what to know about each:
- Glass: Not my favorite as they often overcook in the corners and take a long time to cool. Grease or spray heavily.
- Black Pans: Cheap, thin black pans often stick easily. Grease heavily or use a parchment paper sling.
- Dull Aluminum: Heavy and makes a beautiful crust, but requires greasing for non-stick results.
- Cast Iron: Creates dark and beautiful crusts. Works great when properly cared for.
- Disposable Foil Pans: Avoid the whole sticking problem by leaving the bread in the pan, especially when sharing. I would still grease them.
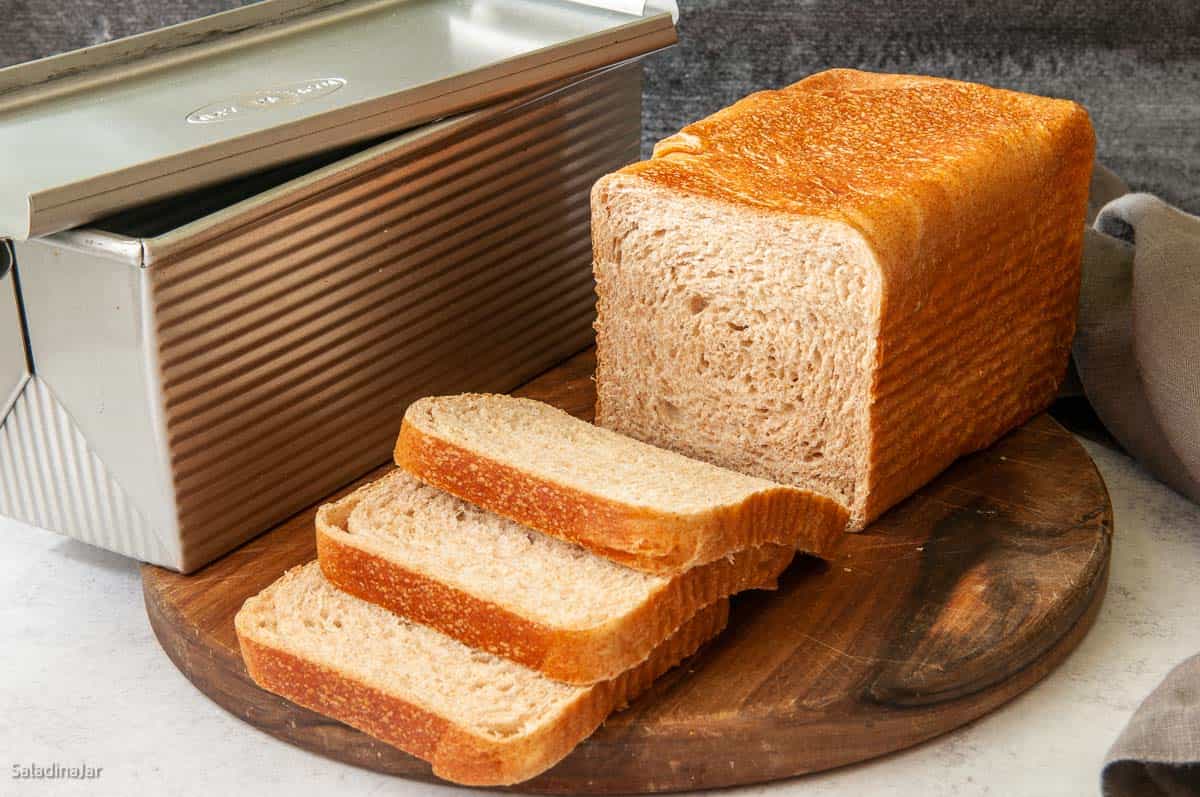
- Shiny Nonstick Aluminum: My favorite!! Heavy, shiny, and non-stick, like USA pans, which release most bread effortlessly. Use a parchment sling or silicone is using a butter-and-sugar filling that leak and seal the bread to the pan.

Do you bake bread in a bread machine occasionally or all the time? Here are seven tips specifically for you.
7 Tips for Bread Machine Users
Bread machines present their own challenges when it comes to releasing bread from the pan. Try these tips
- Grease the Pan: Lightly coat with butter, oil, or non-stick spray before adding ingredients.
- Be Patient: Let bread cool for 10-15 minutes after baking to help it contract and loosen.
- Gentle Shakes: Gently shake the pan to loosen the bread.
- Clean Paddle Area: Dough trapped in the paddles can make bread removal difficult. If you can’t get the paddles out, soak them in water for hours or try wiggling them from the top with one hand while while holding the outside bottom of the bread machine pan with your other hand. Use a rubber glove or rubber jar gripper to hang on to it.
- Use a Plastic Spatula (instead of a sharp cooking knife): Run a plastic spatula or spreader(paid link) around the edges to release the bread without damaging the pan.
- Care for Your Pan: Avoid abrasive cleaners, hand wash, and replace the pan or paddle (if available) when the coating wears off.
- Check Dough Consistency: If the dough is too wet, it might stick more. Ensure you measure accurately and adjust the liquid content if necessary.
Don’t bake bread in the bread machine, and you’ll never have trouble getting it out of the bread machine pan. (You knew I would say that if you’ve ever used one of my bread recipes.)
Final Thoughts
I hope one of these tips gave you an idea. Do you have a tip for getting your bread out of a pan without injury? Please leave it in the comments.
— Paula, Home Economist
Homemade Food Worth Sharing
Need help troubleshooting?
Email me: Paula at saladinajar.com — photos help!

I have found the best way to get anything out of a pan – even bundt cakes – is to make them when you don’t have company coming. They always come out perfect then!
This made me laugh out loud…because it’s TRUE!